
views
This will require some soldering skills, or you could just twist the wires together then electric tape them. Soldering will help hold the build together though, and if you have other ways of securing the wires, please do share.
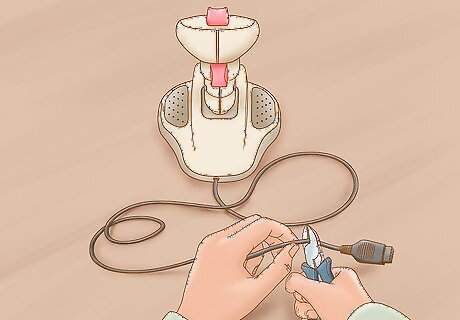
Cut the Gameport end off of the joystick about 3 inches (7.6 cm) from the end. Do the same with the spare USB 2.0 cord. Strip the rubber shields off both wires to reveal the true wires underneath the rubber and foil shields. (Sorry forgot a picture for this step.)
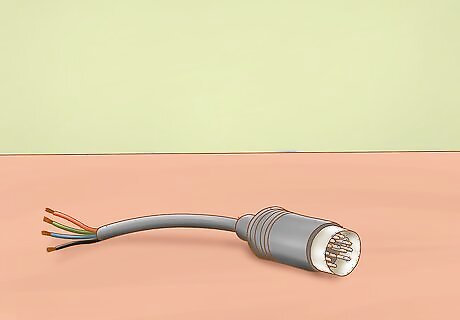
Strip the casing off the wires from pin 1,14,10, and 4 on the joystick cord. Do the same with all wires from the USB.
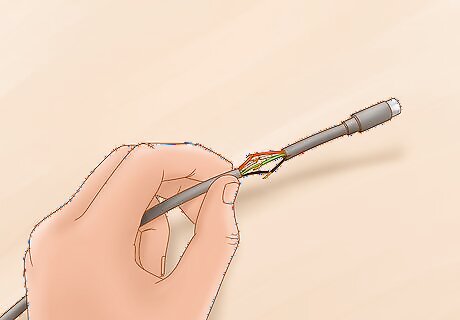
Twist the corresponding cords together. USB Red with Pin 1 wire from joystick. USB White with Pin 14 wire from joystick. USB Green with Pin 10 wire from joystick. USB Black with Pin 4 wire from joystick.
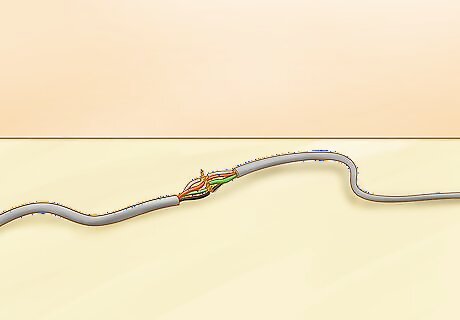
Now the reason for Pin "14, 10, etc." wire from joystick, instead of color code is because I don't know if the wire coding is the same for all of them. If it is then they should correspond as so,
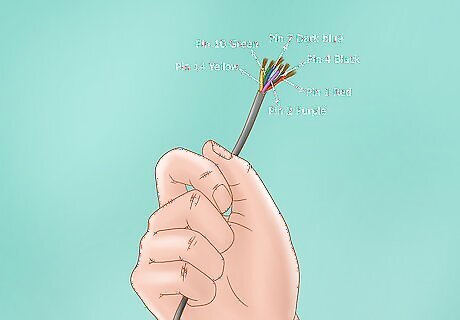
Pin 1 red, Pin 14 yellow, Pin 10 Green, Pin 4 black, Pin 2 purple, Pin 7 dark blue. If not, just go by the pins.
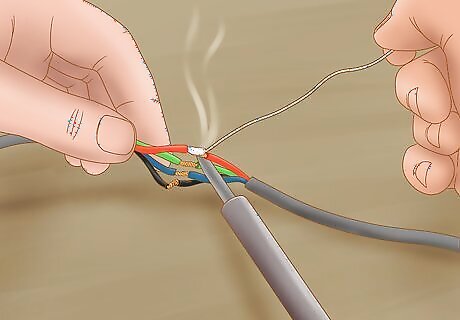
(OPTIONAL) Solder all the separate connections.
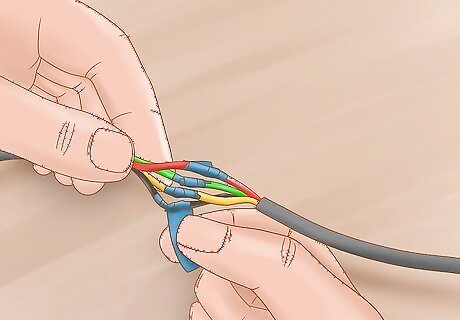
Tape all 4 connections up separately so that no wires are touching each other.
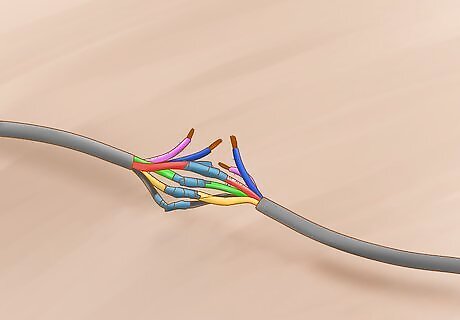
Strip wires on the joystick Pins 2 and 7. Twist these two together making a connection. (CRITICAL STEP DO NOT SKIP.)
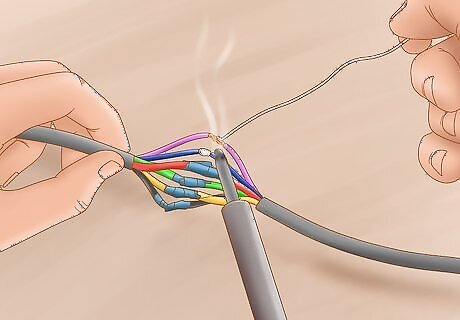
(OPTIONAL) Solder the previous connection you just made.
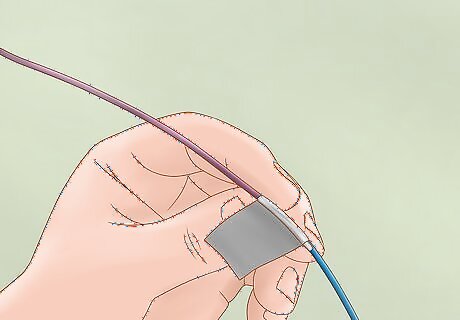
Tape the connection so it touches no other wires.
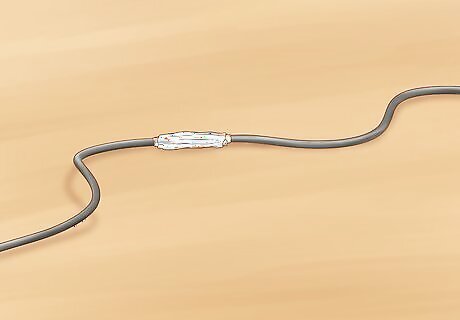
Put together the two foil wire shields, tape them together.
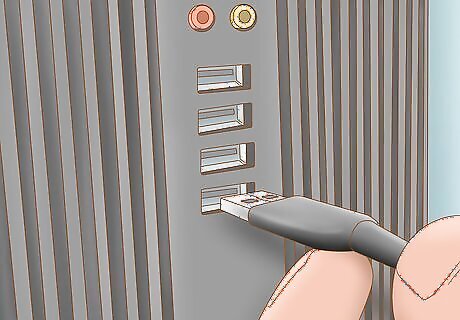
Plugin the USB end and test the joystick to see if it worked (Control panel>Devices and printers>SideWinder Precision Pro USB) Controller properties. Check buttons and so on.
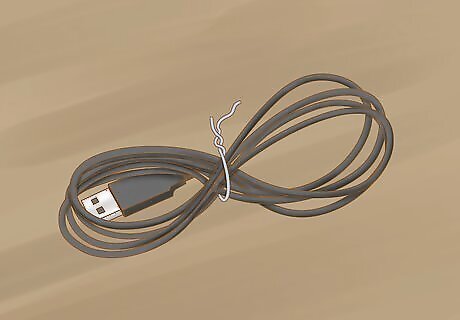
The three wires from the SideWinder joystick are spares and are no longer needed. Tape them up so they don't touch any wires.
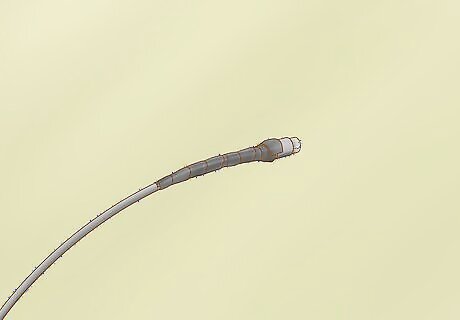
Tape everything up to make a decent looking cord.






Comments
0 comment