
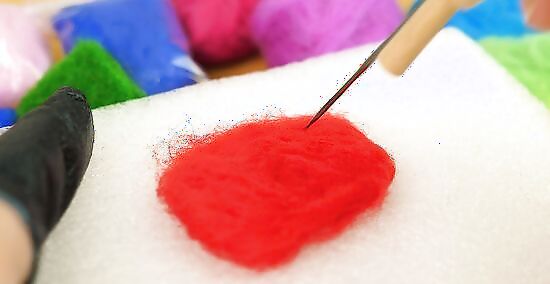
- Grab a piece of wool that’s ½ inch (1 cm) thicker and larger on each side than your template. Lay the wool on a piece of foam.
- Poke a felt needle up and down into the wool, then outline your template with straight pins. Concentrate your poking along the outline.
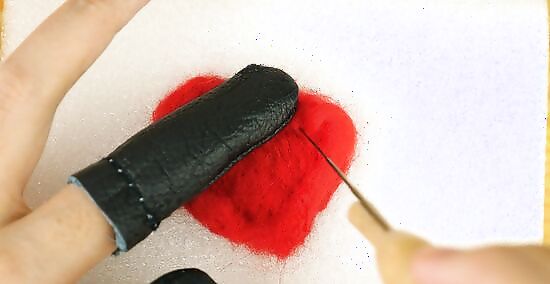
- Compress the wool in the center of the outline. Take out the pins and fold the excess wool into the center, poking it into place.
Getting Started with the Basics
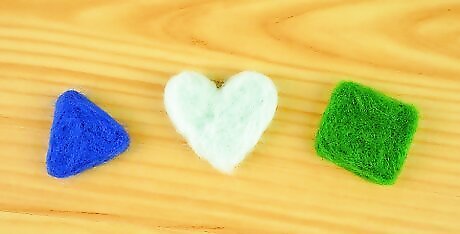
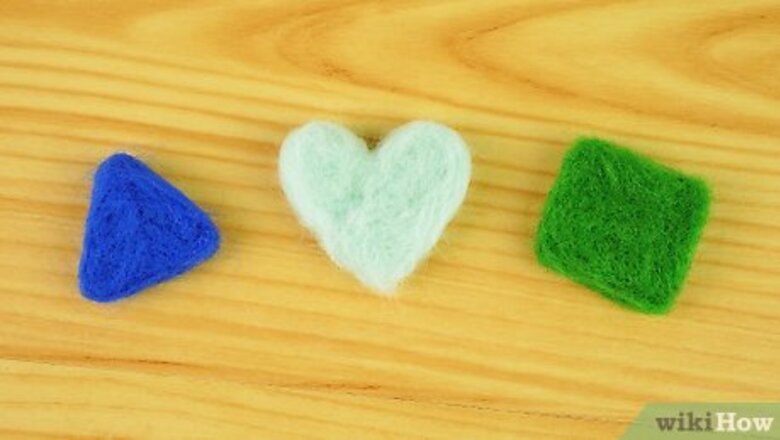
Decide what shape you'll work on. There are lots of options to create from needle felting. As you are first beginning you should work on something that is at least three inches in diameter. Try a simple geometric shape like a: Triangle Square Heart
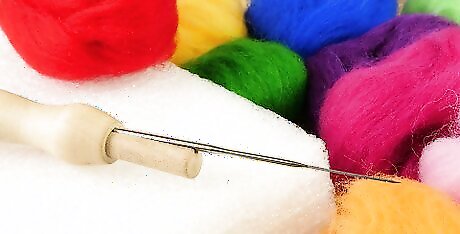
Acquire the materials. Some of your local crafting stores will have felting supplies, but you'll find more gear online. To begin your starter kit you'll need: One or two felting needles Wool fiber Foam cushion or pillow

Prepare the wool. Tear a sheet of wool at least half an inch thicker than your planned shape. Make sure the wool is half an inch larger on each side of the template you've created.
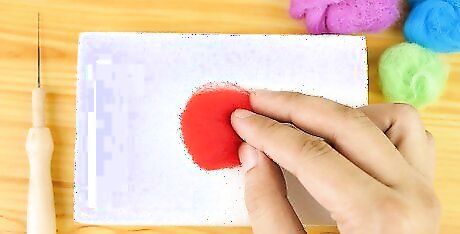
Lay the wool on the foam. You can use either a foam cushion or an old pillow. You will definitely get holes in the pillow if you go for this option, so be aware.
Poke the needle into the wool at random. To begin make sure the wool is positioned firmly onto the surface of your choice. Poke the wool in an up and down motion at random. You don't need to be forceful. Be sure to watch your fingers in this action.
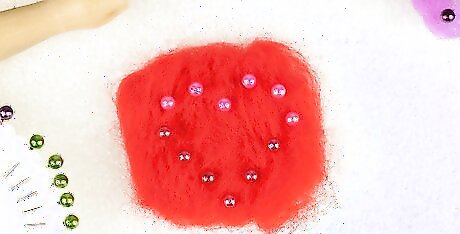
Outline your shape into the middle of the wool. Using straight pins, outline the shape that you've chosen. Then, use your felting needle and go along in an up and down motion along the outline. This motion will compress the fibers into the outline.
Compress the center of the shape. Use your felting needle to go through and flatten the center of the shape. Take time going through the up and down motion until your shape comes into picture.
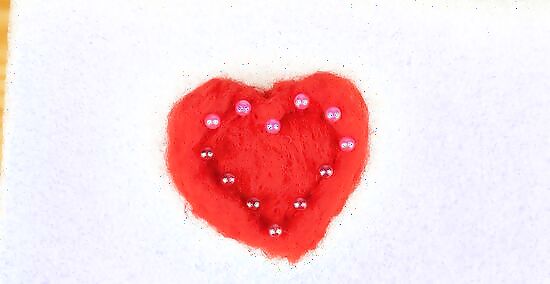
Fold the excess wool. Fold the excess wool into the center. Now repeat the previous step of compressing the center of shape, this time compressing the excess into the center using your felting needle. This will create a clean and rounded edge.

Secure the backside. Now that you have a clean looking shape, flip the wool over. Now repeat compressing all the fuzzies left behind with your felting needle. Use straight pins to secure your shape down for an easier time. This will also relieve your fingers of getting stabbed.
Advancing Your Shapes
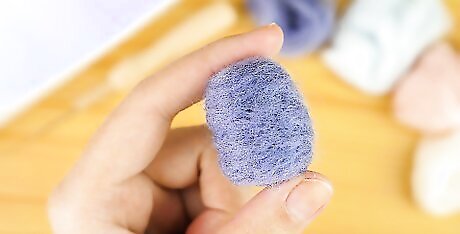
Pick out a 3D shape. The process for creating 3D shapes is very similar to creating flat shapes. Creating a ball is a great start to understanding the basics of 3D felting. Creating a ball can also be a very useful tool for storing your needles.
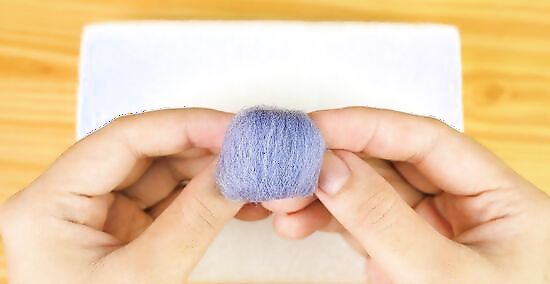
Form a ball. Pinch a wad of fiber and coil it up into a ball using your fingers. You can start with a small wad at first.
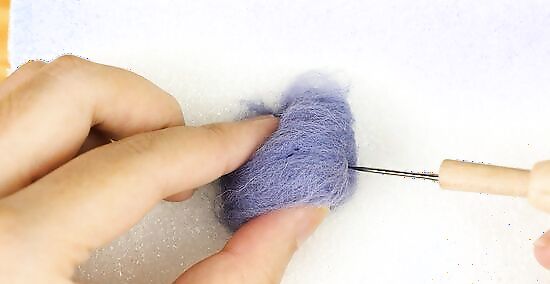
Compress and add more fiber. Use your felting needle to compress the wad of fibers into a smaller ball shape. Then add more fiber to the ball and repeat compressing it using your felting needle.
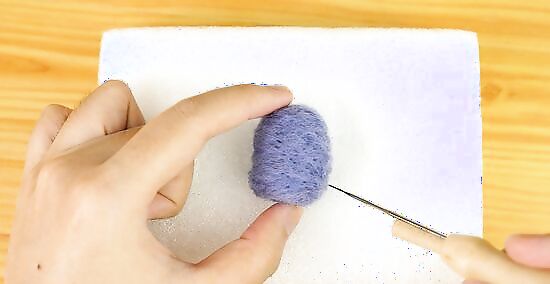
Continue till you have the desired size. Be sure that the needle pokes go in and out of the ball at the same angle. You don't need to be hard with each poke, but instead focus on making straight lines.
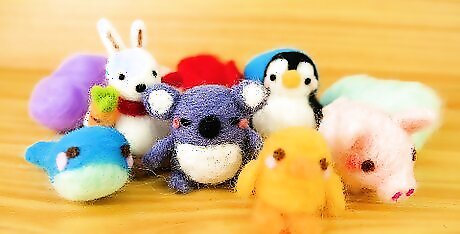
Use different colors of wool. Adding a variety of color will strengthen the aesthetic of your designs. Most 3D creations use different colors of wool. Different colors can be especially useful for adding detail into your design. You could for instance, add red wool into a white ball to create a baseball.
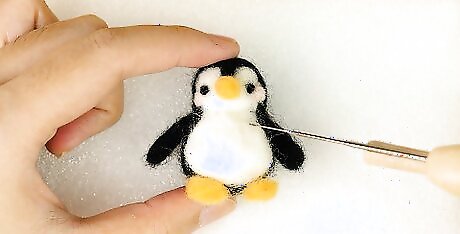
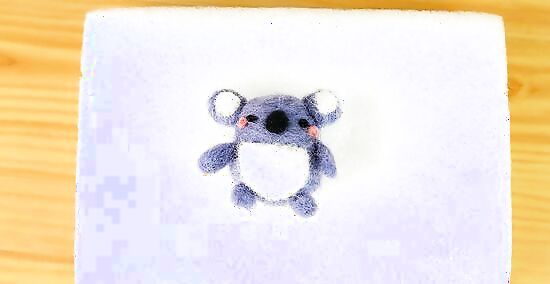
Create animal sculptures. Once you get a grasp of basic needle felting you'll be ready for the challenge of creating sculptures of your own. One of the easier designs for animals might be a penguin. All you need to do is to combine the 2D and 3D techniques. Start with the body of a penguin. Form an oval shape. Create the head. Create a much smaller circle than the oval shape. Add in details using black wool such as eyes and maybe a mouth. Create the arms. To help you visualize penguin arms just think of them as little leaves. Construct two leaves that are smaller than the body, but bigger than the head. Attach the components in the same way you compressed these shapes together, by poking straight lines with your felting needle.
Practice and practice more. You'll need to allow yourself time to get comfortable in order to improve. Try set up a routine for yourself. Set aside at least one day a week to work on your creations for about an hour. If you have more free time then schedule more time for needle felting.
Improving Your Skills
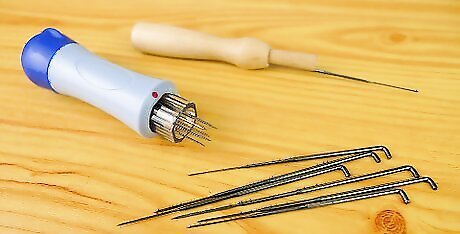
Improve your needle. Depending on how advanced you're willing to take your needle felting, there are many types of needles that will strengthen your practice. You can create your own needle apparatus so that it is more similar to a writing utensil. You can also create various types of devices that have multiple needles. Some devices have as much as four needles in them for those initial compressions. There are plenty of different options online if you do not feel like constructing your own device.
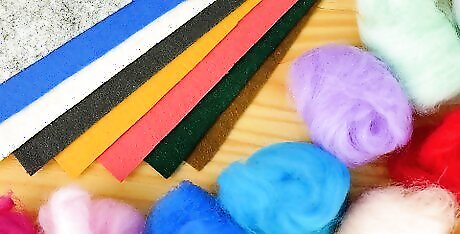
Vary your fiber. There are plenty of different fibers that all function for different purposes. This may be where you look into online suppliers, unless your local craft store carries various types of sheep wool or alpaca. Explore some of these options: Batting wool is ideal for creating sculptures. Roving wool is similar to batting, but it is better suited for thin shapes like ropes rather than wide sheets. Prefelt wool can be used as a clothing garment to your sculptures, but shouldn't be used as any type of base.
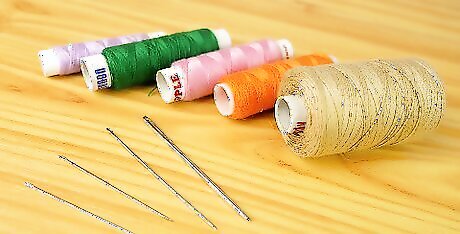
Incorporate stitching. For some of your ideas simple compression using your felting needle may not be enough. In some cases you'll need to use a more traditional string and needle stitching technique to secure your designs. This should only be used if you are concerned with the weight distribution of your design.
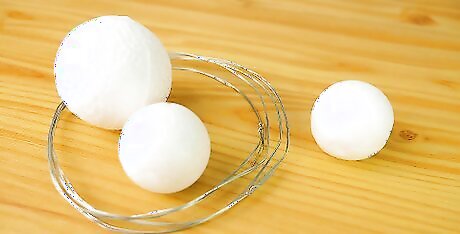
Use wires and other supplies. To create malleable designs sometimes you'll need to use a wire as a support base for the structure. Get creative with different materials that you could form wool around. For instance, you could use a foam ball as a base. Doing this could save you time and wool.
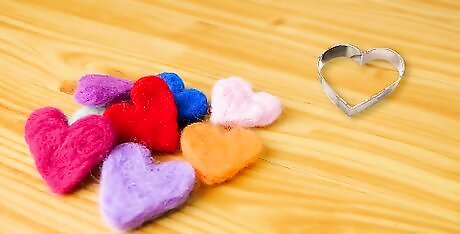
Use cookie cutters. If you know you are going to make a lot of one shape, then invest in a cookie cutter of that shape. It will save you time and effort by having a ready-made outline. Some craft stores will even have a selection of shapes used for needle felting.


Comments
0 comment