

Sealing Threads with Plumber’s Tape

Use plumber’s tape to seal male pipe fitting threads. Male pipe fittings are the pieces that screw into another piece, which is called a female pipe fitting. Always put plumber’s tape on the male threads before screwing them into the female threads.Tip: If a threaded pipe fitting has a rubber gasket, you don’t need to use plumber’s tape. Just screw the fittings together tight enough to compress the gasket to create a tight seal. Plumber’s tape is also known as thread seal tape, Teflon tape, and PTFE tape. You don’t need to use plumber’s tape on unthreaded joints, which you should use a liquid sealant for. Plumber’s tape is meant specifically for creating a tight seal between threaded plumbing joints.
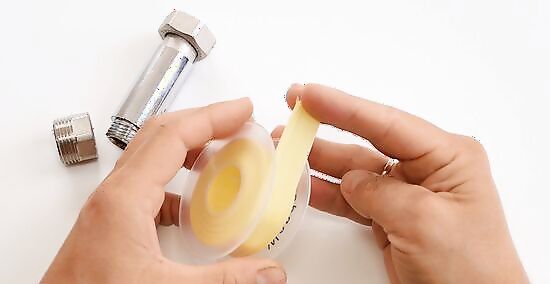
Pull the end of the tape off the roll. Pick up your roll of plumber’s tape in your dominant hand and find the end of the tape on the roll. Peel up just enough of it that you can easily grab it between your fingers to work with.
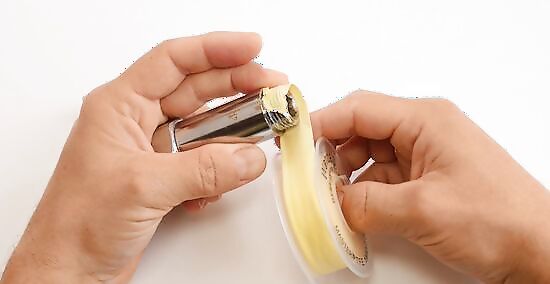
Press the end of the tape onto the threads so that the tape will wrap clockwise. Pick up the threaded pipe fitting in your non-dominant hand. Orient the end of the tape so that it faces counterclockwise. Stick the end of the tape firmly onto the threads to get it started. For example, hold the pipe fitting horizontally in your left hand with the threads facing your right hand, then position the tape with the end facing down, so you will wrap the tape away from you. Wrapping the tape clockwise prevents it from unraveling when you screw the male pipe fitting into a female fitting.
Wrap the tape tightly around the threads 2-3 complete revolutions. Hold the pipe fitting steady and rotate the hand holding the roll of tape around the threads to wrap them. Pull the tape tight after each full revolution around the pipe fitting. You should be able to clearly see the threads after you wrap them. If all you see is tape or you can just barely see the threads, it is not wrapped tightly enough.

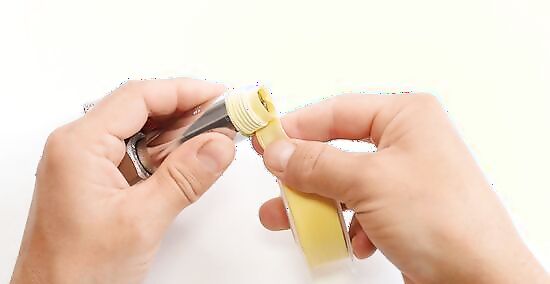
Pull the tape tight to break it and separate the roll from the tape on the pipe. Pinch the tape between the pipe threads and the roll tightly between your fingers. Pull it to stretch and tear the tape. Press any excess tape tightly onto the threads. You can now screw the male fitting into its corresponding female piece and it will have a tight seal between the threads.
Using Plumber’s Tape for Specific Applications
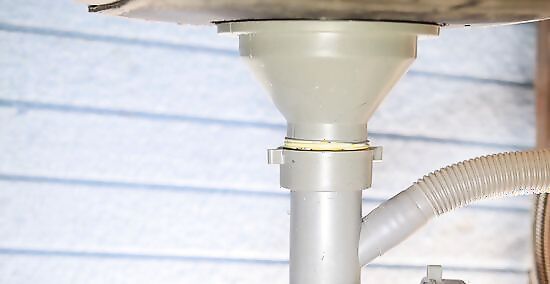
Create a tight seal between water lines and sinks with plumber’s tape. Wrap plumber’s tape 2-3 times around the male threads of all the fittings underneath a newly-installed sink before you attach the water lines. This will ensure a tight seal so there aren’t any leaks when you’re running water from the faucet at high pressure. You can also use plumber’s tape to fix leaky connections between water lines and sinks. Shut off the water supply, place a container under the water lines to catch any water in them, and disconnect the lines. Remove any old plumber’s tape and wrap the threads tightly 2-3 times with new plumber’s tape. Reconnect everything and turn on the water supply, then test the faucet. Plumber's tape can be used on waterlines provided it's not a copper fitting.
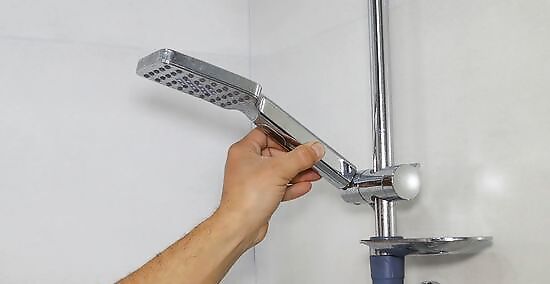
Apply plumber’s tape to shower head and arm connections to seal them. Shower heads and arms, which are the metal tubes that shower heads attach to, are another area that tend to have problems with leaky connections. Make sure to wrap all the male threads on new shower heads and shower arms 2-3 times with plumber’s tape before screwing them together. You can also fix leaky shower heads and arms with plumber’s tape. Just make sure the water is off, then unscrew the shower head and arm and wrap the male threads 2-3 times with plumber’s tape, then screw everything back together and test the shower.

Use plumber’s tape as a quick temporary fix for leaks in pipes. Wrap plumber’s tape 2-3 times tightly around leaks in the joint where 2 pipes connect or where there is a small crack in a pipe. It will bond to the outside of the pipes and contain the leak for the time being.Tip: It’s a good idea to keep a roll of plumber’s tape around your home for this purpose. That way, if you spot a leak and can’t get a plumber to come over or go buy the supplies to fix it yourself right away, you can contain the leak temporarily. Plumber’s tape should never be used as a permanent fix for leaks. Just patch them up to contain the problem until you can replace the leaky pipes to provide a long-lasting fix.


Comments
0 comment