
Using a QR Code

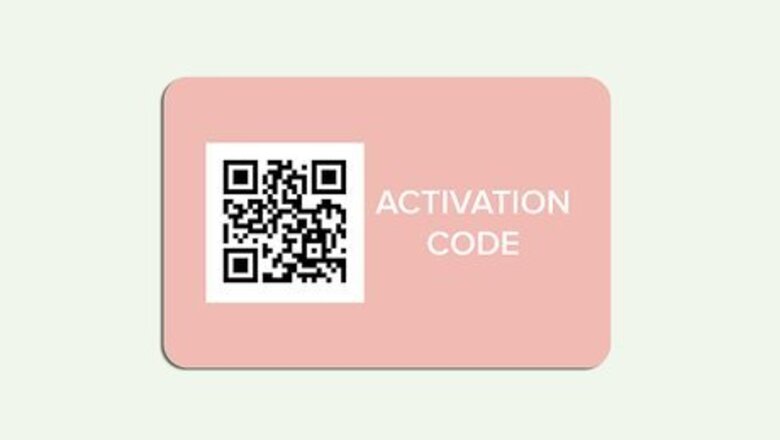
Get the QR code for from your cellular carrier. In most cases, your eSIM-supporting carrier will provide you with a QR code you can scan to set up your service. If you don't have a QR code, try another method.
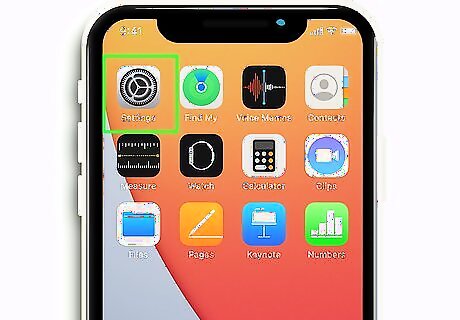
Open your iPhone's Settings. It's the gray gear icon on your home screen or in your app list. You can also scan your QR code by opening your iPhone's camera and aligning the code in the viewfinder. If you do it this way, skip to Step 6 after scanning the code.
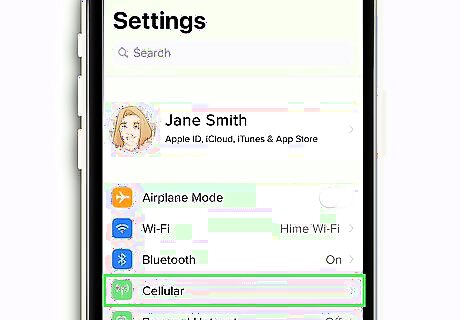
Tap Cellular. It's in the first group of settings.

Tap Add Cellular Plan. You may have to scroll down to see it.
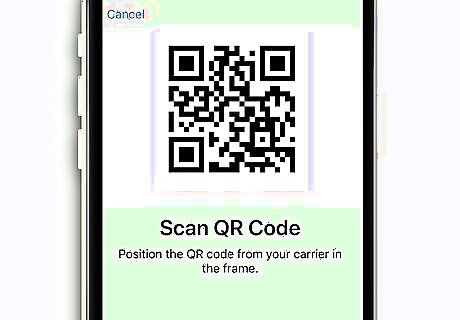
Align the QR code in the camera viewfinder. Once your iPhone detects the QR code, you'll be asked to add the cellular plan.

Tap Add Cellular Plan. This adds your carrier's details to your iPhone XR. If you're asked to enter a confirmation code, enter the number provided by your carrier.
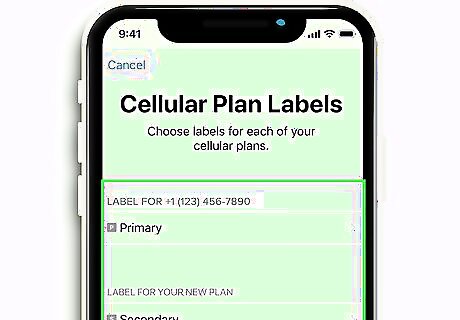
Choose a label for the eSIM. You can choose Primary, Secondary, or any of the other options to label your eSIM. This is helpful especially when you're using multiple providers on the same phone. To specify a label yourself, tap Type label here under "Custom label" and enter it now.
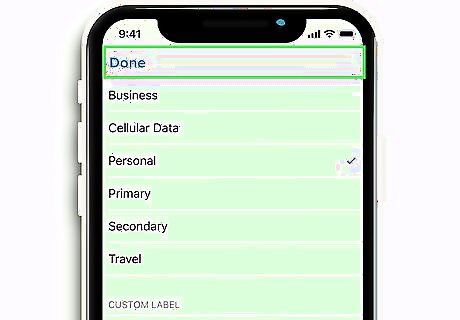
Tap Done. It's at the top of the screen. Your settings are now saved.
Using a Carrier App

Open the App Store on your iPhone XR iPhone App Store Icon. It's the blue icon with a white "A" on your home screen or in the app drawer. If your carrier did not provide you with a QR code, you may be able to set up your eSIM by download your carrier's app. This usually involves purchasing a pre-paid cell plan through the app. If you're not already connected to Wi-Fi, do that now.

Tap Search. It's the magnifying glass at the bottom-right corner.
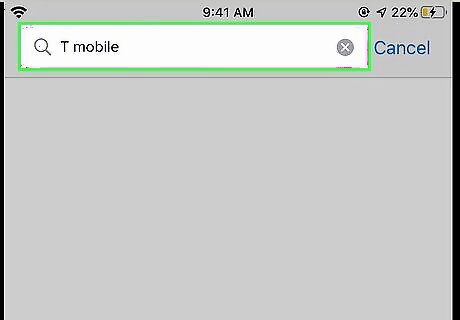
Type your carrier's name into the search bar and press search. A list of matching results will appear.
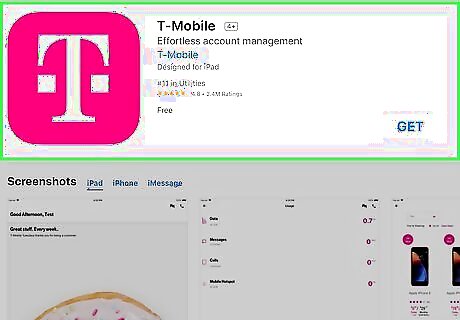
Tap your carrier's official app. You'll be able to tell the app is official by the name of the developer at the top of the app info page. If it doesn't say your carrier's name, avoid installing it, and contact your provider for the appropriate app name.

Tap GET. This installs the app on your iPhone XR. Once the app is downloaded, the "GET" button will change to "OPEN" and the app's icon will be placed on your Home screen.
Open your carrier's app. Tap OPEN if you're still in the app store, or tap the app's icon on your Home screen.

Purchase a plan. Once you've signed up for your eSIM-supporting cell plan, you will receive further setup instruction, which will vary by provider. If you will be using a physical SIM in addition to your eSIM, label your plans so you don't get confused. To do this, open your iPhone's Settings, go to Cellular (or Mobile Data in some regions), tap one phone number, and enter a label (such as the carrier name or something descriptive like Work). Do the same for both numbers.
Using an Assigned Plan
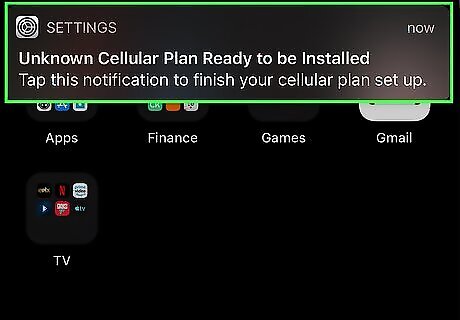
Tap Carrier Cellular Plan Ready to Be Installed on your iPhone's screen. If your carrier has assigned a plan for you to use with your eSIM, you'll see a pop-up message on your iPhone when it's ready to be installed. Tapping it will start the install process.

Open the Settings app (if it doesn't open automatically). If tapping the alert doesn't automatically open the Settings app, or the notification has disappeared, tap the Settings gear icon on your home screen (or in your app library) to open your settings.

Tap Carrier Cellular Plan Ready to Be Installed. It'll be near the top of the screen.

Tap Continue. This installs the settings required to get your eSIM working. If you're asked to enter a confirmation code, enter the number provided by your carrier.

Choose a label for the eSIM. You can choose Primary, Secondary, or any of the other options to label your eSIM. This is helpful especially when you're using multiple providers on the same phone. To specify a label yourself, tap Type label here under "Custom label" and enter it now.

Tap Done. It's at the top of the screen. Your settings are now saved.
Entering the Details Manually

Open your iPhone XR's Settings iPhone Settings App Icon. It's the gear icon on your Home screen and/or in your app library.
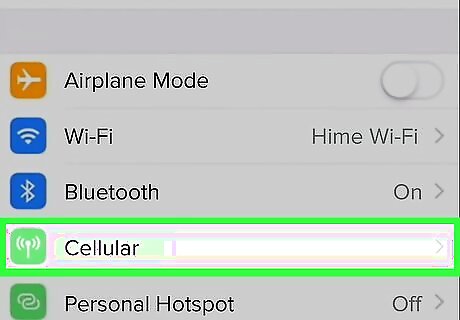
Tap Cellular or Mobile Data. You'll see one of these two options near the top of the Settings menu (depending on your region).

Tap Add Cellular Plan. It's the blue link below your Cellular or Mobile Data settings. A pop-up will appear.
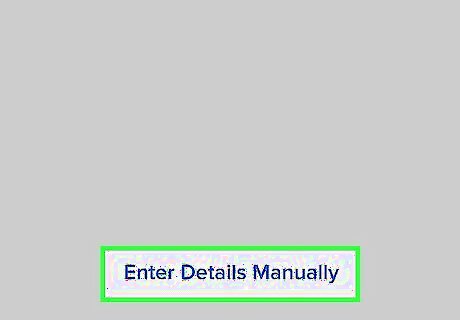
Tap Enter Details Manually. It's at the bottom of the pop-up window.
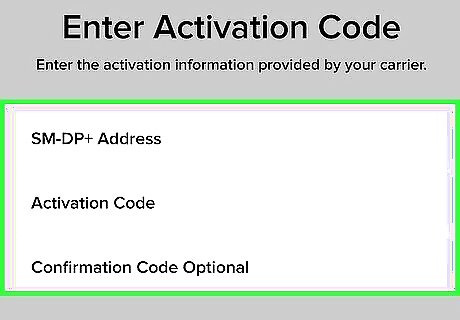
Enter the information from your provider. Your provider will provide you with two to three pieces of information that go in this area: The SM-DP+ Address, also called the Subscription Manager Data Preparation address. Activation Code, which is specific to your service. Confirmation code, which may or may not be required.

Tap Next. It's at the top-right corner. This adds the information to your phone and activates your eSIM.

Choose a label for the eSIM. You can choose Primary, Secondary, or any of the other options to label your eSIM. This is helpful especially when you're using multiple providers on the same phone. To specify a label yourself, tap Type label here under "Custom label" and enter it now.

Tap Done. It's at the top of the screen. Your settings are now saved.


Comments
0 comment