

Hovering the Maximize Button
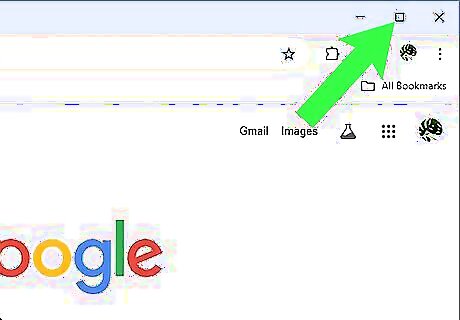
Move your mouse cursor to hover over the maximize button. The maximize button is the square button in the upper-right corner of your window, between the close (X) and minimize (_) buttons. Don't click on the maximize button, but allow your mouse to hover over it. After a moment, a menu will appear.
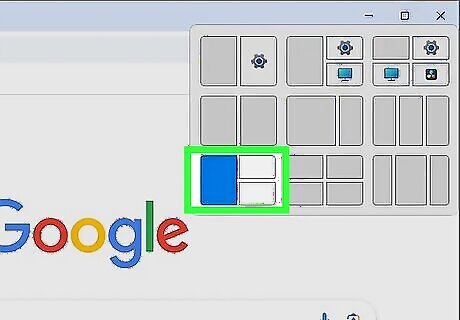
Choose a split screen layout from the menu that appears. After hovering the maximize button for a moment, a menu with a number of split screen options will appear. Mouse over and click on the split screen layout that you prefer. There are several split screen options available. Some are for two windows only, while others will allow you to have three or four total windows open on your screen at the same time. Depending on the programs you have open, you may see program icons in some of the boxes in this menu. If you see this, it means the program will be moved to that part of your screen automatically, without needing to specify it.
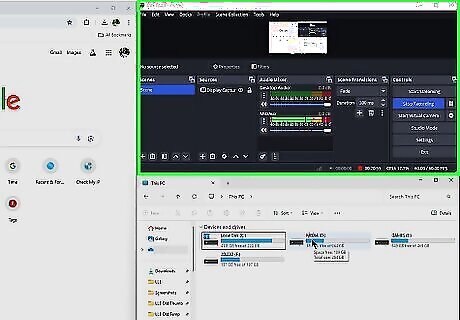
Choose another window to be on the other side of the split screen. Once you choose a split screen layout, your computer will ask what other program you want to have open on your screen. If that program is open, choose it. If it's not, click out of the selection, open the program, and then move it into the empty split screen spot.
Dragging and Dropping

Click and drag the first window you want to move to one side of the screen. You'll want to click and drag on the title bar of the window; otherwise, the window won't move. If you drag the window to the left or right side of the screen, it will move to that side of the screen. If you drag the window to the top or bottom of the screen, it will move to either the top or the bottom of the screen. If you drag the window to one of the corners of the screen, it will move into that quadrant of the screen.

Choose the other window you want to use with split screen. Once you move one window into split screen configuration, Windows will ask which window you want to move into the other split screen spot. If you have a window open that you want to put in that spot, choose it now. If it's not, click out of the selection, open the program, then move it into the empty split screen spot.
Using the Arrow Keys
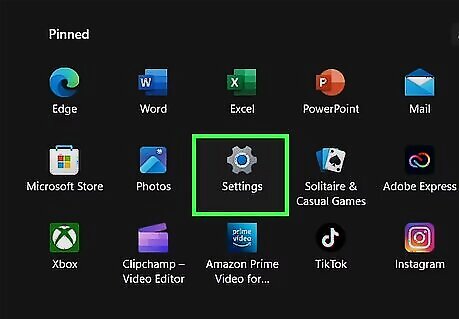
Open your Settings app. The quickest way to do this is to press ⊞ Win+i, but you can also open it from the Start menu or by right-clicking the Windows icon in your taskbar and choosing Settings.

Go to System > Multitasking. The System option is in the left-hand sidebar.
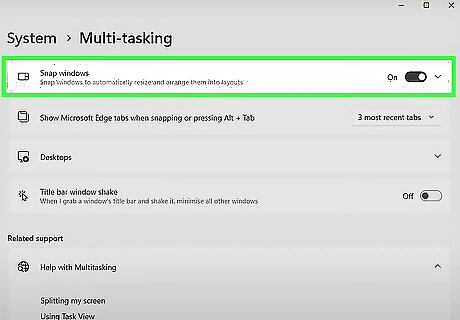
Toggle on Snap windows. If this option is already toggled on, you can exit your Settings app without changing anything.

Focus the window you want to move into split screen. You can do this by simply having that window active on your screen, if you have one monitor. If you have multiple monitors, click on the window you want to move.

Press ⊞ Win + an arrow key. You can press any of the arrow keys to move the window to that part of the screen. If you press the up arrow, it will move to the top of the screen. If you press the left arrow, it will move to the left side of the screen, etc.
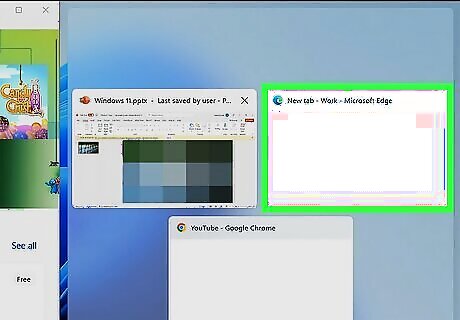
Choose the other window you want to use with split screen. Once you move one window into split screen configuration, Windows will ask which window you want to move into the other split screen spot. If you have a window open that you want to put in that spot, choose it now. If it's not, click out of the selection and open the program, then move it into the empty split screen spot.


Comments
0 comment