
- Apple ID is used to access all Apple services such as iTunes, iCloud, Apple Music, the App Store, and more.
- When using iTunes, you'll need to provide a payment method along with a valid phone number.
- For other methods, you'll need to verify your Apple ID using your email and a valid phone number.
Using a Web Browser
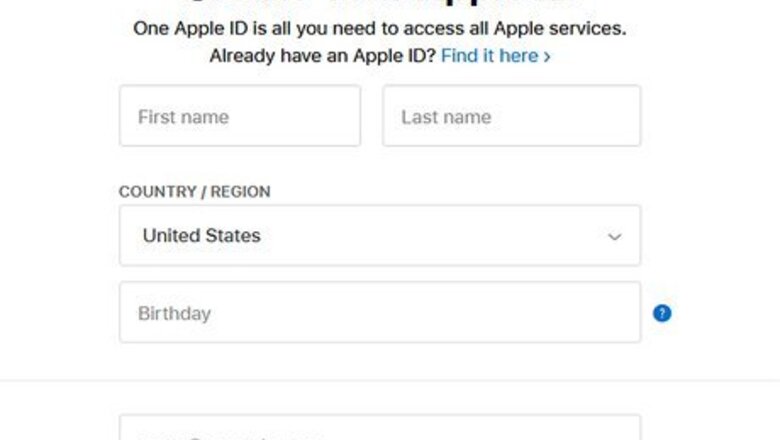
Navigate to the Apple ID account creation page in your web browser. You can use a desktop or mobile browser on any platform, including Android and Windows. This method requires a valid phone number.
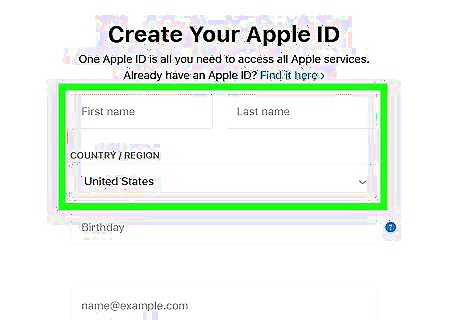
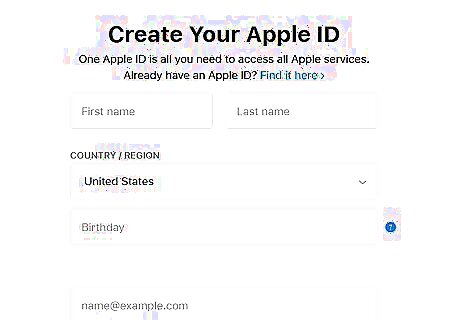
Enter your personal information. You'll need to input your First name, Last name, Country/Region, and Birthday.

Enter your Apple ID and password. The email you enter will be your new Apple ID. Your password must be at least 8 characters long and include a number, an uppercase letter, and a lowercase letter.
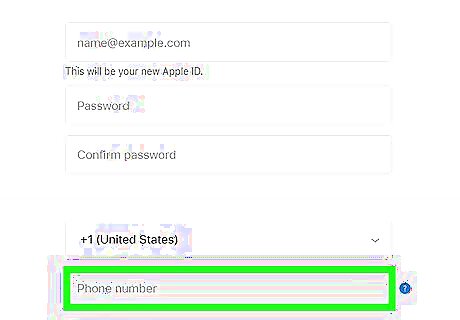
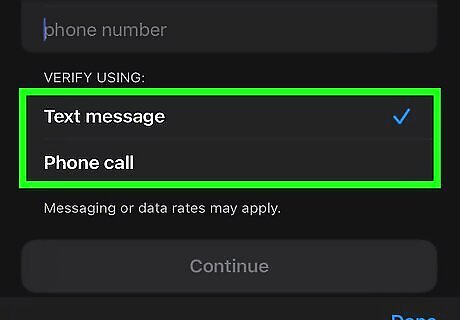
Enter your phone number. This is how Apple with verify your identity. You can choose to verify with a Text message or Phone call.
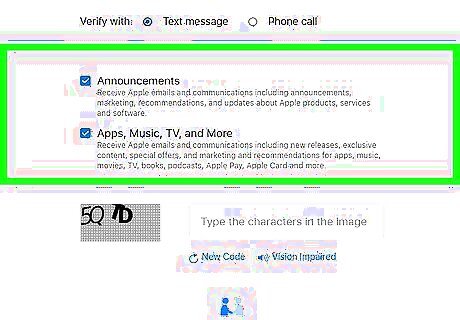
Opt in or out for emails. You can opt to receive Announcements, Apps, Music, TV, and More, and/or Apple News Newsletter emails. Check the box to opt in or uncheck the box to opt out.
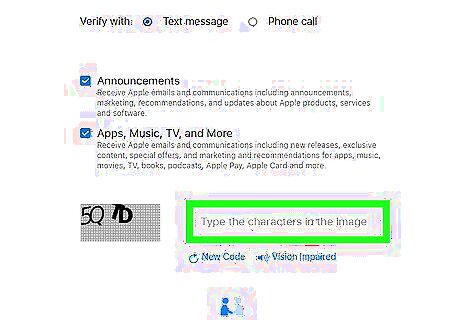
Enter the security characters. Input the security characters in the image. If needed, you can click New Code to generate a new code. You can also click Vision Impaired to hear the code spoken.

Click Continue.

Verify your email address. Apple will send a verification code to the email used in the signup process. Enter the code in the field below and click Continue. If you don't see a code, click Send a New Code below the code field.

Click Continue.
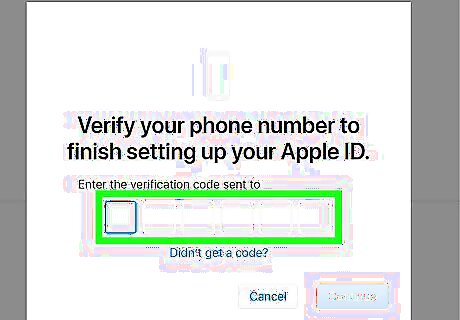
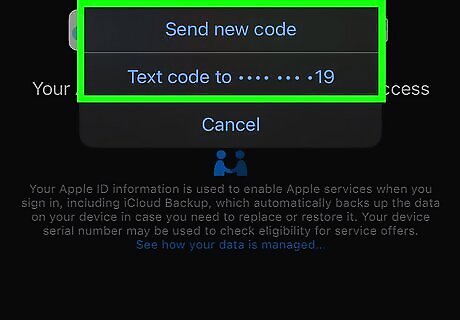
Verify your phone number. Apple will send a verification code to the phone number used in the signup process. Enter the code in the field below and click Continue. If you don't see a code, click Didn't get a code? below the code field.
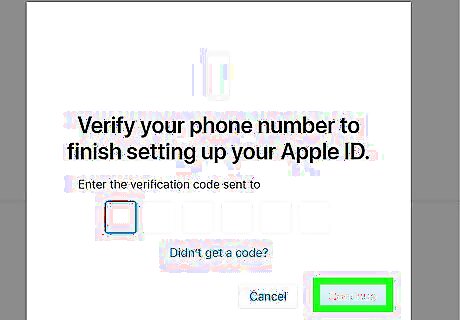
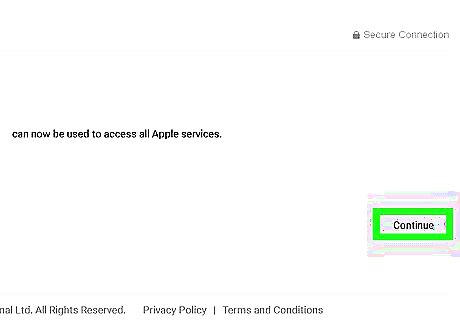
Click Continue. You'll be taken to your new Apple ID homepage. You'll now be able to access all Apple services.
Using a Mac
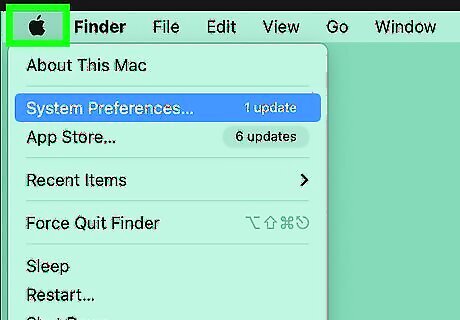
Click the Apple menu. This is the apple icon located in the top-left corner of your screen. This method requires a valid phone number.
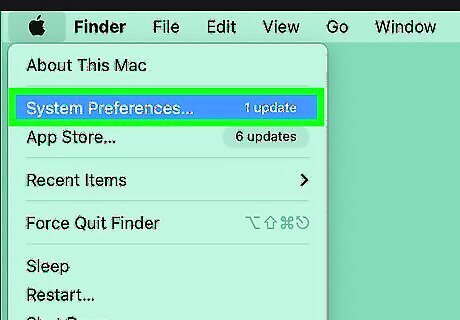
Click System Preferences. A new page will open.
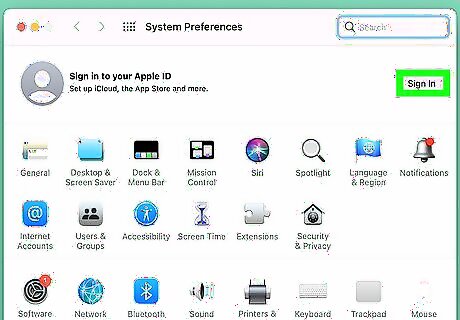
Click Sign In. You can find this on the right side of the screen. If you're already logged in and want to create a new account, sign out first.

Click Create Apple ID. You'll need to follow the onscreen steps to complete the signup process. A new window will open.

Enter your date of birth and click Next. Click the drop-down menu to input the Day, Month, and Year.

Enter your login information. You'll need to input your First name, Last name, Email address, and Password. The email you enter will be your new Apple ID. You can also click Get a free iCloud email address… to create a new @iCloud.com email. Your password must be at least 8 characters long and include a number, an uppercase letter, and a lowercase letter. You can opt to receive Apple News and Announcements. Check the box to receive them, or you can uncheck the box to opt out.
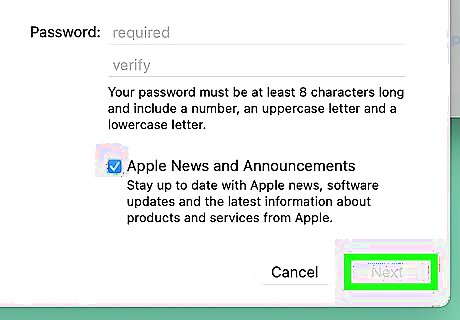
Click Next.
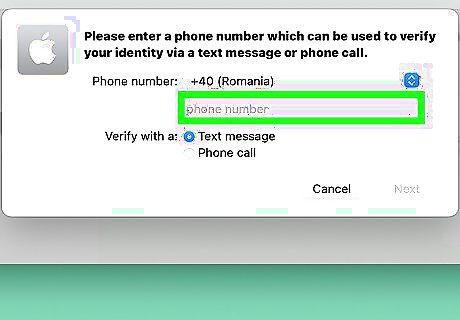
Enter your phone number and click Next. This is how Apple with verify your identity. You can choose to verify with a Text message or Phone call.

Enter the verification code and click Next. This will be a 6-digit code sent via text or phone, depending on your choice. Click Did not receive code to receive another code.
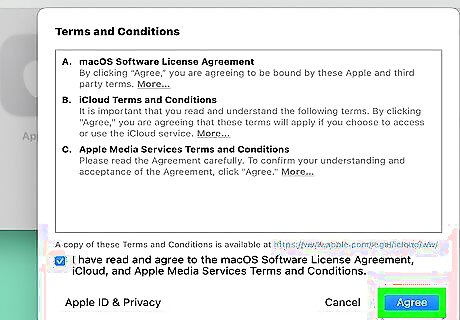
Click Agree. You'll need to agree to Apple's Terms and Conditions to create an Apple ID. Make sure to check the box underneath the terms. You'll be taken back to the Sign in page.
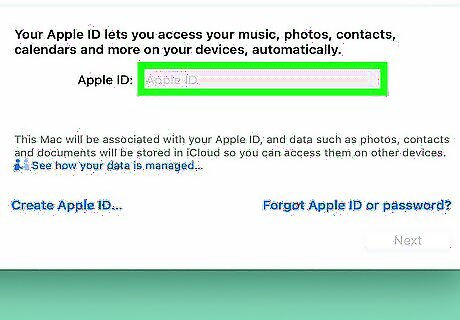
Log into your new Apple ID. You'll now be able to access all Apple services.
Using iTunes for Windows
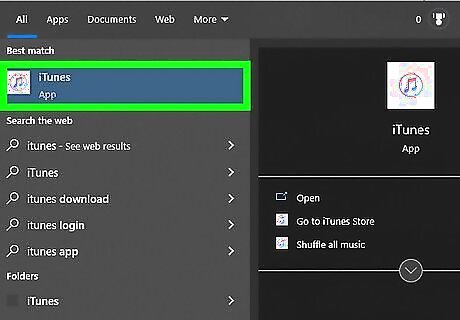
Open iTunes. If you haven't already, you'll need to download iTunes. Make sure to update iTunes to its latest version. This method requires a valid payment method and a phone number.
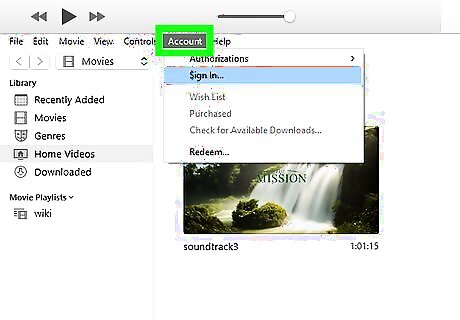
In the top toolbar, click Account. This will open a drop-down menu.
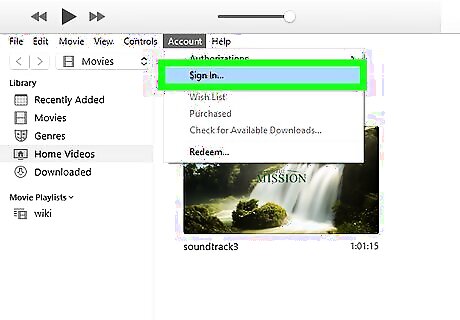
Click Sign in…. If you're already logged in with an account, you'll need to sign out.
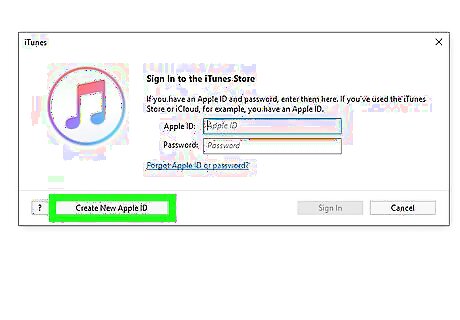
Click Create New Apple ID. This will be at the bottom-left corner.
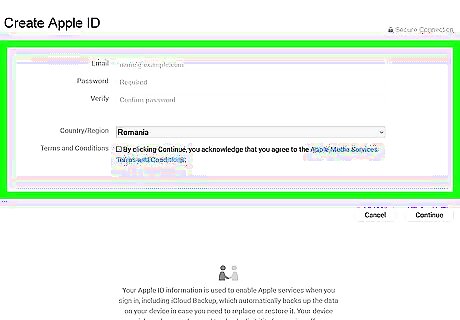
Enter your information. You'll need to input your Email, Password, and Country/Region. The email you enter will be your new Apple ID. Your password must be at least 8 characters long and include a number, an uppercase letter, and a lowercase letter. Be sure to check the box next to Terms & Conditions.

Click Continue
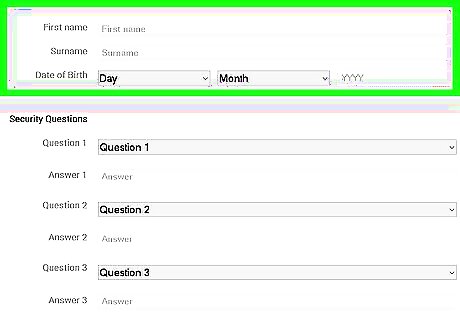
Enter your Personal Information. You must enter your First Name, Last Name, Birthday, and provide three security questions with answers. To choose security questions, click the Question 1/2/3 box and select your choice. Enter the answer in the field directly below it. You can opt to receive Apple News and Announcements. Check the box to receive them, or you can uncheck the box to opt out.

Click Continue.
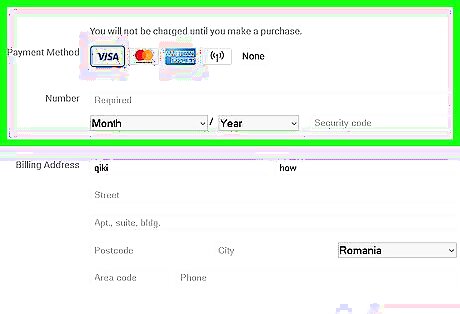
Enter a payment method. You'll need to enter your Card number, Billing Address, and Phone number. You can use multiple payment methods with your Apple ID.
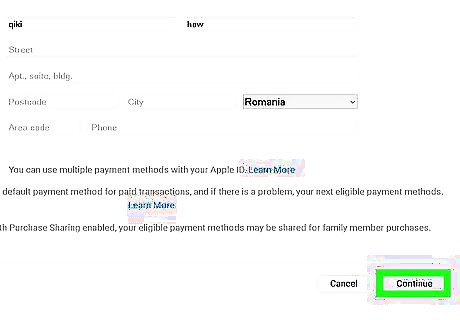
Click Continue.
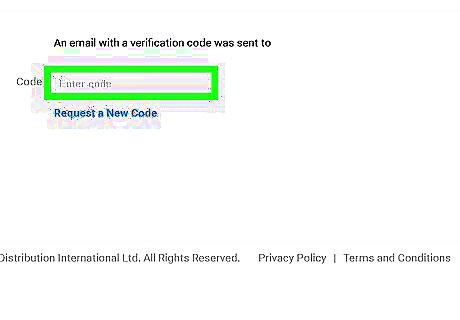
Verify your Apple ID. Apple will send a verification code to the email used in the signup process. Enter the code in the field below and click Verify. If you don't see a code, click Request a New Code below the code field.
Click Continue. Your Apple ID will be created. You can now use your new Apple ID to access all Apple Services. You'll be able to use iTunes to buy music or check your iTunes balance.
Using iPhone, iPad, or iPod

Open the Settings iPhone Settings App Icon app. If you're already logged into an Apple ID on your device, you'll need to log out. This method requires a valid phone number.

Tap Sign in to your iPhone. This will be located at the very top, underneath Settings.

Tap Don't have an Apple ID or forgot it?. This will be underneath the Apple ID field.
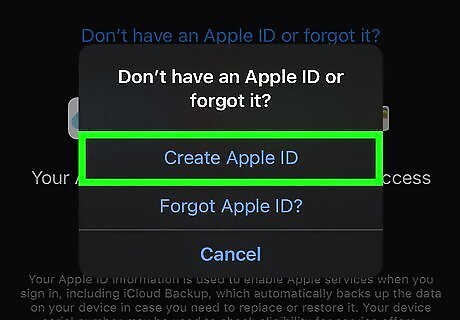
Tap Create Apple ID. The setup process will begin.
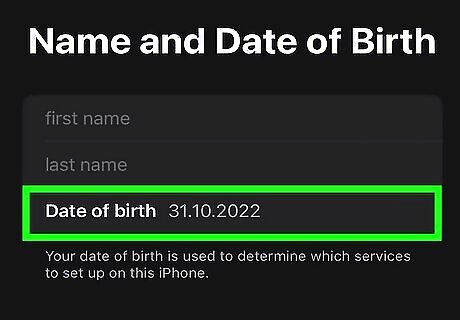
Enter your Birthday. Use the scroll wheel to navigate to the month, day, and year.

Enter your name and tap Next. You'll need to provide your First name and Last name.
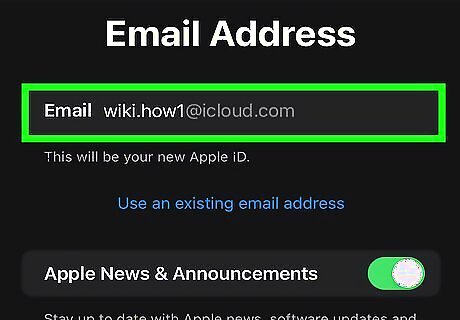
Enter your email address. This email will be your Apple ID. Tap Use your current email address to use an existing email. Tap Get a free iCloud email address to create a new @iCloud.com email. Opt in or out for Apple News & Announcements by toggling the switch below the Email field.

Tap Next.
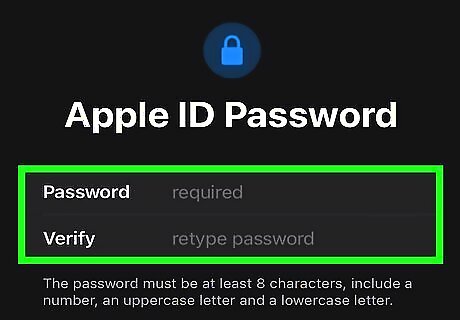
Enter a password and tap Next. Make sure to create a secure password. Your password must be at least 8 characters long and include a number, an uppercase letter, and a lowercase letter.

Enter your phone number and tap Next. This is how Apple with verify your identity. You can choose to verify with a Text message or Phone call.
Verify your phone number. Apple will send a verification code to the phone number used in the signup process. Enter the code in the field below and tap Next. If you don't see a code, click Didn't get a verification code? below the code field.

Tap Agree. You must agree to Apple's Terms and Conditions to create an Apple ID. You may be prompted to confirm by tapping Agree once more. You will automatically sign into iCloud.

Enter your device passcode. Use the code used to access your device if you have one.
Tap Verify Email Address, then Send Code.
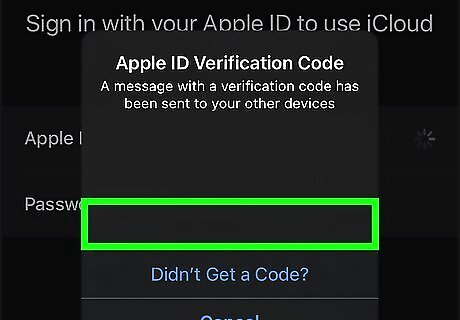
Enter the verification code. Apple will send a verification code to the email used in the signup process. Input the code in the field below. If you don't see a code, tap Didn't get a verification code? below the code field. Your new Apple ID will be created. You'll now be able to access all Apple services.


Comments
0 comment