views
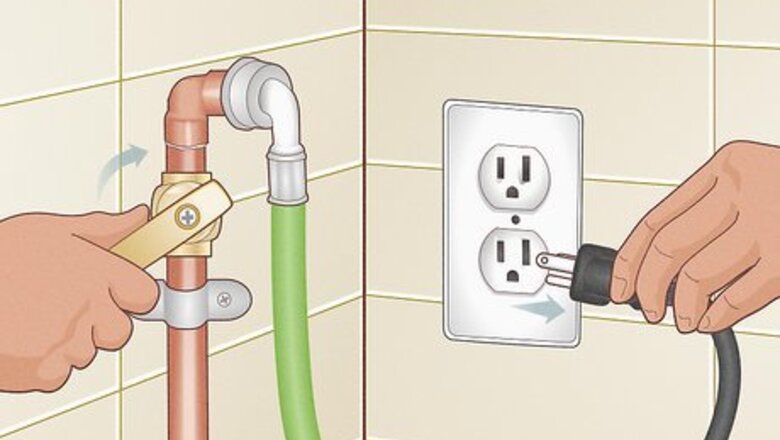
Turn off the water and power.
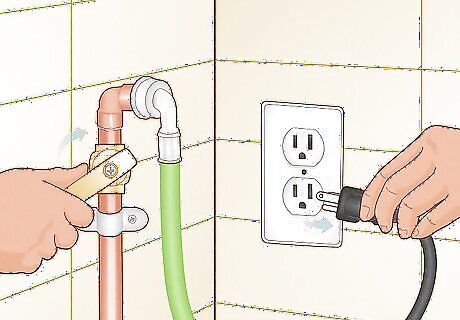
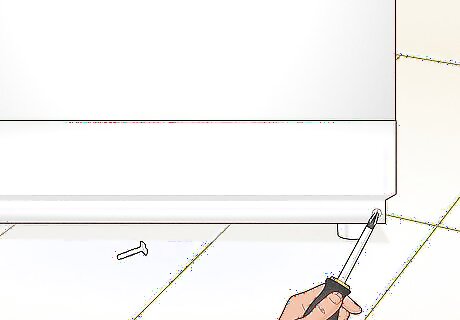
Before you start, shut off the water and power to the dishwasher. Remove the two quarter-inch hex screws located on the bottom of the dishwasher's front cover.
Remove the screws under the dishwasher door.
Tip the front cover outward and the bottom panel should come out. Remove this panel. Remember where all four of the screws were located. The longer ones belong to the bottom of the front cover. Trying to place the long screws into the upper part could puncture the plastic basin, resulting in leaks.
Find the inlet valve.
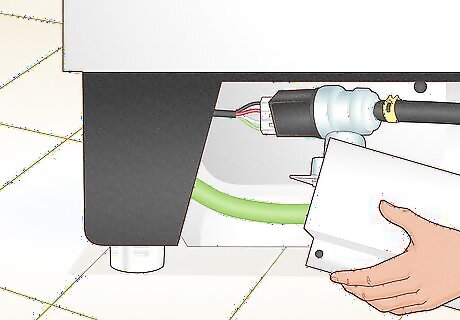
In most makes and models, it is located at the bottom of the machine.
Detach the water hose and fitting.
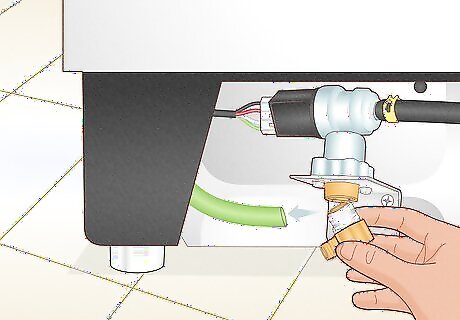
Screw off the water hose from the valve and remove the fitting that attaches the valve to the dishwasher.
Remove the valve.
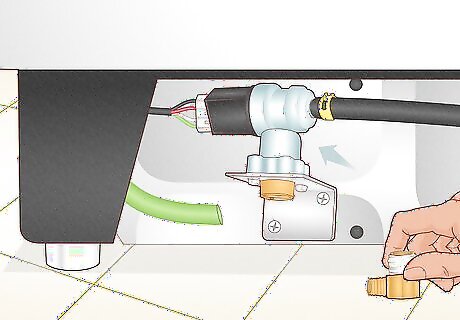
Keep the fitting, as it can be reused!
Locate and remove the two quarter-inch screws.
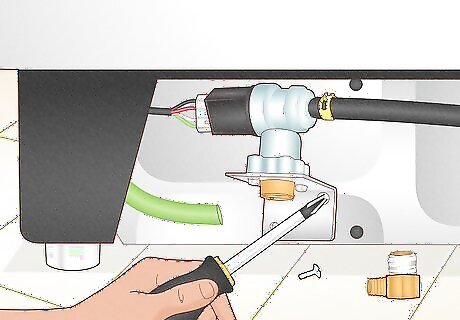
These screws fasten the bracket of the inlet valve to the side of the dishwasher.
Remove the electrical harness.
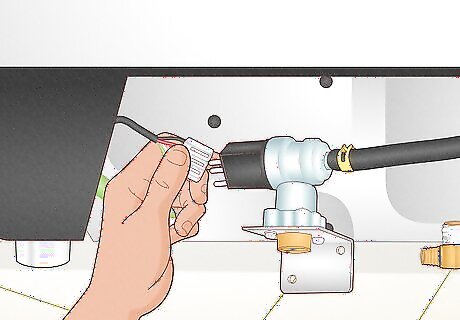
Angle the inlet valve downward to remove the electrical harness that is attached to the valve's solenoid assembly.
Move the outlet hose up.
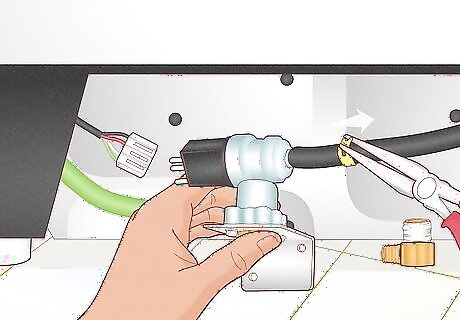
Using a pair of needle-nose pliers, squeeze the spring clamp fastening the outlet hose to loosen it and move it up. This will enable the hose to be jiggled free of the valve. Have a sponge, rag or towel ready as leftover water can run out of this hose.
Remove the old valve and install the new one.
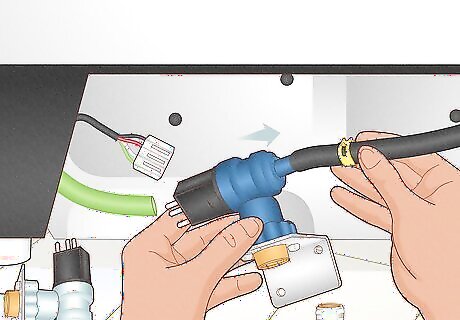
Pull the old valve out and discard it. Install the new one and fasten it using the old fitting.
Clean the fitting.
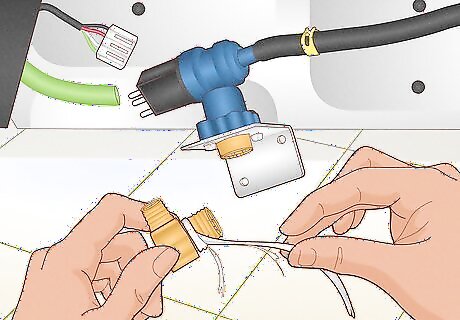
Remove any old plumbing tape and clean the fitting with a stiff wire brush. Apply a new length of Teflon tape, taking care not to get any of it inside the fitting.
Tighten the fitting.
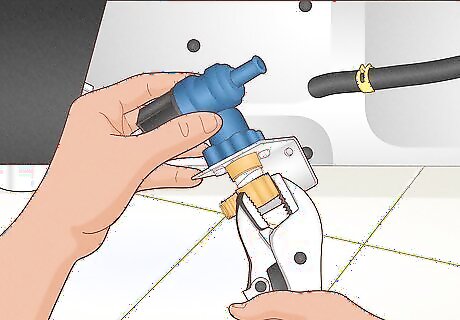
Using a vise-grip plier, tighten the fitting before it is placed back inside of the dishwasher. If you don't have vise-grip plier the fitting will have to be threaded manually onto the inlet valve as much as possible. Once it is on a solid surface, it can be fully tightened.
Reattach the hose.
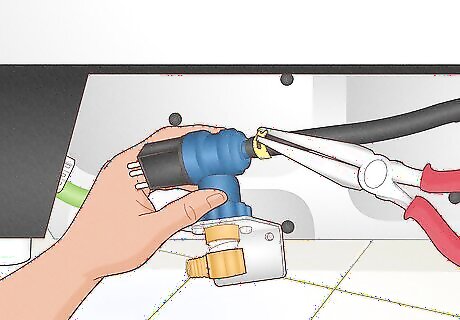
Place the spring clamp back onto the outlet hose and reattach the hose to the inlet valve. Use a jiggling motion to get the hose back onto the valve to ensure that it is seated as firmly as possible. Using the needle-nose pliers, squeeze the spring clamp once again and wiggle it back down the outlet hose. This keeps the outlet hose properly sealed and prevents any leakage.
Screw on the new valve.
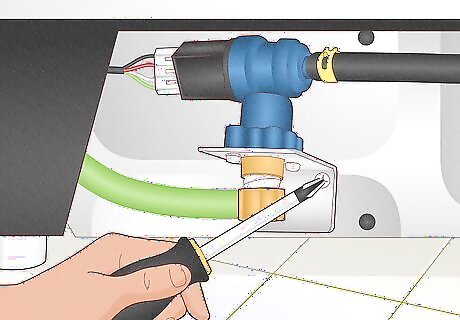
Reattach the new valve to the side of the machine with the two quarter-inch screws that were used to mount the old inlet valve. Reattach the valve's water supply hose and carefully connect the electrical harness to the inlet valve solenoid. Make sure the inlet valve fitting is good and tight at this time.
Start up the dishwasher.
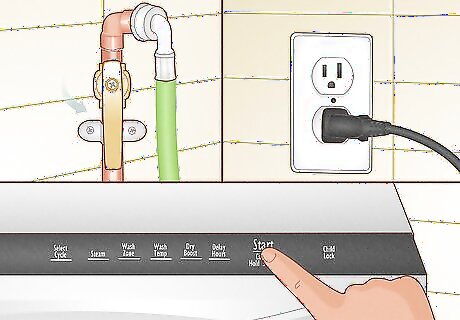
Turn on the electricity and the water supply to the dishwasher and start it up. Watch closely for any leaks from the outlet hose or the inlet valve itself. If there are no apparent leaks, reinstall the front panels onto the dishwasher by reversing the process in the first step of these instructions. Take special care to insert the screws into their proper holes.


Comments
0 comment