views
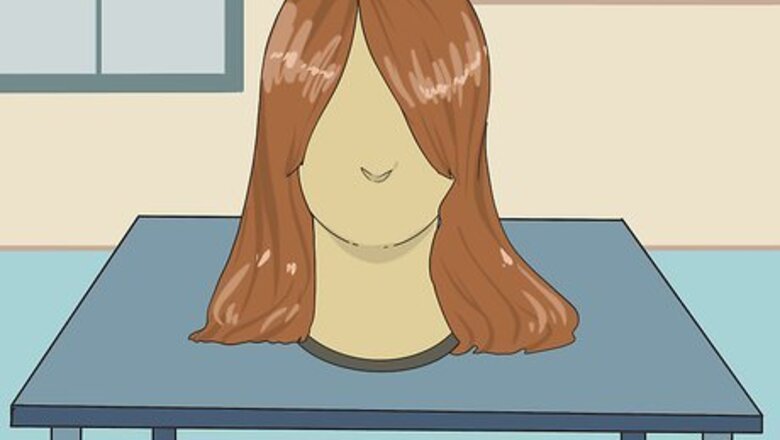
Comb the wig with a wide-tooth comb to detangle it. To change the part, dampen the roots, comb the hair into place, and dry the roots with a hair dryer. To loosen tight curls, Hair Augmentation Specialist Nikia Londy says to aim “a garment steamer at the hair while brushing the curls out with a paddle brush.”
Creating Natural-Looking Styles
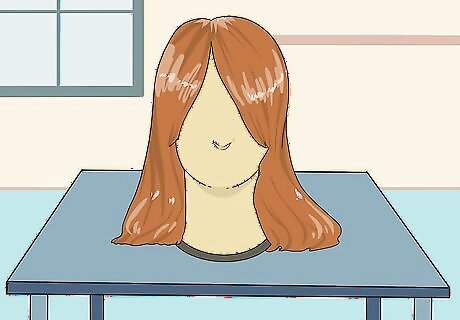
Place the wig on a head form to style it. Styling the wig is easier when you have the wig in front of you. Use a head form to see what the wig will look like when you put it on. Styling the wig first gives you a 360-degree view and makes it easier to style the back.
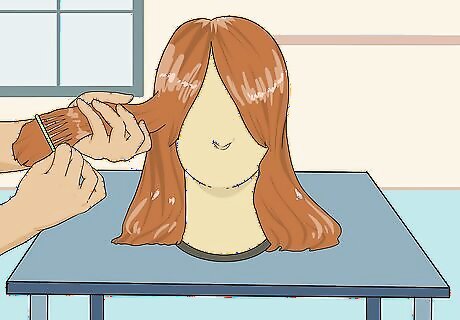
Comb the wig using a wide-tooth comb. Synthetic hair can get as tangled, if not more tangled, than natural hair. Use a wide-tooth comb to detangle any knots that form in your wig. A wide-tooth comb detangles wig hair the most gently and will break fewer hairs.
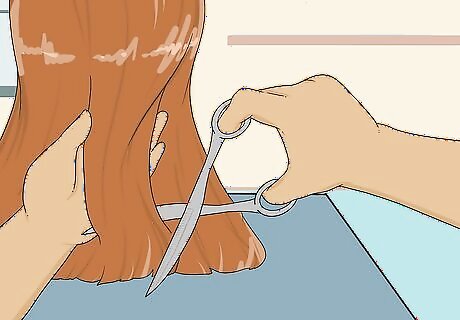
Trim the hair on the wig into a flattering shape. If the style of the wig doesn't suit your face, or if the cut is too blunt, try trimming the wig. Use thinning scissors, available at beauty stores, to get a softer effect from a trim and take volume out of a thick wig. You can also take the wig to a stylist for a professional trim.
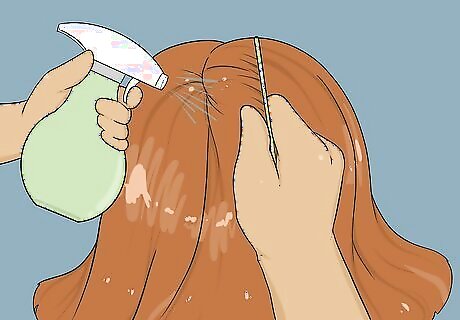
Use water and a comb to change the part and tweeze a few hairs for a natural look. Use a spray bottle to dampen the wig at the roots. Then part the hair where you prefer. Comb it into place with a wide-tooth comb. Use a pair of tweezers to remove a few hairs around the part to make it look more natural. Use a hair dryer on cool to dry the roots and keep the part in place. Tweeze the wig while it is on a form to avoid pulling out the lace.
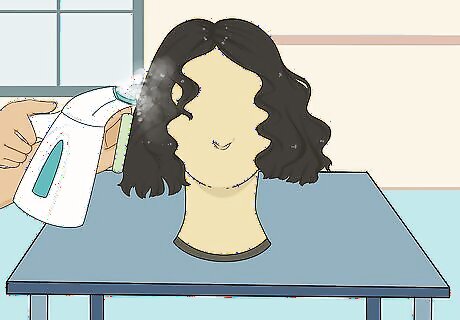
Use a steamer and paddle brush to loosen curls. Wigs often come with curls styled very tightly, so that they will fall out over time. To loosen them up, blow on them with a garment steamer while brushing the curls out with a paddle brush. You can also put the wig in foam curlers and run over them with a steamer to create a curly style.
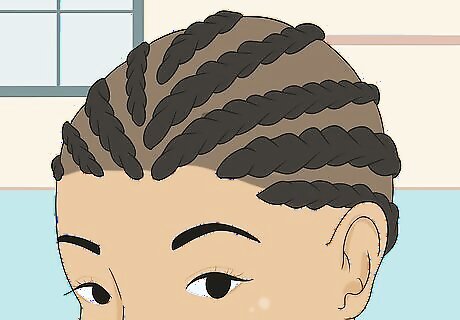
Braid your natural hair before putting on the wig. Braid your hair so that it lays as flat as possible against your head. This will help the wig lay flat on your head. Cornrows or French braids are good braid styles to go under a wig.
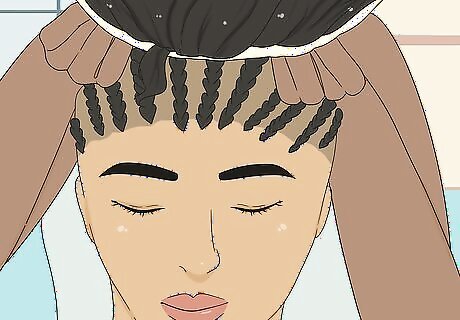
Attach the wig to your head using wig glue or bobby pins. Wig glue can help your wig stay in place, but it can also damage your real hair. Place the adhesive on your skin in front of your hairline to avoid ripping out any hair. If you are using bobby pins, make sure both sides of the wig are evenly pinned down. Pin through the lace for extra security. Use coconut or jojoba oil to remove the glue at the end of the day.
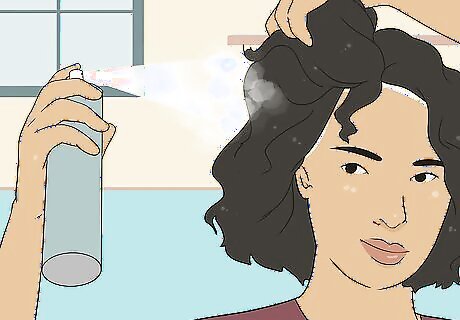
Spray the wig with some dry shampoo to reduce shine and add texture. Synthetic wigs often look unnaturally shiny out of the box. Use dry shampoo to reduce the shine and give the hair a more matte appearance. Dry shampoo can also add some volume and texture to the hairstyle. You can also use root touch-up spray if you don't have dry shampoo on hand.
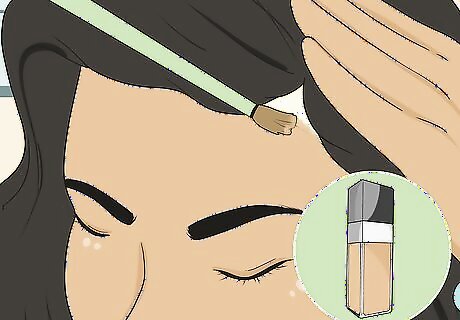
Conceal the lace with makeup to give the scalp a natural look. Once the wig is in place, use concealer in your skin tone to blend the lace front of your wig into your skin. Also add some concealer in the part.
Putting a Wig in an Updo
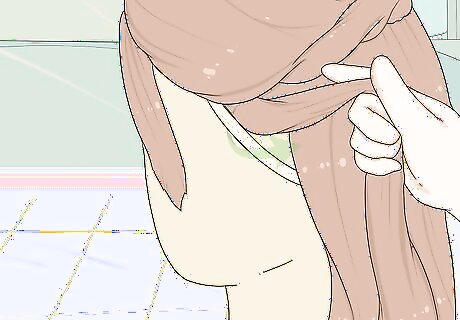
Put your wig into a ponytail. Take a small amount of hair from the back of the head and pull it towards the lace. Loop it behind the lace and back around the edge and towards the back of the head. Repeat around the entire edge of the wig to cover all of the lace. Then, put the hair into a regular ponytail. You can also buy a weft to cover up the lace edges.
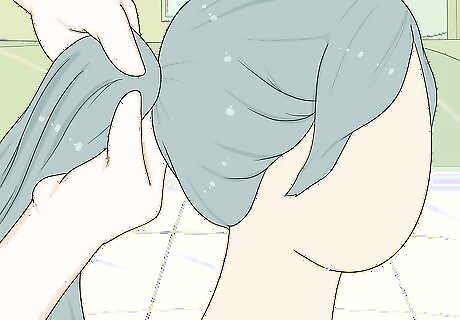
Use clip-in extensions to create ponytails or buns. To create an easy half-up, half-down style without doing much to your wig, buy clip-in extensions in a matching color. Buy a ponytail clip-in for a low-maintenance look. Or, wrap the ponytail around itself to create a big bun. You can also curl the wig for a little bit of extra style.
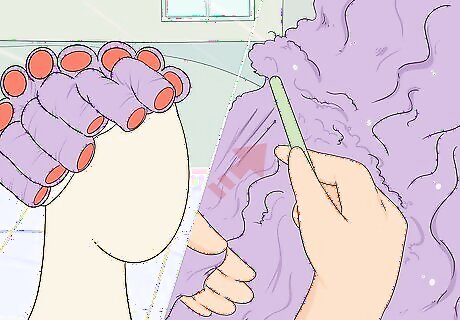
Curl, tease, and separate the hair to prepare it for a dramatic updo. Curl the hair by putting it in foam curlers and running a steamer over it. Back comb the hair using a teasing brush for lots of volume. Separate the hair into a top half and a bottom half, with the top half in a clip or elastic out of the way. Separating hair into smaller sections will make it easier to work with.
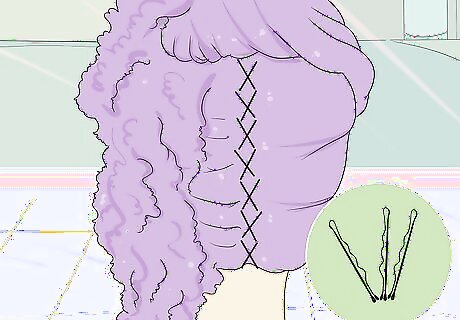
Create a French twist by teasing and pinning the hair. Once the hair is volumized and separated, work with the bottom half first. Take the hair in one hand and pull it all to one side. Pin the roots of the hair to the back of the head. Fold the hair back in towards the center and tuck the ends into a roll. Pin the ends in place. You can leave the hair in this volumized French twist for a fun twist on a classic style. For a beehive style, simply pull the top half of the hair back towards the twist and pin it into place.
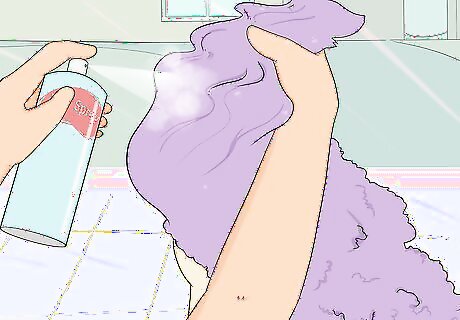
Make a gravity-defying high-volume style using hairspray. With the bottom section of hair in a French twist, move on to the top section. Take one curl at a time and use hairspray to sculpt it so that it stands up. It works best to pile curls on top of each other so that the bottom curls support the weight of the top curls. If the curls look dull from too much teasing and hairspray, restore the shine of the wig with furniture polish.
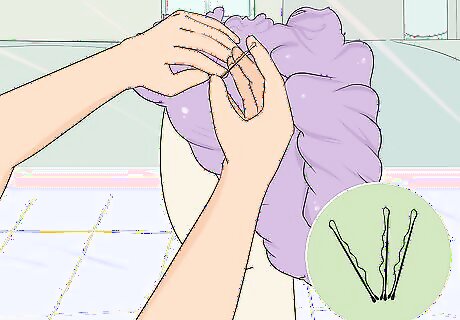
Secure your updo with bobby pins and hairspray. Use bobby pins that are close to the color of the wig so that they blend in. Don't be afraid to use a lot of hairspray. It's almost impossible to use too much on synthetic wigs! Once you are finished styling your updo, it's a good idea to generously coat it with another round of hairspray, even if you've been spraying throughout.
Styling Cosplay Looks
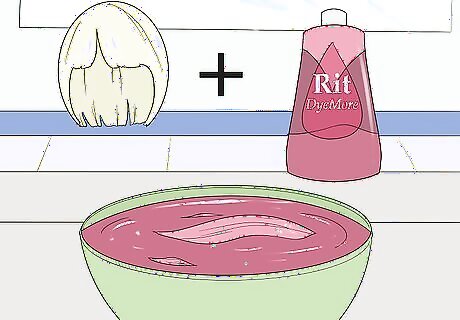
Dye your wig with fabric dye to create bright colors. If you can't find a wig in the exact shade you were looking for, buy a white or blonde wig and color it with fabric dye. Mix the dye with water in a metal bowl and leave the wig to soak for at least 30 minutes. You can buy fabric dye at craft stores.
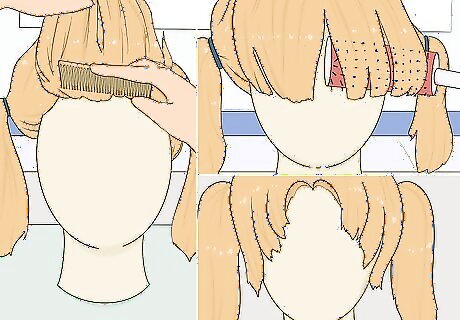
Create full, fluffy bangs for an anime look. Section off the front portion of the hair to tease. Apply hairspray and backcomb the bangs to give them lots of volume. Comb the ends of the bangs back towards the front, using your hand or a round brush to give them shape and keep them away from the face. Use hairspray generously as needed.
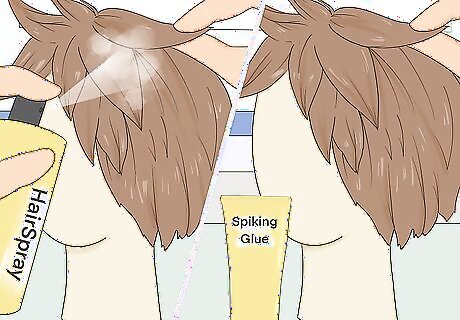
Spike a wig using hairspray and wig glue. Start by sectioning off how much hair you would like in each spike using bobby pins. Then, cut one section down to the length you would like the spike to be. Shape it into a spike and spray it with hairspray. Use a dot of wig glue on top of the hairspray to keep the spike in its shape and in place. Repeat with the other sections. Dry hairspray and glue with a hair dryer on low heat.
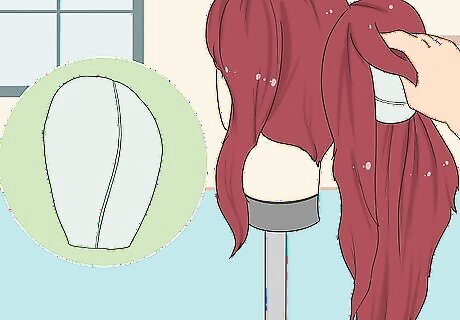
Add extra-full ponytails with a styrofoam mold. To create a huge, full ponytail, cut a bell shape out of styrofoam or insulation and use a craft knife to shape it into a sphere with one flat side. Glue ponytail extensions in the same color as the wig to the mold, with the root of the extension going around the flat base. Glue several layers of hair in a row to get a full look and cover the white styrofoam completely. Stick a pin through the lace of the wig where you would like the ponytail to be, and put the styrofoam mold onto the pin. If you like, you can thin out the layers of the ponytail or shape it with hairspray once it is attached. Make 2 ponytails for a double pigtail look.


Comments
0 comment