

Scanning for Viruses

Locate your Anti-virus software. Assuming you already have an anti-virus set up, you can launch the software by accessing the system tray icon at the lower-right corner for Windows, or the upper-right corner for Mac. Click the up arrow icon next to the system clock on Windows. This should open the tray icon list. Click on the icon of your respective anti-virus program to launch the UI. For Mac users, you can click the anti-virus icon on the upper-right corner to launch it. EXPERT TIP Mobile Kangaroo Mobile Kangaroo Computer & Phone Repair Specialists Mobile Kangaroo is a full service repair shop and Apple Authorized Service Provider headquartered in Mountain View, CA. Mobile Kangaroo has been repairing electronic devices such as computers, phones, and tablets, for over 19 years, with locations in over 20 cities. Mobile Kangaroo Mobile Kangaroo Computer & Phone Repair Specialists You should scan your computer regularly. Even Macs can get viruses now, so regularly scanning your computer is even more essential.
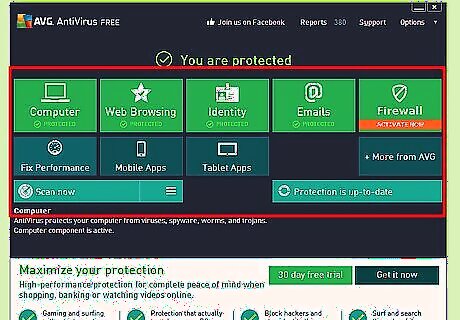
View the anti-virus interface. Once the anti-virus user interface has opened, you will see a menu that lets you select the tools to use along either the left or right side of the screen.
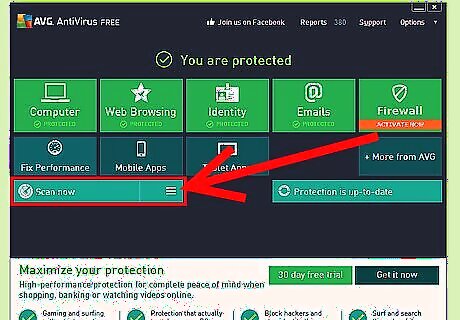
Click the Scan tool. This usually resembles a magnifying glass or any icon related to searching.
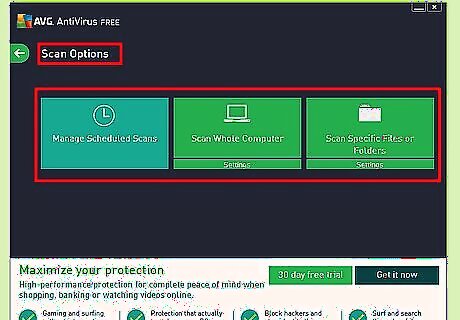
Select a scan option. At this point, your anti-virus will let you choose what sort of scan you want it to perform: You can opt for a “Quick scan,” which usually takes a short amount of time and is less thorough but generally gets the job done. If you want a more thorough scan, you can choose “Complete scan” to really let the program take its time to look for threats.

Start scanning for viruses. After you’ve selected the scan option, click “Start” to begin scanning for viruses.

Wait for the anti-virus to finish scanning. Most anti-viruses will provide you a list of potential and actual threats either in real time or after the scan has completed.
Removing Threats

Check for false detection. Once your software has finished the scan, it will let you decide what to do with the threats. Look through the list it provides you, and see if it falsely detected a program that you know for sure is not a virus. False detection can sometimes occur with programs that do processes that normal programs don’t normally do. It is called a false positive when this occurs.

Add the false detection to the exceptions. Right-click the false positives and choose to add it to the anti-virus exceptions from the options.

Delete real threats. Now that the false positives have been added as exceptions, you can now choose to either delete the rest of the threats or move them to a virus vault. In the virus vault, the threats are isolated, and will not be able to access your computer’s files so they cannot do any harm.
Restart your computer. This is to finalize the threat removal.


Comments
0 comment