


Open IKEA Place on your Android. It’s the blue and yellow IKEA logo typically found on the home screen or in the app drawer.
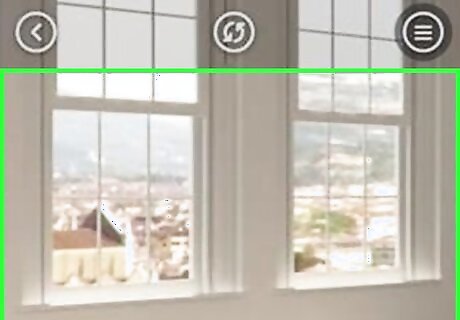
Point the camera at the location in which you want to place items.
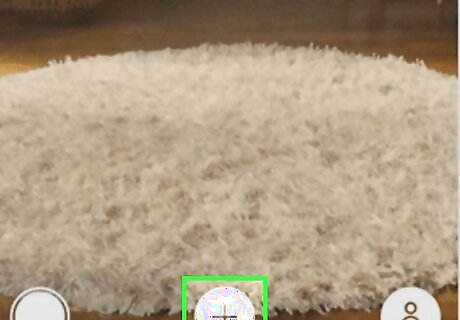
Tap + to add an item. It’s at the bottom-center part of the screen.

Tap the ≡ menu. This opens a list of furniture categories. If you know the name of the item you want to insert, type it into the search bar to find it. You’ll have to use the Swedish IKEA name for the furniture piece—searching for ″bed″ won’t work.
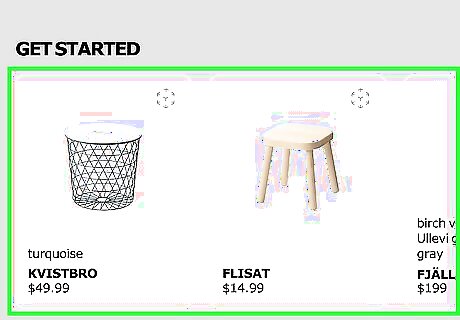
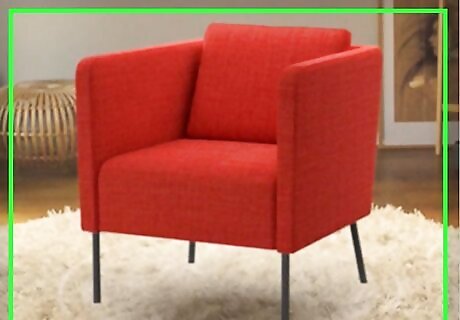
Tap a furniture piece. This opens information about the item.
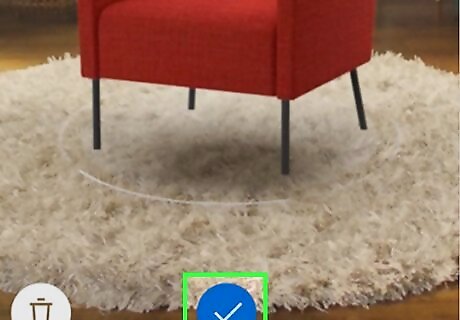
Tap the check mark. It’s at the bottom-center part of the screen. This places the item into the room. You can drag the item anywhere you wish. Add additional furniture pieces to the scene if you wish.
Position yourself so that all of the furniture can be seen in the viewfinder.
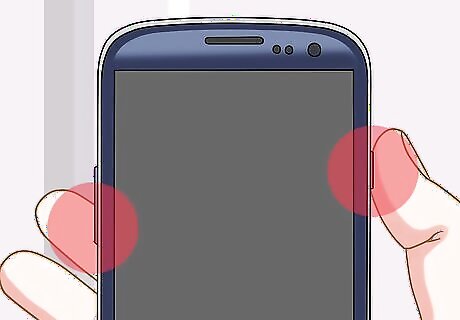
Take a screenshot. On most Androids (including Samsung Galaxy and Pixel phones), you’ll do this by pressing and holding the Volume-Down and Power keys at the same time. The screen will flash when the shot is captured.
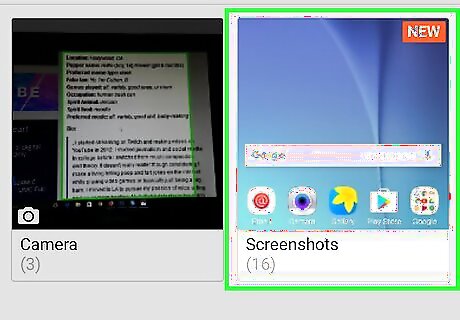
View the screenshot. Here’s how to find it in most photo gallery apps: Open the Photos or Gallery app. You should find one or the other in the app drawer. Tap Albums. If you’re using Google Photos, tap the ≡ menu and select Device folders. Tap the Screenshots folder. Tap the image to open it.


Comments
0 comment