
Choosing a Varnish

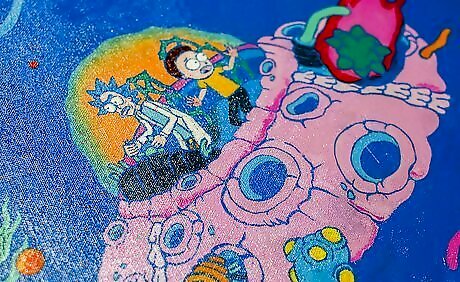
Use a gloss varnish for a high shine that makes colors more vibrant. Gloss varnishes are very popular as they provide a strong, clear, shiny protective coating. If you want the colors of your painting to pop even more than they already do, this is a great choice. If you use a gloss varnish and decide after the first coat that you don’t like it, you can easily switch to matte or satin for the second coat.
Apply a matte varnish for a subdued coating that softens the paint colors. Matte varnish is a popular choice when you don’t want a shiny finish on your painting. It can make darker colors look lighter and dries with a flat-finish, meaning that there is no sheen. If your painting contains very subtle differences between shades of color, this may not be the best option. The matte varnish could make it harder to distinguish between those subtleties.
Choose a satin varnish for a coating that is between gloss and matte. If you like the idea of a little bit of shine but don’t want a high-gloss finish, a satin varnish may give you exactly what you want. It will still soften the colors a little bit, but it will also create a semi-glossy finish. Just like with matte varnish, satin may make some shades of colors harder to distinguish from each other, especially if they were very similar to begin with.

Get a water-based varnish for a non-toxic, easy-to-remove option. These varnishes contain ultra-violet light stabilizers (UVLS), which help protect your painting from damage or fading due to exposure to sunlight. They can be cleaned up with soap and water, and they’re much easier to remove from a painting if you ever decide you want to make changes to it. As long as your painting is completely dry before you apply the varnish, there should be no risk of the paint getting smeared or being lifted off the canvas with a water-based option.
Choose a solvent-based varnish for a super glossy finish for your painting. The fumes from solvent-based varnishes are toxic, so you’ll need to have access to a well-ventilated area while working with it. They’re thus named because they need to be thinned with a solvent before being applied, and you’ll need mineral spirits to clean your brushes. These are also often referred to as MSA (mineral spirit acrylic) varnishes. If you do choose a solvent-based varnish, you’ll want to test your painting for a solvency reaction before coating the entire thing.Doing a Solvent-Sensitivity Test: Apply the solvent (usually rubbing alcohol, turpentine, or some type of mineral spirits) to a cotton swab and dab it along the edge of the painting. Check the swab to see if any paint came away. If paint came up, use either a spray version of the varnish or switch to a water-based one.

Opt for a spray varnish if your painting has different textures. Spray varnishes are great to use on paintings that have uneven surfaces, which can happen due to different styles and methods of painting. It allows you to coat the painting without disturbing the surface with a paintbrush. Make sure to work in a well-ventilated area and spray the varnish away from you onto the canvas if you choose this option.
Applying an Isolation Coat

Let the paint dry for at least 1 week before applying the isolation coat. An isolation coat provides a thin barrier between the paint and the varnish. It becomes very important if you ever decide to remove the varnish to modify your painting. It also serves as a sealant for any areas of the canvas that may still be absorbent. Don’t use an isolation coat if your painting contains water-soluble materials, like paper. Don’t use an isolation coat if you used metallic leaf in your painting.
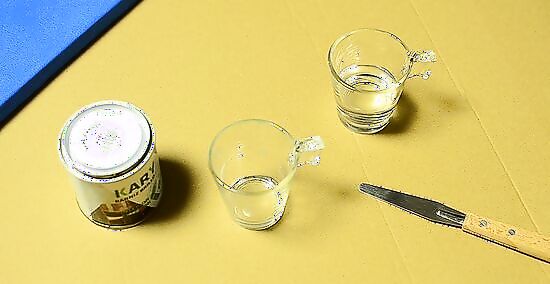
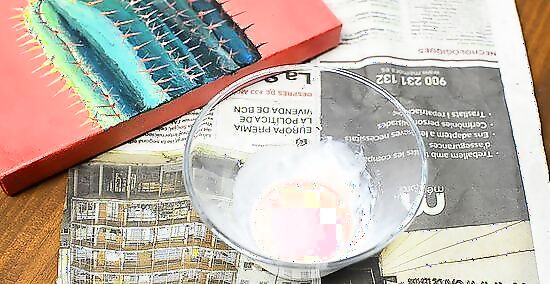
Mix a 2:1 ration of soft gel and water to create the isolation coat. Soft gel is a type of gloss you can purchase at your local craft store. This is a separate product from the varnish. Start with 2 tablespoons (30 mL) of gel and 1 tablespoon (15 mL) of water and add more if you start to run out. Mix the water and gel very gently with a spoon in a small bowl. If you mix the water and gel too vigorously, bubbles might appear. Bubbles will affect the finish of the isolation coat when it dries. Rather than trying to salvage it, start over and stir the mixture more gently. Applying an isolation coat will give your painting a slight sheen, but that will be covered up very easily if you’re using a matte varnish. Some brands sell ready-to-use isolation coats that don’t require any mixing.
Brush the painting with a dry paintbrush to remove lint or dust. Before applying the isolation coat, gently run a wide, dry paintbrush over the surface of the painting. This will remove any hairs, dust, or dirt and keep them from getting caught in the isolation coat. Make sure the brush itself isn’t dusty. It’s best to use a new one or one that has been cleaned and dried thoroughly.
Apply a thin, even coat over the surface of the painting. Dip the tip of a wide paintbrush into the soft gel mixture. Start in the middle of the painting and spread the coat out to the edges to cover the entire surface area. Then go back and use long even brush strokes from side to side to smooth out the coating. Go around the edges of the painting and clean up any drippings with the paintbrush.

Let the isolation coat dry for 24 hours. The painting will be dry to the touch after about 30 minutes, but it’s recommended that you wait an entire day before applying the varnish. Leave it laying flat somewhere it won’t be in the way of pets, children, or other disturbances. It won’t hurt the painting if you leave it for longer than 24 hours before moving on to varnishing.
Adding Layers of Varnish
Position the painting on a flat surface. You shouldn’t varnish a painting while it’s propped up on an easel or hanging on a wall, as the varnish will run off the canvas. Lay old newspaper underneath the canvas to catch any drips. If the painting is too big or if you don’t have a table available, you could always set it on the floor. Just make sure it’s somewhere out of the way so it won’t get stepped on.Using Spray Varnish: Set the painting vertically for spray varnish. Shake the can well, and then spray the painting evenly from left to right and then right to left, all the way down to the bottom of the canvas. Wait 5-7 minutes between the first coat and second coat and always work in a well-ventilated area.
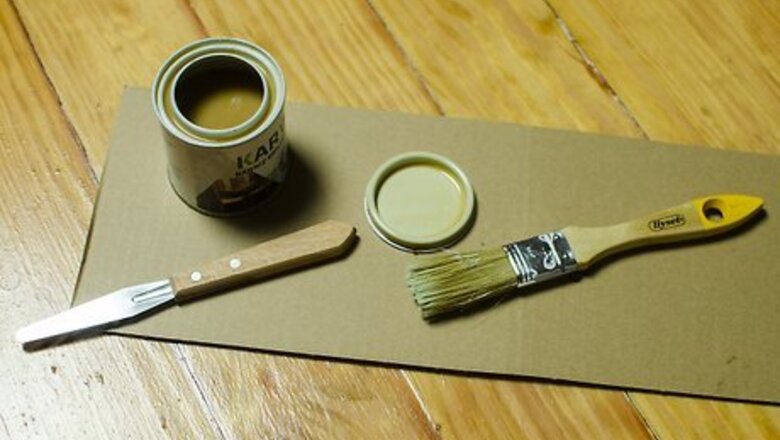
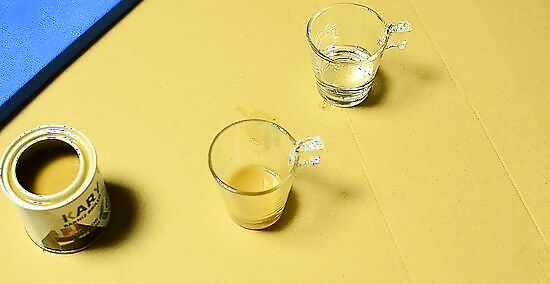
Prepare the varnish by following the manufacturer’s instructions. Depending on what kind of varnish you decided to use, you may need to dilute it with water or a solvent. Pour the varnish into a shallow container so it’s easy to dip your paintbrush into it. Some varnishes don’t need to be mixed with anything else, so check the back of the bottle or container before doing anything.

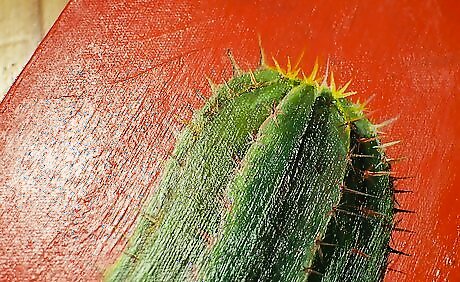
Test the varnish on the painting to see how it alters the colors. In most cases, the varnish will either amplify the colors you used by adding a layer of gloss, or they may mute them slightly if you’re using a matte finish. Apply the varnish to a small, inconspicuous part of the painting and let it dry for about 10 minutes to make sure it doesn’t alter your painting in an undesirable way. If the sides of your canvas are painted, you could always test the varnish there so you don’t add any varnish to the actual painting yet.
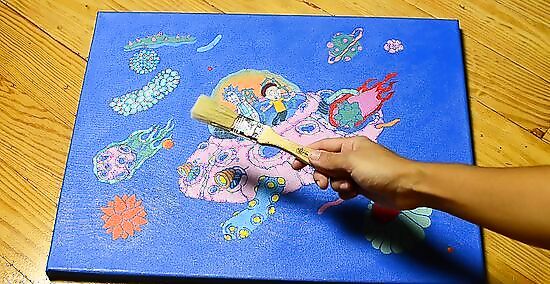
Use a wide paintbrush to apply the first thin coat of varnish. Dip about 1/3 of the brush into the varnish, then start brushing it onto the canvas from the center of the painting. Spread it evenly from side to side using long, even strokes. Try to follow the same brushstrokes you used when applying the isolation coat. Continue dipping your paintbrush into the varnish as the bristles become dry.

Even out the brushstrokes before the first layer of varnish dries. After coating the surface area with varnish, go back and brush long, even strokes either from side to side or from top to bottom. Make sure the layer of varnish is as even as possible. If you notice small bubbles forming in the varnish, use just the tip of your paintbrush to make long strokes from side to side to pop them before the varnish dries. Sometimes tilting the painting from side to side can help you see if there are areas that you missed or that are over-saturated with the varnish.

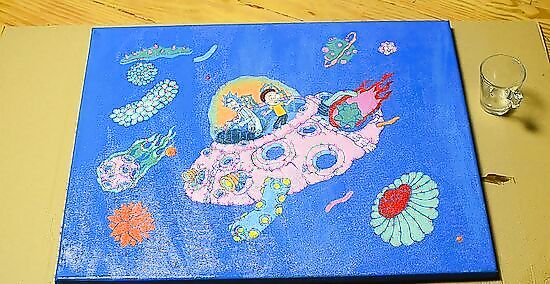
Wait 3-6 hours to let the varnish cure before doing your second coat. Varnish dries pretty quickly but will give better results if it has several hours to dry between each application. Apply the second coat the same way you did the first coat. Check the instructions on your varnish to see if there are specific curing guidelines. Most acrylic paintings need just 2 coats of varnish, but if the varnish looks uneven in some sections after it has dried, apply a third coat. Sometimes if each coat is very thin, it may not evenly cover the entire canvas.
Let the painting cure for 1-2 weeks before moving it or hanging it up. The varnish may feel dry to the touch soon after it was applied, but it takes time for it to completely dry and adhere to the paint. Keep the painting somewhere safe from disturbances during the curing process. Place the painting against the wall or on an easel with the painting facing the wall or easel to protect it from getting dust or hairs on it.


Comments
0 comment