views
Cleaning the Water Reservoir
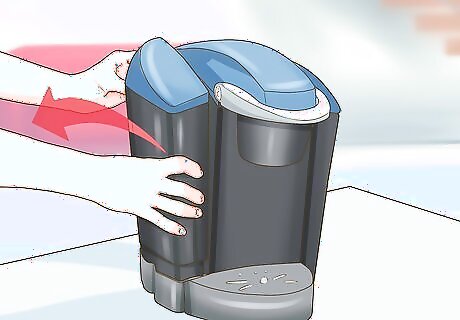
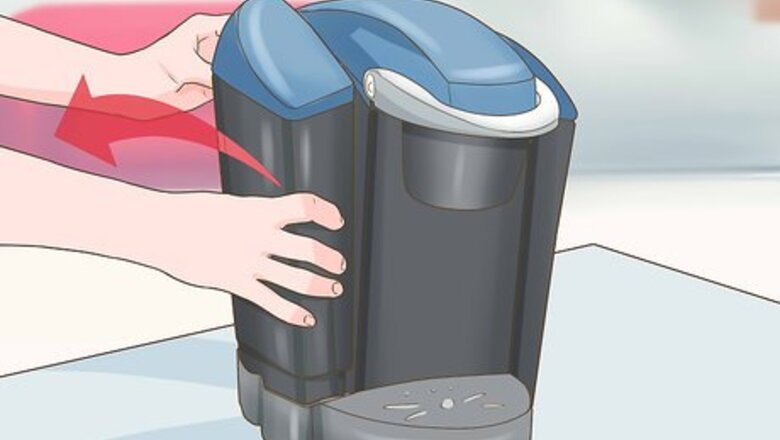
Detach the water reservoir from the machine. You may be getting a "prime" error on your machine due to a dirty water reservoir. Simply unplug the machine and then pull the detachable water compartment upward to remove it from the coffee maker. If you have a water filter attachment in your water reservoir, remove it, and set it aside.
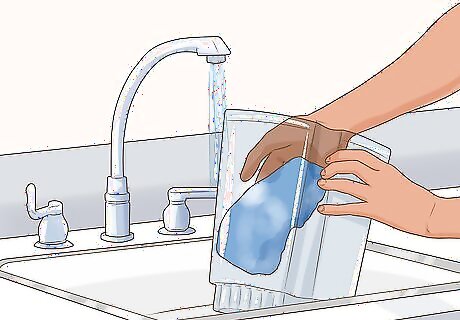
Clean the reservoir with a damp cloth. Submerge a non-abrasive cleaning cloth in cold water and then wring it out to remove any excess liquid. Scrub the interior walls first and then clean around the outlets on the inside and outside of the reservoir. This helps to remove the calcium build-up from inside the water reservoir.
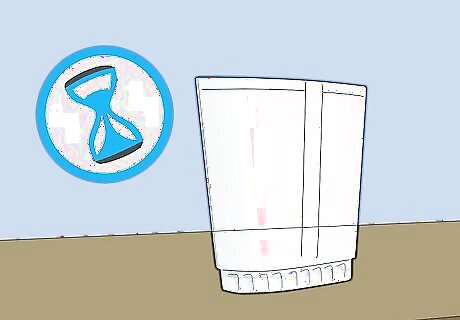
Leave your reservoir to air dry for 1 hour. This helps to avoid lint from tea towels getting trapped inside the reservoir. Place the reservoir on the bench or a dust-free surface to dry. Microfibre cloths work well for removing dirt and calcium build-up. Continue to scrub the water reservoir until all the visible signs of dirt are gone.
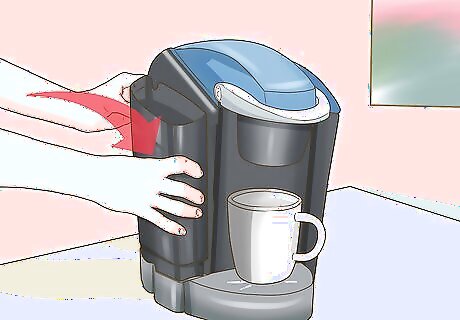
Reinstall the reservoir. Once your reservoir has dried, slot it back into your Keurig machine. If you have a water filter attachment, place it in the reservoir before you put the reservoir back. Check that the reservoir is sitting securely in place. If the reservoir feels wobbly, take it out and then slot it into the machine again. If the reservoir isn’t seated correctly in the coffee machine, it won’t work.
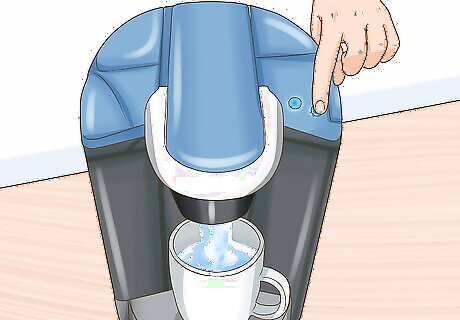
Run 3 water-only cycles. This helps to flush any dirt or calcium build-up out of the machine. Fill the reservoir with water to the "max" line. Do not overfill the reservoir, as this can cause the water to overflow and damage the coffee maker. Turn your machine, place an empty mug on the tray to catch the water, and then press brew. Empty the water from the mug between each cycle. Do not use a portion pack while you are flushing the machine with the water-only cycles.
Removing Debris from the Needles and Holder
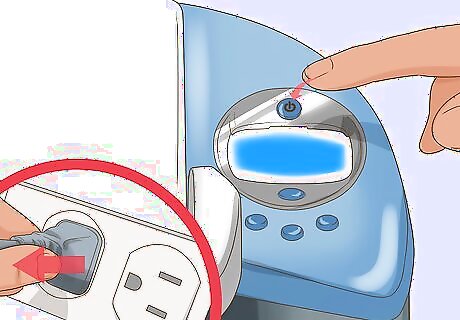
Turn the power off and unplug the coffee machine. This avoids the risk of injury or electrocution. Make sure to turn the power off before you take the plug out of the power connection.
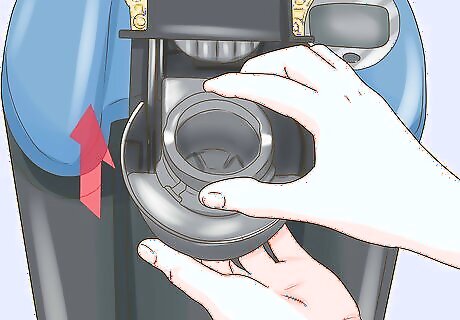
Remove the portion pack holder. Lift the handle of the machine up to expose the portion pack holder. Hold the coffee maker steady in 1 hand and use your other hand to pull the portion pack holder out of the machine. The portion pack is sometimes called the “K-cup”.
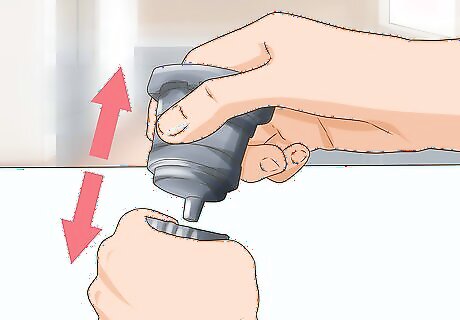
Pull the funnel out of the portion pack holder. Tightly hold the portion pack holder with 1 hand, and use your other hand to pull the funnel out of the holder. The funnel tends to be wedged firmly in the portion pack holder. Pull firmly on the funnel to extract it from the holder.
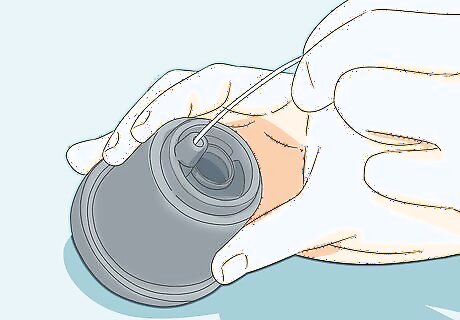
Poke a straightened metal paper clip inside the holder to remove any debris. Use the point of the paper clip to scrape around the interior walls of the portion pack holder. This will help to dislodge any debris that may be stuck to the walls.
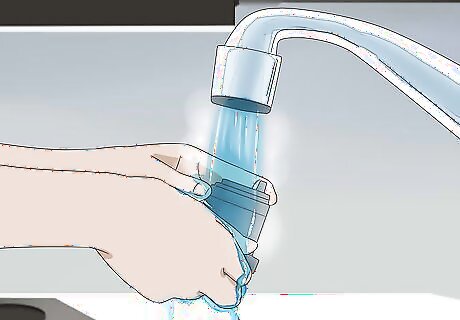
Hold the funnel and portion pack holder under a stream of cold water. The force of the water will help to remove any debris that were dislodged by the paperclip. Keep the holder and funnel under the water until all the visible dirt is gone. Avoid using very hot water, as this can melt the plastic parts in the holder and funnel.
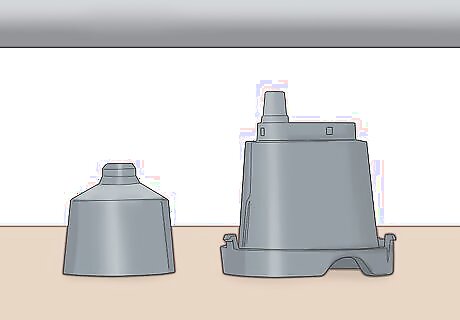
Allow the holder and funnel to air dry. This avoids any lint getting stuck in the machine. Place the holder and funnel on the bench for 1 hour to dry. Check that they are completely dry before you proceed with the cleaning process.
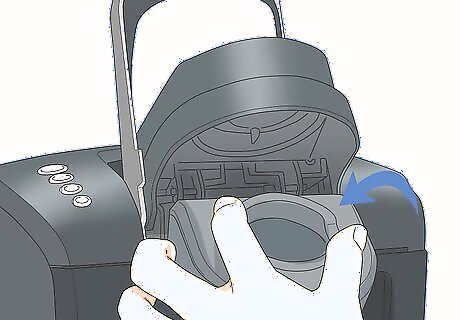
Reattach the holder and funnel to the coffee machine. Push the funnel back into the coffee maker. Check that it sits securely in the holder and can’t wobble around. Place the connected holder and funnel back into their original position in the coffee machine. Line up the slots on the sides of the holder and the hole in the machine, and then push the holder back into the coffee maker. Leave the handle open after you have placed the holder and funnel back in the machine. This makes it easier to access the entrance needle. The holder will snap into place when it is correctly inserted into the coffee machine.
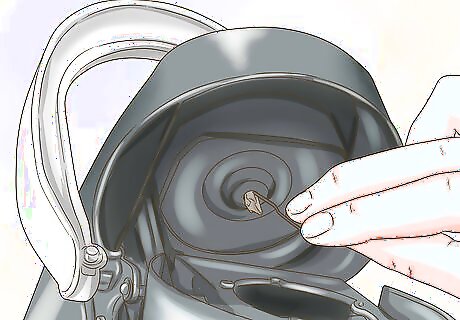
Clear any debris away from the entrance needle with a paperclip. Look underneath the brewers head for a small entrance needle. Avoid touching the entrance with your hands, as the needle is sharp. Straighten a paper clip and use the point to push out any debris that are obstructing the needle. If you can’t see the brewers head, check that the handle is lifted.
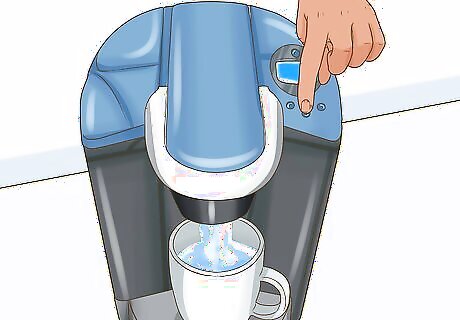
Run a water-only cycle. Fill the reservoir up to the “max” line with water, and place a mug on the tray. Press brew to run a water-only cycle. This helps to remove any remaining debris from the machine. Don’t place a portion pack in the machine when you run the water-only cycle.
Cleaning Filter Screen
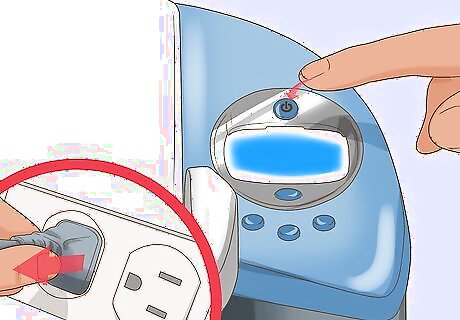
Turn your machine off and unplug it from the wall. This helps to reset the machine and removes any risk of electrocution.
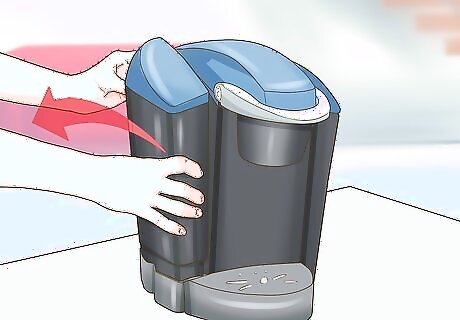
Detach the water reservoir from the coffee maker. Hold the sides of the water reservoir and pull it upwards. This will expose the base of the reservoir. Pour out any remaining water from the reservoir into the sink. If you have a water filter attachment, remove it before pouring out the water.
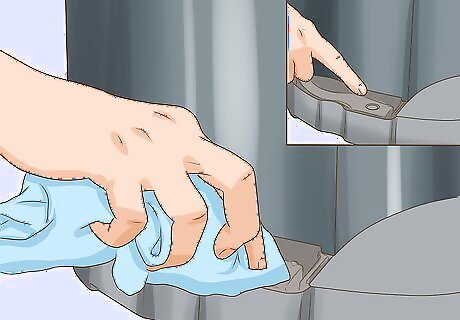
Clean the base port with a damp cloth. On the base that holds the reservoir, there is a small opening. This opening is called the base port. Use the damp cloth to gently clean the port and remove any debris. Microfibre cloths work well for this, as the fibres trap the dirt and debris.
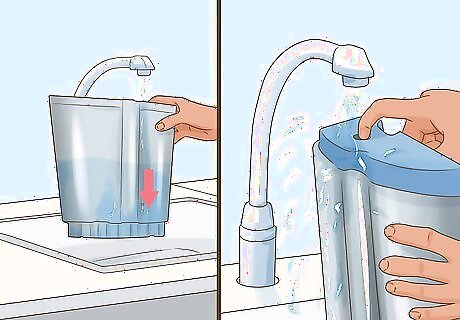
Run water over the reservoir filter. There is a mesh screen filter over the top of the water reservoir. Hold this mesh under streaming water. The running water will help to push any debris out of the mesh. Leave the mesh under running water until all the debris have been cleared from the filter.
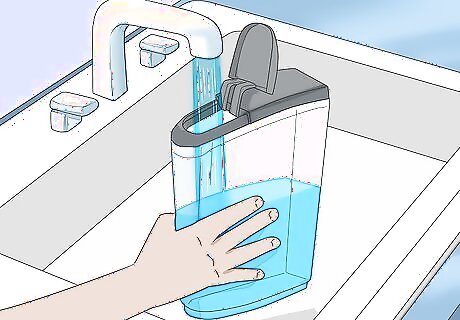
Refill the water reservoir with clean water. Empty the water out of the reservoir and fill it with fresh water from the tap. This stops the debris from the mesh getting pushed through the machine.
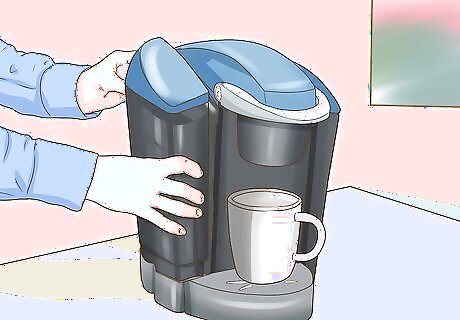
Place the water reservoir back onto the coffee maker. If you have a water filter attachment, place it in the reservoir before you place the reservoir on the base. Make sure that the water reservoir sits securely on the base of the machine.
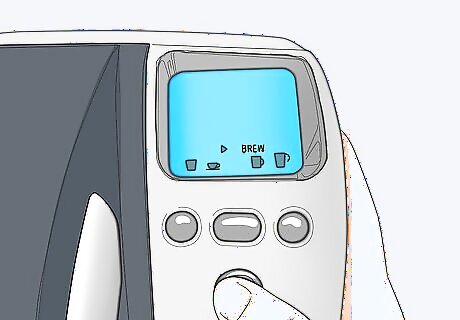
Run 2 water-only brew cycles. Place a mug on the tray and ensure that there is no portion pack in the coffee maker before you press brew. This helps to flush any dirt or debris out of the coffee maker. Empty the cup between each brew cycle.




Comments
0 comment