
Making Simple 2D Tulips
Have a frosted cake. Make sure that the frosting is chilled, firm, and smooth. If you are just practicing, you can use a scrap of parchment paper or wax paper instead.
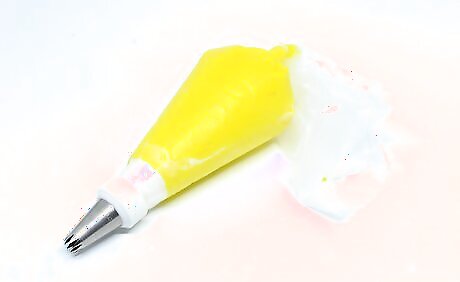
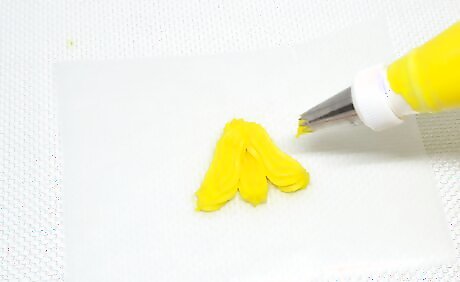
Set up your piping bag. Insert a star shaped tip into your piping bag, such as the Wilton 195 or 363. Fill the piping bag with a medium-consistency buttercream frosting. This method will create a very simple tulip, shapes sort of like the top part of a fleur de lis.
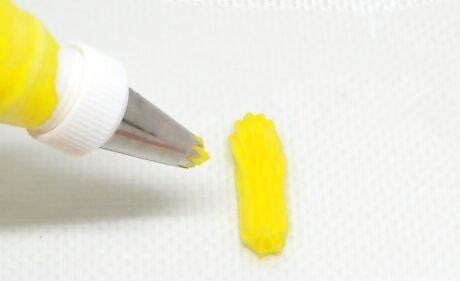
Create the center petal where you want the tulip on you cake. The center petal is a simple, vertical line that is fatter at the bottom and thinner at the top. You can create this by applying more pressure when you start, and hardly any pressure when you finish. How tall you make the tulip is up to you.
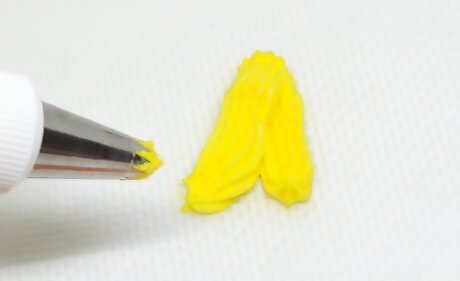
Pipe out the left petal. The left petal starts at the base of the center one and angles to the left, curing at the tip. Place your piping bag at the base of the center petal, and pipe to the left. Once you reach leave the petal, start piping upwards, at a slight angle. When you reach the tip, whisk your tip to the left.
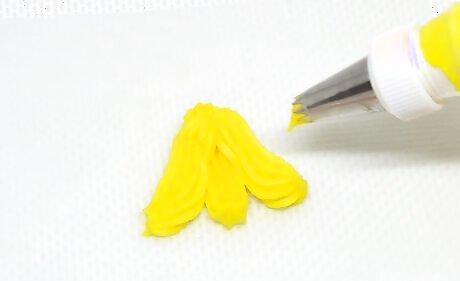
Pipe out the right petal. The right petal is exactly the same as the left one, except that it angles to the right. Place your tip on the base of the tulip, so that it overlaps the first to petals. Start piping to the right. When you leave the center petal, start piping upwards at a slight angle to the right. When you reach the tip, whisk your bag to the right.
Making Simple 3D Tulips
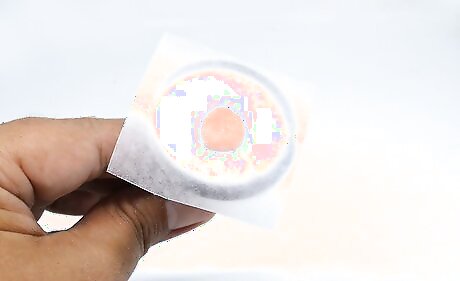
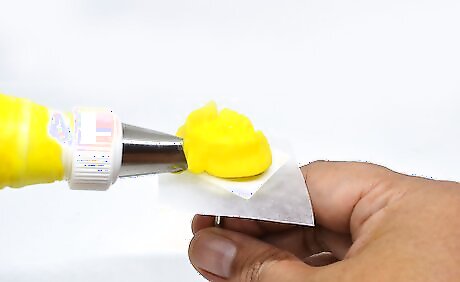
Attach a piece of parchment paper to a flower nail. Dab some frosting onto the center of your flower nail. Place a 2-inch (5-centimeter) square of parchment paper on top of the frosting. Gently press down on the parchment paper so that it sticks.
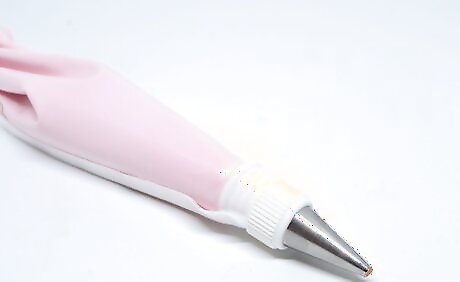
Set up your piping bag. Insert a coupler into a piping bag, then fit a large, round tip into it (ie: Wilton 12). Place a cap over the tip, then fill the bag with medium-consistency buttercream frosting. You are using a coupler, because you will be switching out the tips a few times during this method.
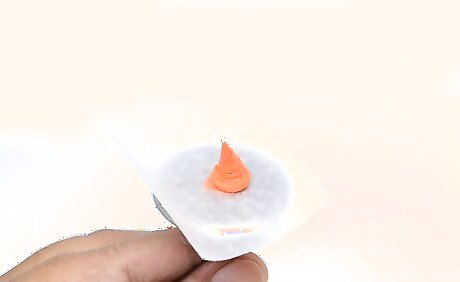
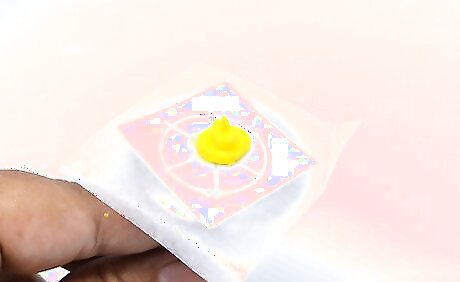
Pipe a tall mound in the center of your parchment paper. Place the tip right against the center of the parchment paper. Squeeze on the bag gently while slowly lifting it upward. Stop when you have a tall, coin-sized mound.
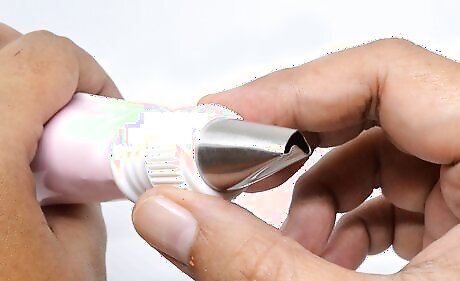
Switch your pipe to a curved petal tip. A curved petal tip looks like a standard petal tip, with one end wider than the other. It's different in that it's curved, like a ")". An example of a curved petal tip would be the Wilton 123.

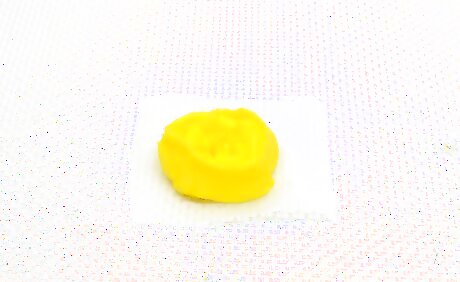
Create your first petal. Place the tip straight down against the parchment paper, with the curved part cupped against the side of the mound. Gently squeeze on the bag while pulling upward. Stop when you reach the tip of the mound, then lift the bag away. Don't worry if the tip of the petal flops over. Real flowers aren't perfect either!
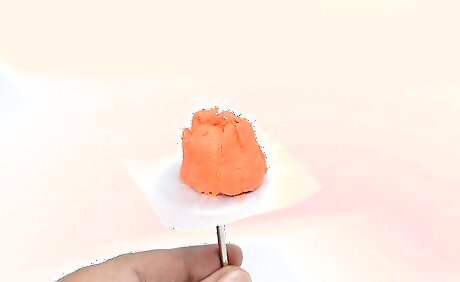
Pipe more petals. Each petal needs to overlap the previous one by half. You want to pipe two rows of petals, for a total of 6 or 7. This will give your tulips more body and stability.
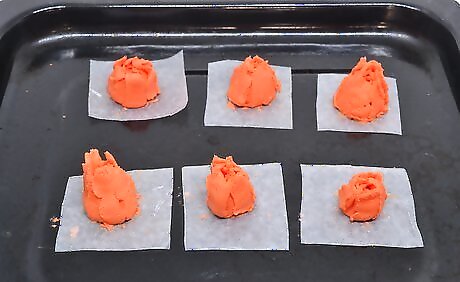
Transfer the tulip to a baking sheet. Gently lift the parchment paper off of the flower nail. Set it down onto a baking sheet. At this point, you can move on to the next step, or you can make more tulips.
Freeze the tulips for 15 minutes before using them. Once you are done making tulips, place the baking sheet into the freezer for 15 minutes. This hardens the tulips enough so that you can peel them away from the parchment paper and set them down onto your cake.
Making Fancy 3D Tulips
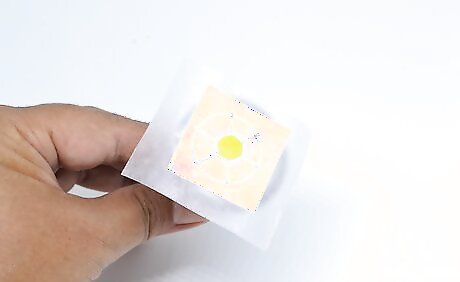
Set up your flower nail with a daffodil template and parchment paper. Attach the daffodil template first, then secure a 2-inch (5-centimeter) square of parchment paper on top with icing. A daffodil template is an item used in cake decorating. It is a round sticker divided into six quarters. You can buy it in the cake decorating section of a craft store. If you can't find a daffodil template, you can make your own by getting a round sticker label, and dividing it into six sections with a pen.
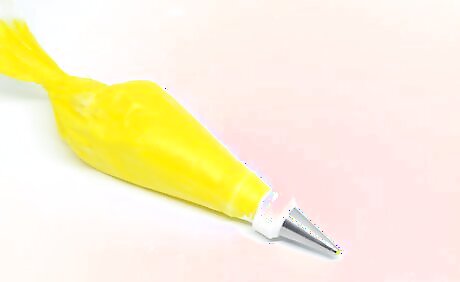
Set up your icing bag. Insert a cake decorating coupler into your icing bag, then a large, round tip, such as a Wilton 12. Place a cap over the tip, then fill the bag with medium consistency buttercream icing. You are using the coupler because you will be switching the tips out.

Make a mound in the middle of your parchment paper. Place the tip against the parchment paper, and use gentle pressure to squeeze out a mound about the size of a small coin. Make sure that it has some height.
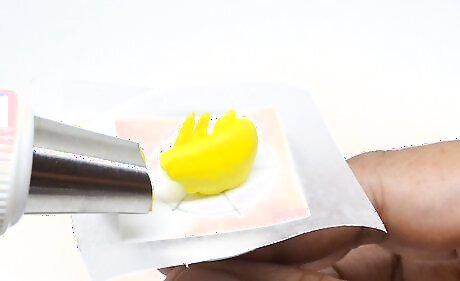
Make a pull-out dot in the center of the mound with small round tip. Pull off the large round tip, and replace it with a small round tip, such as a Wilton 3. Place the tip against the center of the mound, and apply gentle pressure to the bag while pulling upwards.

Make 5 to 6 shorter pull-out dots around the first one. It's okay if these dots aren't touching each other, but they all need to touch the one in the center. Use less pressure when creating these, and don't pull the bag up as much.
Create your first petal with a curved petal tip. Replace your small round tip with a curved petal tip, such as the Wilton 123 tip. Hold the bag at the 12 o'clock position on you flower nail. Tilt it at a 45-degree angle, with the wider end of the tip facing down and against the bottom edge of the mound. Gently squeeze on the bag and pipe out some frosting, rotating the nail by 1/3 of a turn. The petal should cover two sections of the template. A curved petal tip looks similar to the standard petal tip in that it is wider at one end, and narrower at the other. It is different in that it has a slight curve to it, like a ")".

Pipe out your next two petals. Wipe the tip down, and make a second petal, overlapping the first one. Finish off with a third petal, then wipe the tip down again. Wiping down the tip will clear it up, prevent it from clogging, and give you crisp, clean edges.
Make second row of petals. Like before, make each petal cover two sections and overlap the previous petal. You will want to stagger the petals in this row, so start piping in the middle of one of the previous petals.
Chill the tulip for 15 minutes. Transfer the parchment paper to a baking sheet. Place the sheet into the fridge or freezer. Leave it there for about 15 minutes, or until the icing sets and hardens.
Finished.


Comments
0 comment