views
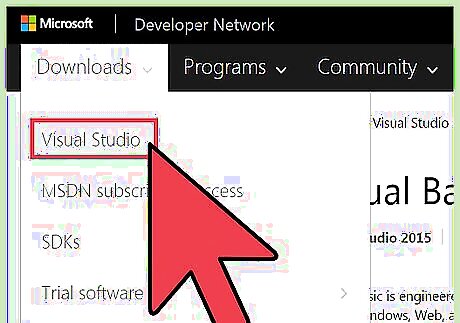
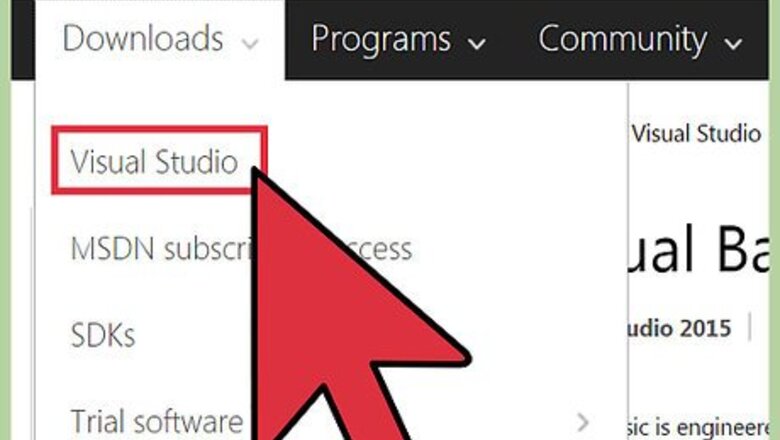
Install Visual Studio on your computer. You can download it from the Visual Studio website.
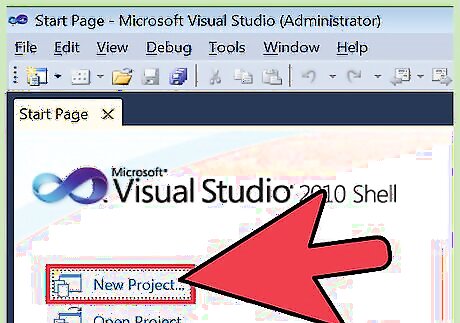
Run Visual Studio and start a new project by going to the File menu and clicking on "New Project."
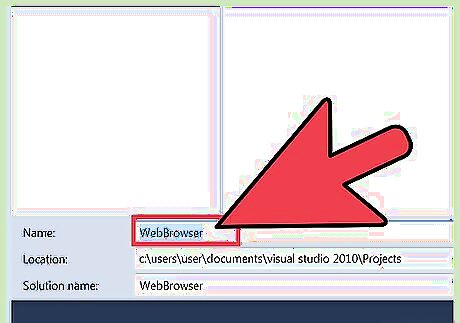
Browse over "Text" and select "Web Browser" in the form page that appears.
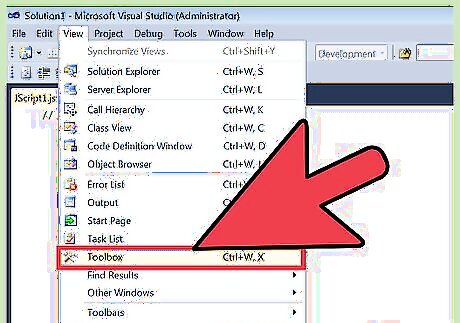
Go to "View" in the top menu bar, browse over "Other Windows" and click on "Toolbox." This will display the toolbox.
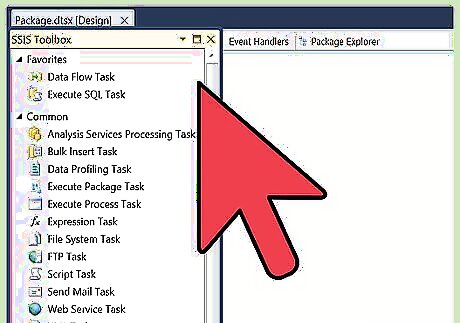
Double-click on the Web browser tool in the toolbox.
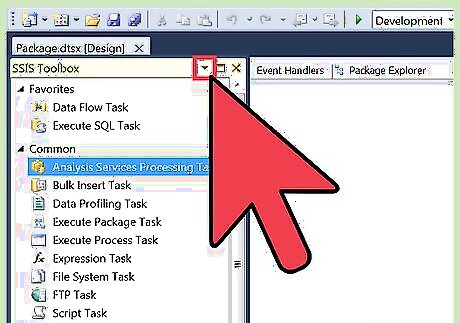
Press the right arrow icon on the top-right of the form and click on "Undock in Parent Container." This will change the view of the form from full-screen to a smaller window within the Visual Studio Interface.
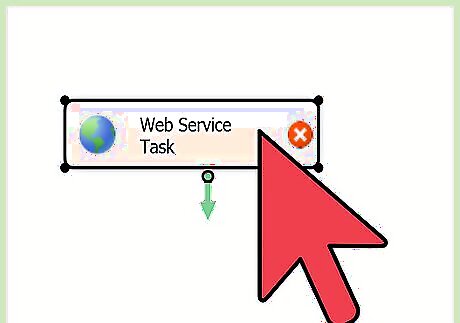
Resize the web browser form to your desired size using the clickable outline around it.
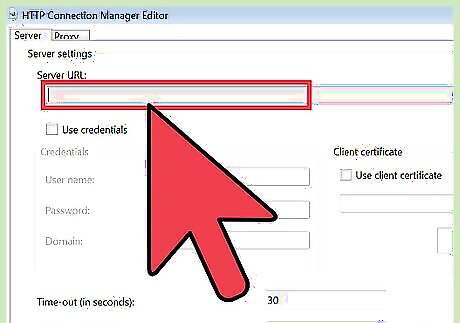
Set the URL (Uniform Resource Locator) property to a website address that you wish to visit. This will open up a default website on open so you can see what a website will look like when opened through your Internet browser.
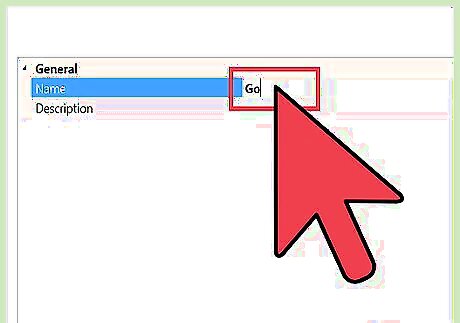
Create a new button and assign the following properties to it. The text on the button should say "Go." Name the button "GoBtn."
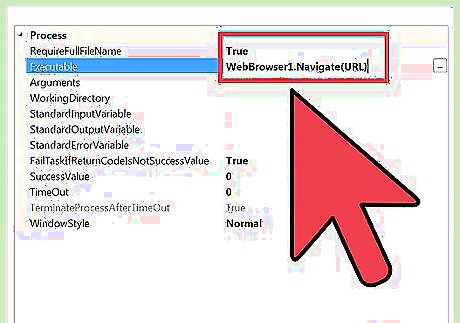
Trigger the button by double-clicking on it. This will pop up a private sub. Enter the following code between the private and end subs (you can replace "URL" with any website address). WebBrowser1.Navigate(URL)
Test the button by clicking on it. It should take you away from the default website to the destination website assigned for the button.
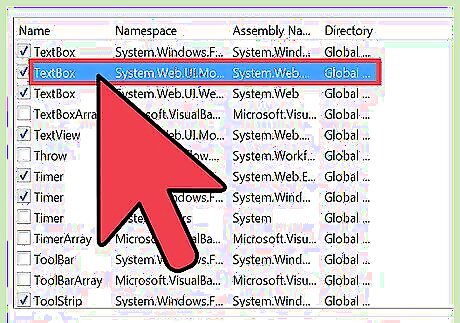
Select the TextBox tool from the toolbox.
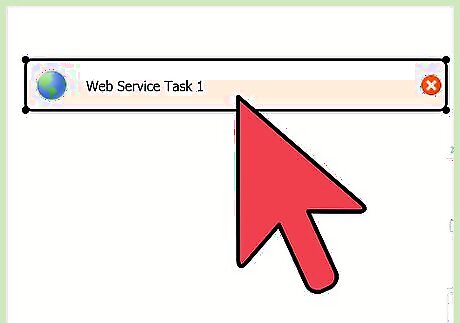
Drag the TextBox tool and drop it on the custom web browser form that you are creating.
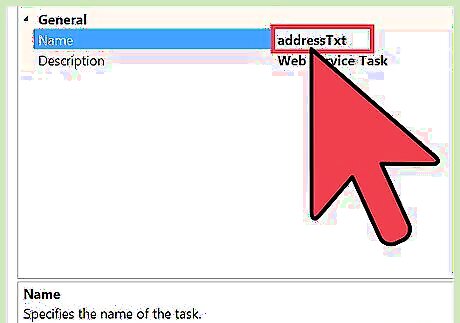
Name the text box as "address it."
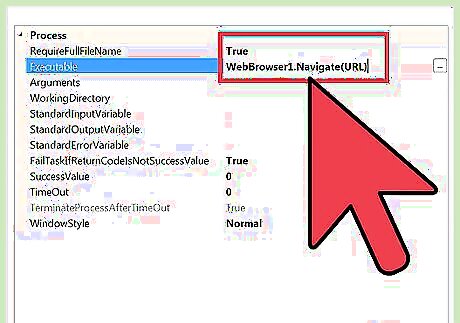
Go back to the button you created earlier and replace the URL with "addressTxt.Text." This indicates that you want to use the button to go to whatever URL is typed in the address bar.
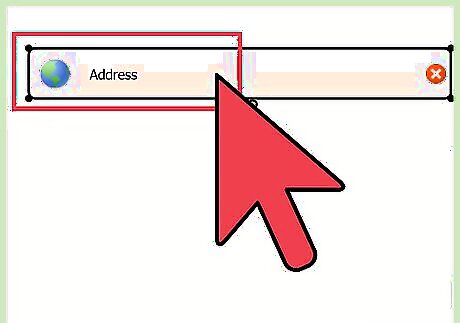
Test the address bar by using it to visit different websites.
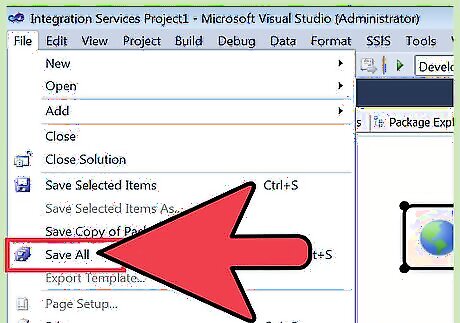
Save the web browser that you have just created as a program through Visual Studio by selecting the option to save through the File menu.




Comments
0 comment