views
Gathering Supplies and Casting On
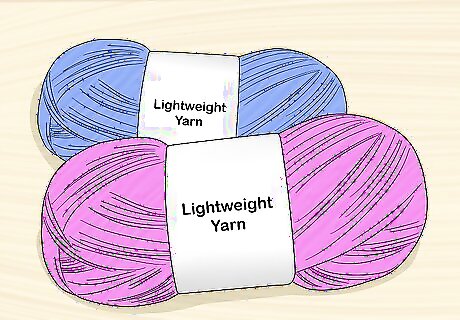
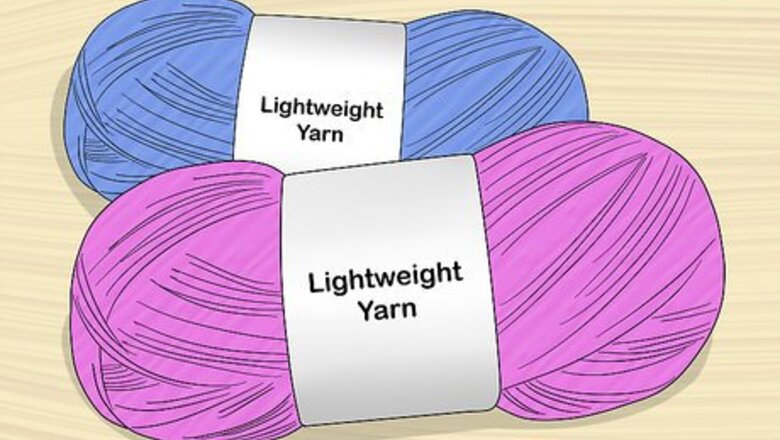
Get out 1 skein of lightweight yarn. You'll need a 5.3 ounce (150 g) skein of light-weight yarn that measures 518 yards (473 m) to make 1 triangle shawl. The finished shawl will measure about 42 in (106 cm) across and 32 in (81 cm) long. Use any color of yarn as long as it's lightweight. If you like, you can knit with multi-colored yarn or alternate different colors of yarn.
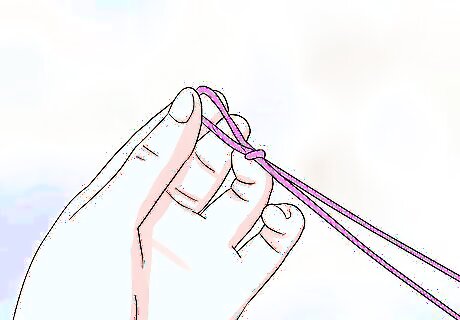
Make a slip knot. Hold the end of the yarn and twist it over to make a loop. Fold the loop down and pull the yarn inside the loop up and through the circle. Pull the end of the yarn loop so the circle tightens and slide the knot onto a US size 8 (5.0 mm) straight or circular knitting needle.
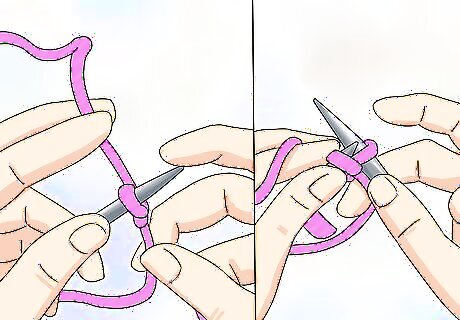
Slip the stitch onto the knitting needle and knit 1 stitch. Wrap the yarn over the right needle and insert it from front to back into the stitch. Wrap the yarn over the right needle and pull the knit stitch up and onto the right right needle. You should now have 2 stitches on the right needle and no stitches on the left. Remember to use the working yarn and not the yarn tail.
Knitting the Body of the Shawl
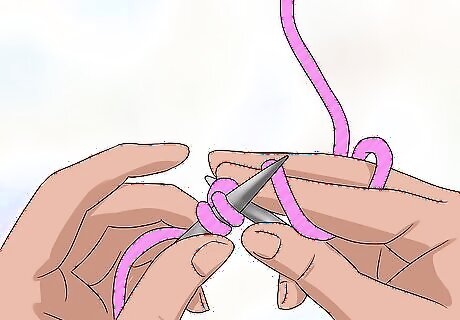
Yarn over and knit across the row. Turn the work so the needle with the 2 stitches is in your left hand. Wrap the yarn around the right needle and use it to knit the 2 stitches on the row. You should now have 3 stitches on the needle. Since this shawl is worked from the bottom up, you'll start to see a triangle form as the rows increase.
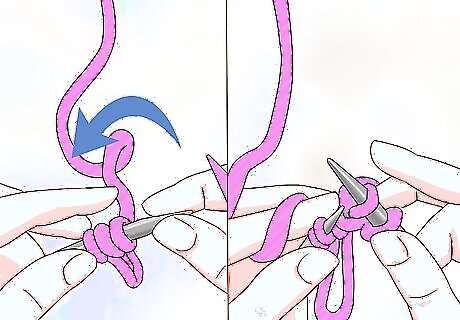
Turn the work, yarn over, and knit across the row. Once you've reached the end of a row, turn the work and wrap the yarn around the right needle. Knit stitch each of the stitches on the row. Wrapping the yarn around the needle will create an extra stitch for each row. This will increase the size of the knit triangle.
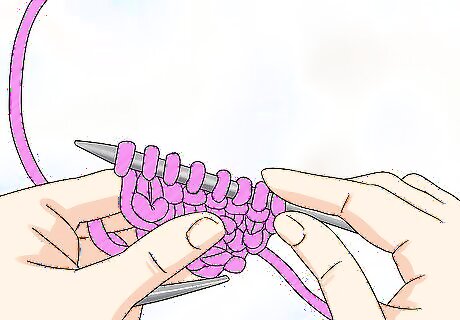
Continue adding garter stitches until the shawl is as long as you want. Yarn over and knit across every row to make the garter stitch. Keep doing this until the shawl is 42 in (106 cm) across and 32 in (81 cm) long or until it's as long as you like. For a larger shawl, just keep knitting and increasing a stitch for each row.
Casting Off and Adding Optional Embellishments
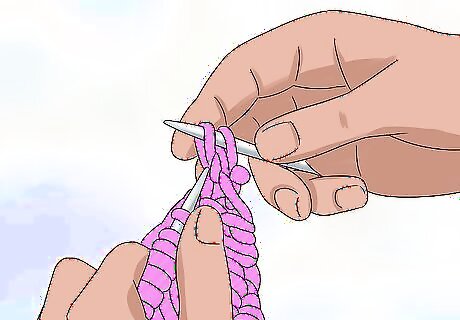
Cast off the stitches. Knit 2 stitches and then use your finger or a tapestry needle to pull the first stitch over the second stitch. You should now have just 1 stitch on the right needle. Knit another stitch and pull the first stitch over this stitch. Keep binding the stitches until there's just 1 stitch on the needle.
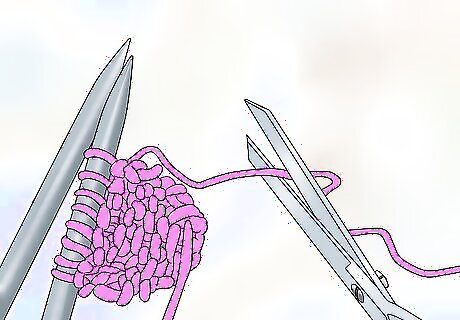
Tie off the yarn and weave in the end. Cut the working yarn to leave a 2 in (5 cm) tail. Slide your needle out from the last stitch and pull the working yarn through the loop. Pull it tight to make a knot and weave in the tail.
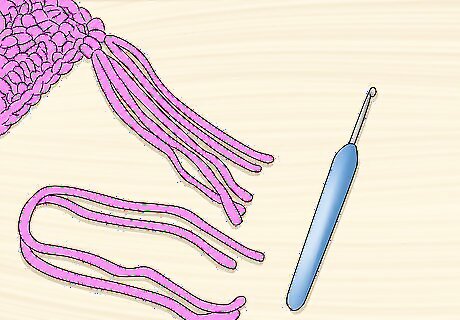
Secure fringe to the edges if desired. Cut the extra yarn into pieces that are twice as long as you want the fringe to be. For example, if you want fringe that hangs down 6 in (15 cm), cut the strips 12 in (30 cm) long. Use a crochet hook to pull the strips of yarn through the stitches on the edge of your shawl. Tighten the yarn to secure the fringe to the edges. If you like, you can make the fringe in a different color than the shawl.
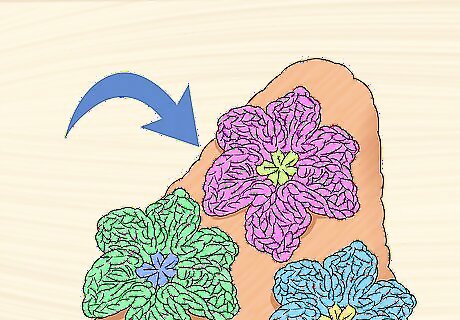
Attach crocheted yarn flowers. Leave a tail at least 6 in (15 cm) long when you make the crocheted flower. Thread the tail through a tapestry needle and insert the needle through the back of the flower. Place the flower where you want it on the shawl and push the needle through it. Pull the yarn tightly and insert it through the flower to secure it in another place. Add as many flowers to the triangle shawl as you like.


Comments
0 comment