views
Planting the Seeds
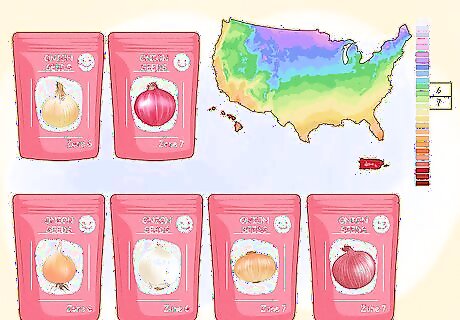
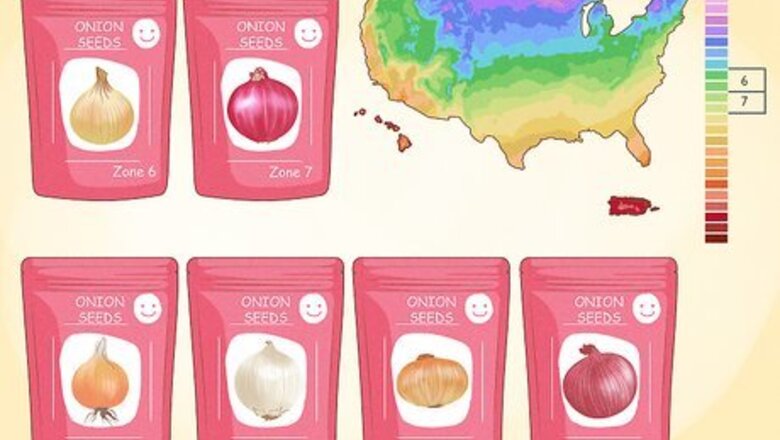
Choose the right type of seed for your growing zone. There are three different categories of onions: short-day, long-day, and day-neutral. These categories are based on what plant hardiness and growing zone you live in. If you choose the wrong type of onion for your area, you may not get a very successful crop. If You live in Zone 7 and warmer, choose short-day onions, such as Red Burgundy, Red Creole, and Vidalia. If you live in Zone 6 and colder, choose long-day onions, such as: Alisa Craig, Copra, and White Sweet Spanish.(14-16 hours). You can grow day-neutral onions, such as Cabernet and Candy, in any growing zone (12-14 hours). There are online tools you can use to help you figure out your zone. Check a plant hardiness zone map to know your area.
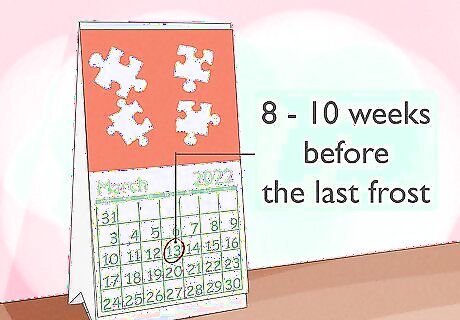
Plan on starting the onion seeds indoors, 8 to 10 weeks before the last frost date. This will give the seedlings a head start. It will allow them to germinate into healthy seedlings before you transplant them outside.
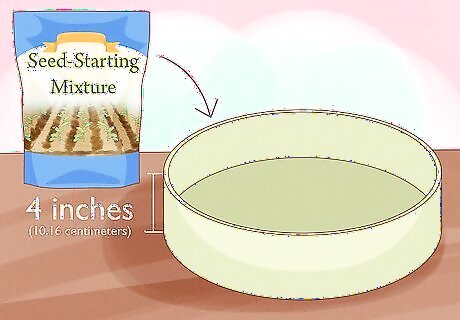
Fill a shallow container with a dampened seed starting mix. The container should be about 4 inches (10.16 centimeters) deep, and have some drainage holes. It can be any shape or size you want.
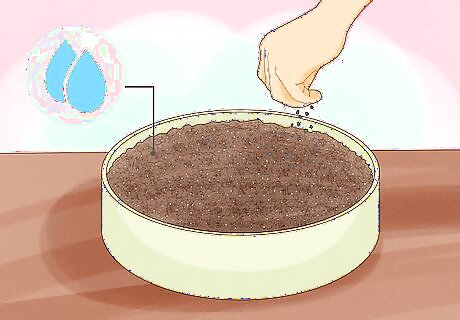
Plant the seeds according to the label on your seed packet. If you don't have the seed packet anymore, begin by sprinkling the seeds over the damp soil. Mist them lightly with water, and then cover them with a 1/8 inch (0.32 centimeters) thick layer of seed mix. Gently pat the soil with your hand when you are done.
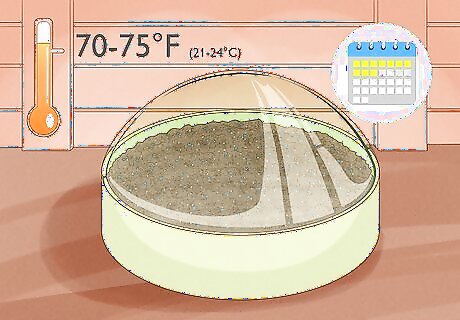
Keep the seeds warm and damp until they sprout. Cover the seeds with a humidity dome, or cover the seeds in starting mix and plastic. Keep them someplace warm, about 70 to 75°F (21 to 24°C). If it is too cold where you live, place the containers on a heat mat. Expect to see the seedlings emerge after 7 to 10 days.
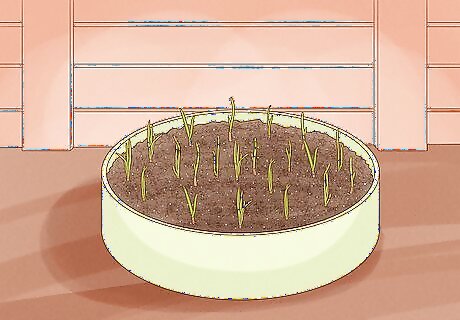
Limit the humidity and warmth once the seedlings sprout. Take off the humidity dome or plastic cover and move the seeds to a cooler spot. Keep the soil moist, and remember to fertilize it. The best type of fertilizer is diluted fish emulsion or compost tea.
Transplanting the Seedlings
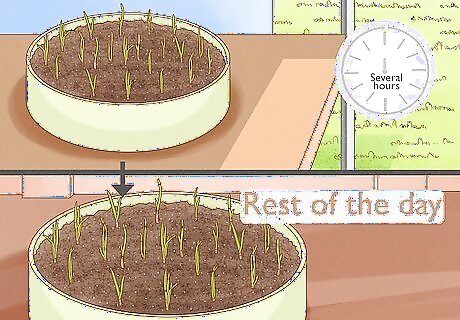
Harden the seedlings for 4 weeks before you transplant them outside. Start hardening them 4 weeks before the last frost date. During this time, slowly introduce the seedlings to the outside. Start by placing them outside in a sheltered spot for several hours, then bringing them back inside for the rest of the day. Increase outdoor exposure little by little every day until you are able to leave them outside overnight. The hardening process will help the seedlings get used to colder temperatures, decreased sun, and less watering. Transplanting the seedlings outside right away will send the seedlings into shock and could possibly kill them.
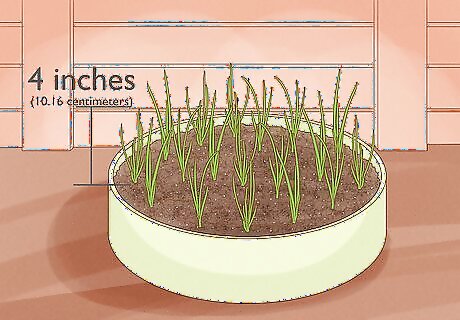
Wait until the seedlings are at least 4 inches (10.16 centimeters) tall. This will ensure that the young plants are strong enough to tolerate the outdoor environment.
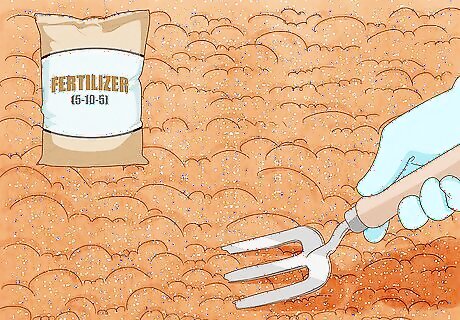
Prepare some well-draining, phosphorous-rich soil in a spot that gets at least 6 hours of sunlight. Spread a 1½ inch (3.81 centimeters) thick layer of 5-10-5 fertilizer over the soil. Mix the fertilizer into the soil to a depth of about 8 inches (20.32 centimeters). Make sure that the soil is soft, and free of clots. If you can, try adding some organic material into the soil, such as rotted manure or compost intended for gardening. If you can't get 5-10-5 fertilizer, try to find something that is high in phosphorus.
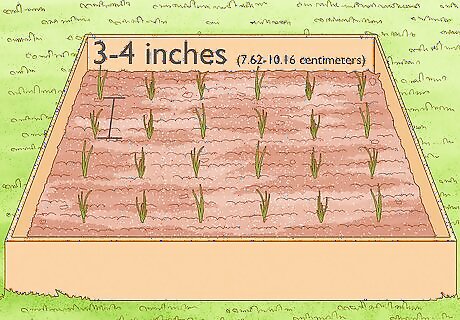
Plant the seedlings at least 3 inches (7.62 centimeters) apart. Refer to the packaging that the seeds came in; this will tell you how far apart the seeds should be spaced. If you lost the packaging, space the seedlings 3 to 4 inches (7.62 to 10.16 centimeters) apart. Use a fork to loosen a hole in the dirt, place the seedling into the hole, and then push the dirt back.
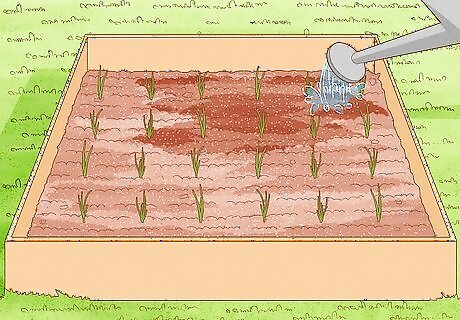
Water the seedlings. Once you have transplanted the seedlings, give them enough water to dampen the soil.
Growing and Harvesting the Onions
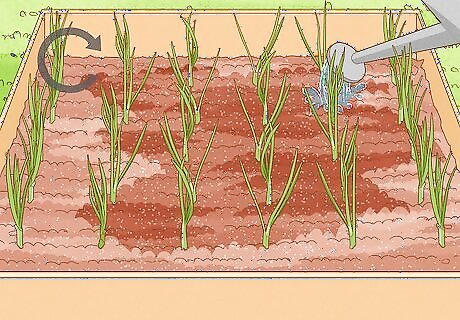
Water the onions frequently, and never let them dry out. Consider adding some nitrogen to the water to keep the onions healthy. You only need to do this until mid-July, however.
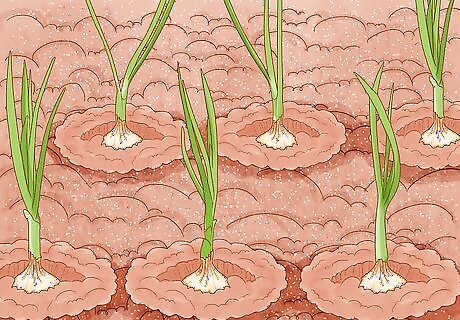
Pull the soil away from the bulbs to expose the tops as they mature. The leaves are not the only part of the onion that will stick out of the soil; the bulbs will too. If the bulbs are not developing out of the ground, you may want to brush some of the soil away from them, so that only the roots and the bottom part of the bulb are in the soil. This will help the bulbs dry faster.
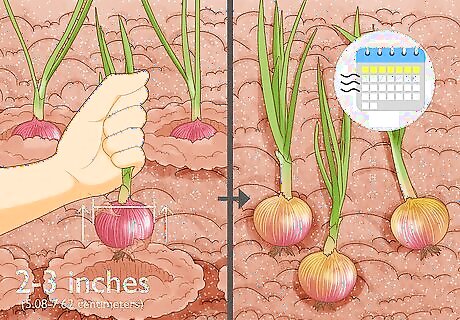
Harvest the bulbs. Begin harvesting when the bulbs are 2 to 3 inches (5.08 to 7.62 centimeters) in diameter. Bend the plants to the ground to avoid top rotting of the bulbs (pink neck). Give the bulbs 5 to 6 days to dry and turn brown. This will speed up the process of drying the bulbs, as well.
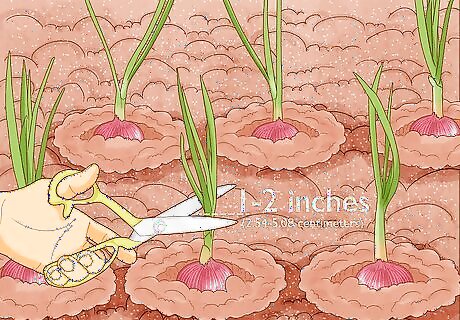
Trim the leaves down to 1 to 2 inches (2.54 to 5.08 centimeters). If you plan on braiding the onions into a rope, like garlic, you can leave the leaves longer.
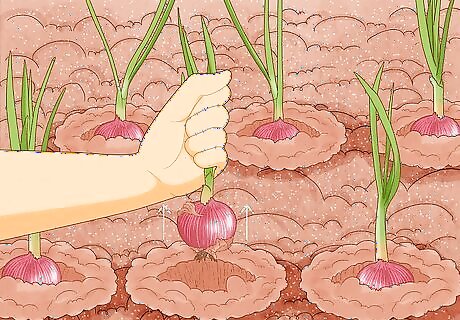
Pull the bulbs out of the ground. Once the outer layer of the onion bulb's skin has dried, it's ready to harvest. Place the bulbs in a container, such as a box, bag, or wheel barrow to store the onions you have harvested. Make sure the container is warm, dry, dark, and well ventilated.
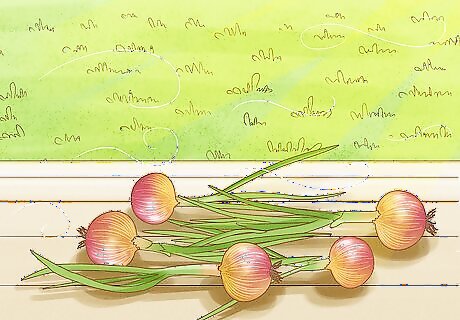
Cure the onions out of direct sunlight, someplace that is warm, dry, and has good air circulation. Spread the bulbs out on a screen to provide ample circulation. Let them cure in a shed or garage. A porch that doesn't get a lot of sunlight will also work. If you cure the onions in direct sunlight, the skins will soften and invite bacteria. If you cure them someplace damp and humid, they may start to rot.
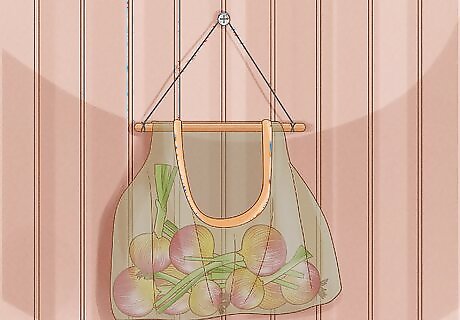
Store the cured onions someplace dry and cool with good air circulation. If you are not braiding your onions together and hanging them up, you will need to store them properly in a bag or box. You can store them however you want, as long as they are kept cool and dry. Good air circulation is a must. Here's a few popular ways to store onions. Store the onions in an onion bag, and hang the bag up. Store the onions in a shallow box. Use newspaper to keep the bulbs separate. Store the onions in nylon stockings. Tie a knot in the stocking between each bulb. Hang the stocking up. When you want to get an onion, simply cut below or above a knot.





Comments
0 comment