views
Creating a Heart-Shaped Note
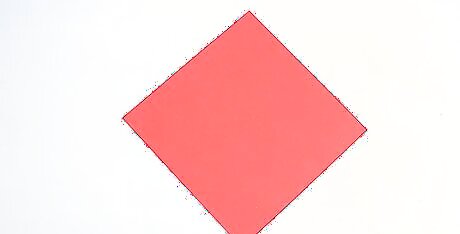
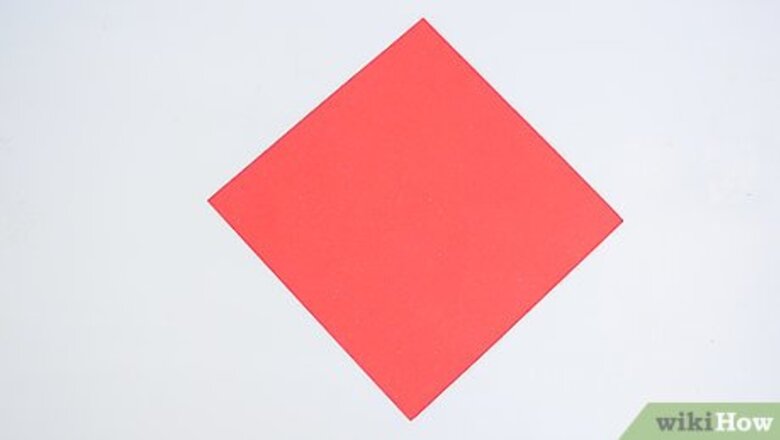
Place a square note on your work surface so it looks like a diamond. If you wrote your note on a rectangular piece of paper, fold one of the long edges inward to make your note into a square. Position the note so the writing is face-up and the corners are at the top, bottom, and each side of your work surface. If you want to make your note extra special, write it on the non-colored side of a square piece of origami paper.
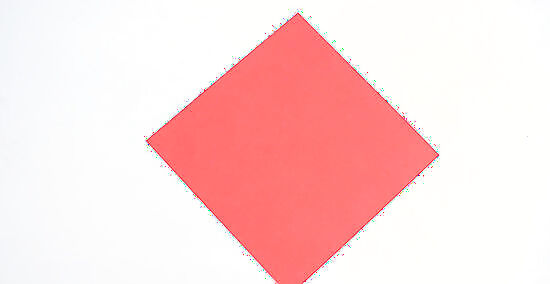
Fold the top corner down to the bottom corner and unfold it. Fold the paper in half horizontally and crease it. Unfold it so the diamond has a line running horizontally through the middle between the 2 side corners. Your note will now look like the type of diamond on playing cards but with a horizontal crease in the middle.
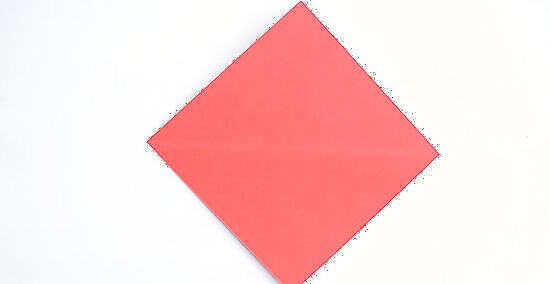
Fold the left corner to the right corner and unfold it. This time, fold the paper in half vertically. Crease the note so there is a line running through the middle. Your note will now look like a diamond in front of you with vertical and horizontal creases running through the center.
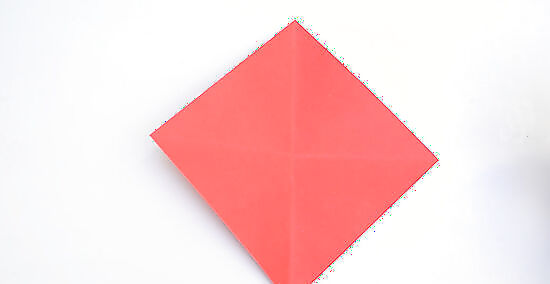
Fold the top corner down to the center of the horizontal crease. Take the top corner and fold it down until the point meets the horizontal crease in the middle of the note. Crease it so it stays folded. Your note will now look like a diamond jewel instead of the type of diamond from playing cards.
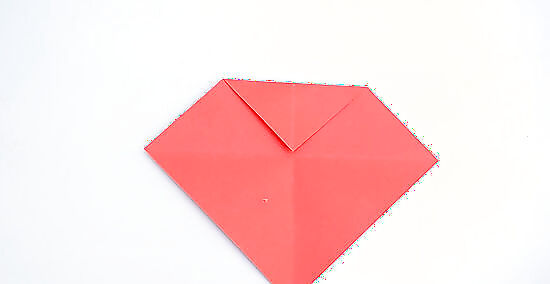
Fold the bottom corner up to the top edge. Take the bottom corner and fold it up away from you until the point meets the top edge. Make a sharp crease in the fold. Your note will now look like a diamond jewel with the bottom point cut off.
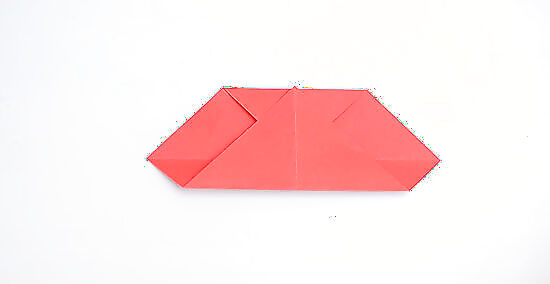
Bring the bottom left and right edges to the vertical center crease. Fold the left and right sides up at an angle so that the bottom edges line up with the vertical center crease. Crease them so they stay folded. You will now have what looks like a heart with sharp edges.
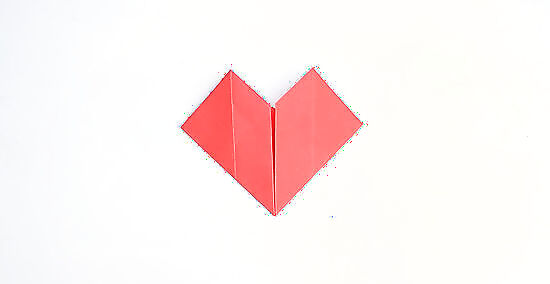
Hide the top and side corners at the back of the note to round the heart. Fold the 2 top corners as well as the left and right corners back behind the heart. Crease them well by running your fingernail along the folds to keep them tucked back behind the heart. Your note is now ready to be delivered with your message of love!
Creating a Square “Lori” Note
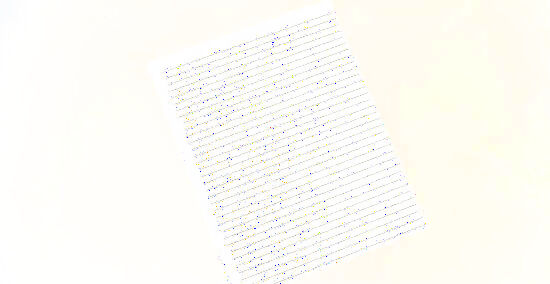
Fold the note into vertical quarters. Lay the note vertically in front of you, face up, and fold the paper in half vertically. Make a second vertical fold so that the paper is now 1/4 of its original width. Note that the height or length of the paper will remain unchanged.
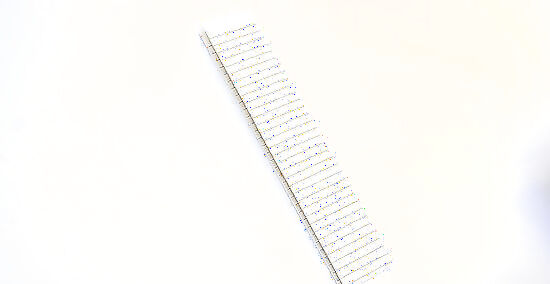
Bring each corner inward like a triangle. Fold the upper left corner diagonally to the right so the edge of the folded corner is flush with the edge of the paper strip. Fold the bottom right corner diagonally to the left in the same manner. Make sure you only fold enough of the end so that the edge of the folded corner remains perfectly aligned with the edge of the paper strip and does not overlap at all.
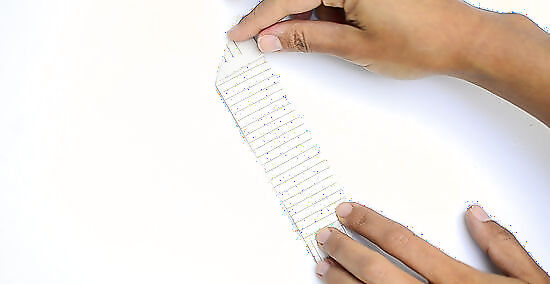
Make another inward diagonal fold on each end. Fold the upper triangle down and to the right so that it meets the edge of the paper strip on the other side. Fold the lower triangle up and to the left the same way so that the edge of the triangle and the paper strip are flush. There will be a slanted parallelogram on each end. The first 2 triangles you folded will be hanging off the main body of the paper.
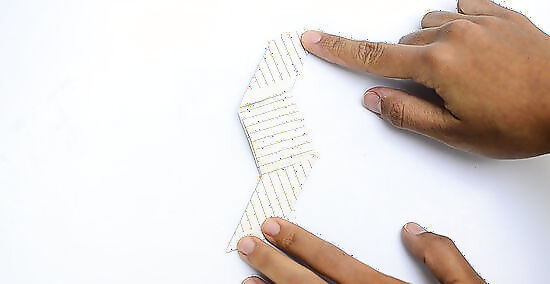
Flip the note and fold in the triangles on each end horizontally. Turn the note over so the back side is facing you. Fold the upper triangle down to the right and the lower triangle up to the left so that you have 1 parallelogram shape composed of 4 different triangle sections. You will be left with 2 triangles that hang off the main body of the note but are aligned with the edges of the main body.
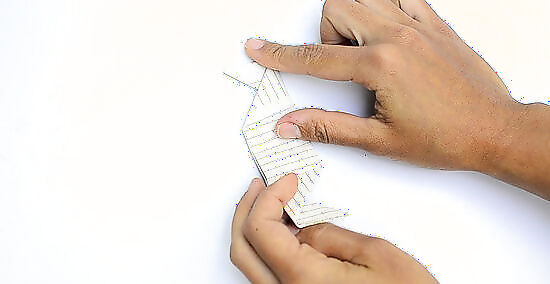
Flip the note back over and fold the lower triangle portion up. Turn the note back over so the front side is facing you again. Fold the bottom edge of the back lower triangle up to meet the lower edge of the front upper triangle. You will now be left with 1 triangle hanging off of the main square body.
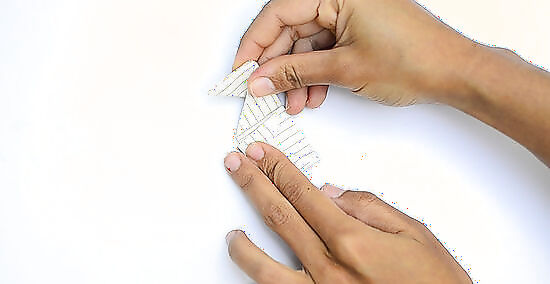
Fold the upper triangle portion down. Fold the top edge of the back triangle over the front of the note so that it meets the bottom edge of the note. Your note will now look like a square. The only thing remaining is a final maneuver that holds the note together.
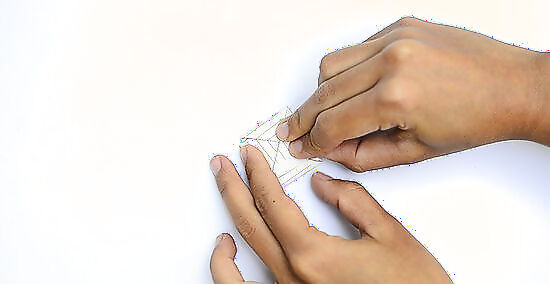
Slip the outermost triangle into the lowest pocket. Move the tip of the triangle facing you into the pocket at the very bottom of the note. Tuck it in securely to keep your note together and secret. You will be left with a square note divided into 4 separate triangular sections.
Making an Arrow Note
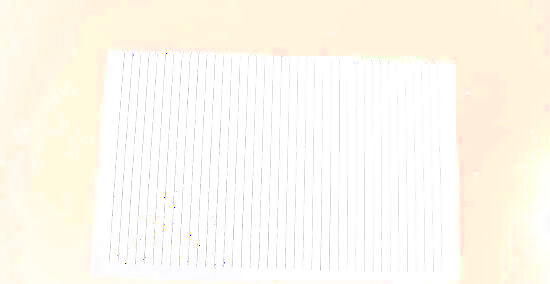
Put your note in front of you and fold it in half vertically. Lay the piece of paper in front of you on a flat surface with the note facing you. Fold it down the middle vertically and crease it so it is long and skinny. Note that the width will be halved but the height will remain unchanged.
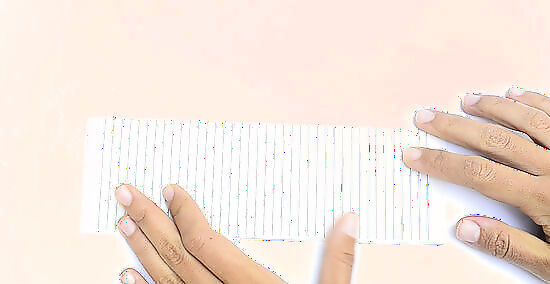
Crease the bottom left and top right corners into triangles. Bring the upper right corner diagonally down and to the left so the edge is flush with the edge of the paper, then crease it. Fold the lower left corner diagonally up and to the right so the edge is flush with the edge of the paper, then crease it. Unfold the corners so you can see the crease marks. The edge of each corner will be aligned with the edge of the note when you fold them.
Fold the bottom right and top left corners into triangles. Bring the upper left corner diagonally down and to the right and the bottom right corner diagonally up and to the left so the edges of the triangles are flush with the edges of the paper. Crease them and then unfold them to leave visible lines. Make sure to crease the edges well so that the folds leave easily visible marks. You can do this by running a fingernail over the folds before you unfold them.
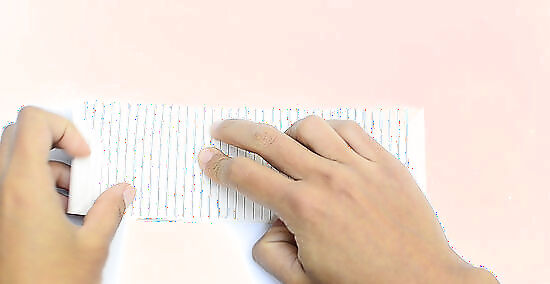
Bring the top and bottom edges of the paper inward to the corners of the creases. Fold the top edge of the note down widthwise so that the crease marks left behind by your previous folds overlap evenly. Fold the bottom edge up in the same manner. At this point you will be decreasing the length of the paper. The width will stay the same.
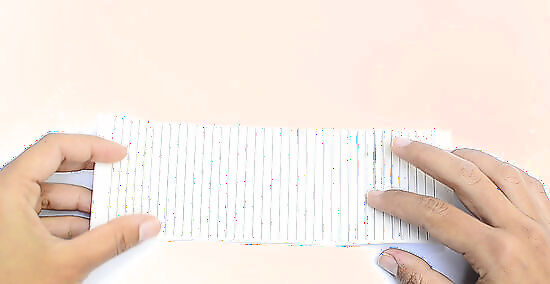
Tuck the folded corners in to make each end of the paper into an arrow. Push in on each corner so that the start folding inwards. Press the corners in between the top and bottom layers of paper until you create an arrow. When you’ve done this step, there will be a triangle-shaped arrow at the top end of the paper and at the bottom end. When looking at the top triangle from the bottom, each tucked-in corner will form an "M" shape.
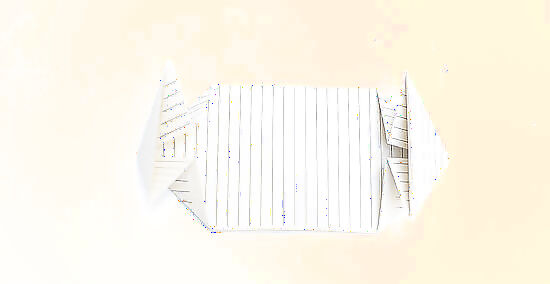
Fold each vertical side towards the center under the flaps of the arrows. Slightly lift the edges of both triangles to exposing the bottom portion of the note. Bring the flat edges of the note in vertically toward the exact center and crease them to tuck them in between the layers of the arrows. You will now be left with a double-sided arrow shape with a middle body that is skinnier than the width of the arrows. Each outside edge will meet with the exact vertical center of the note.
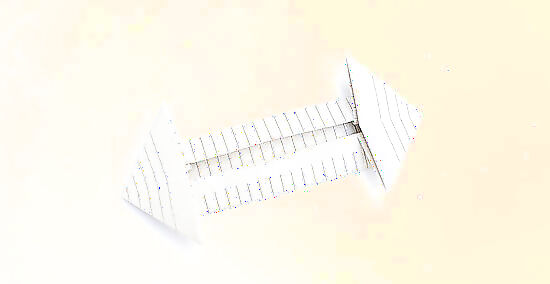
Overlap the arrows and fold the note in the middle. Bring the bottom arrow up so that it overlaps the top arrow. Crease the note in the middle horizontally. You will now have just a single-sided arrow.
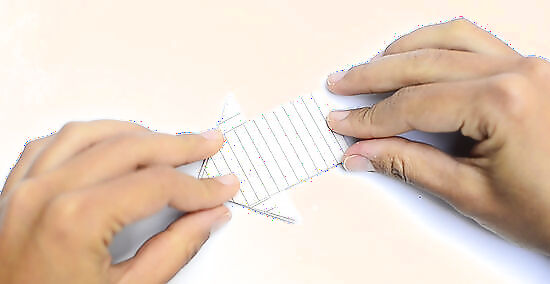
Slip the bottom layer into the top arrow to secure your note. Slightly unfold the note so that you will be able to slip the tip of the top arrow under the bottom arrow. Tuck the top arrow into the fold of the other arrow underneath and flatten the whole note. You will now be left with a secure arrow that has 1 head and your secret note inside.
Creating a Diamond-Shaped “Tiffany” Note

Fold the note in half vertically so it is long and skinny. Put the note flat in front of you so that it is oriented like a normal sheet of note paper. Fold it like a hot dog and crease the middle so it stays folded. The width will be halved while the height will remain unchanged.

Crease 1 upper corner and 1 lower corner into triangles. Bring the upper left corner diagonally down and to the right so that the edge of the folded triangle is flush to the edge of the main body. Fold the lower right corner diagonally up and to the left in the same manner. Unfold both triangles after you crease them. Make sure to crease the folds well before you unfold them so you can still see the lines.
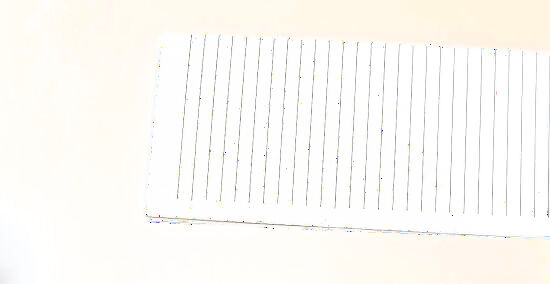
Repeat the previous folds with the other 2 corners. Bring the upper right corner diagonally down and to the left and the lower left corner diagonally up and to the right. Crease them well and then unfold them. The edges of both triangles will be flush to the edge of the main body of the note when you fold them.
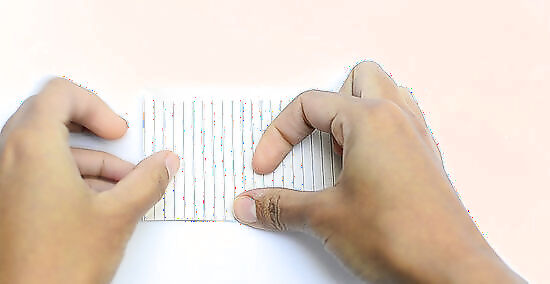
Fold the top and bottom edges of the note inward. Bring the top edge down so that the corners meet the start of the marks made by your triangle folds. Do likewise with the bottom edge by bringing it up to meet its corresponding crease marks. You will now have a rectangle slightly smaller than the rectangle you started with.
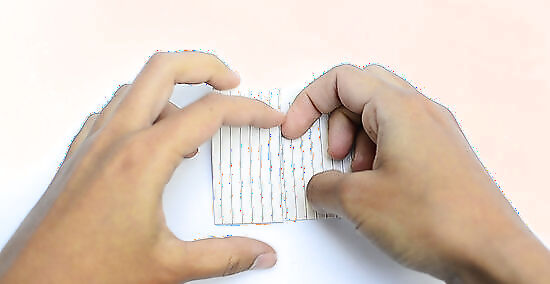
Push the folded corners in gently to create arrows. Push in on each corner so that they turn inwards.. Tuck the corners in between the top and bottom layers of the note to make them into a triangle. From the front, the resulting shape will look like a short rectangle with a triangle on the top and triangle on the bottom. When viewed from the bottom of the fold, each tucked corner will form an "M" shape.
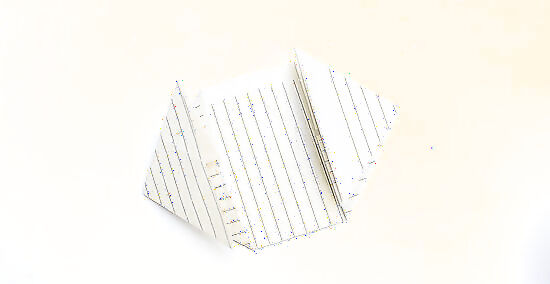
Flip the paper and fold the bottom triangle up. Fold the bottom triangle up from the bottom of the note, on the backside, so the base of the triangle lines up with the bottom of the paper. This will create a straight edge at the bottom. Your note will now look like a square with a triangle on top. Think of it as a house shape.
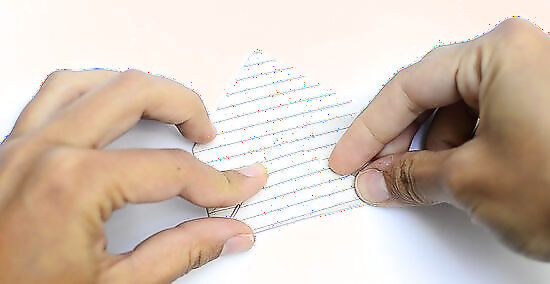
Fold the upper triangle down and crease it. Bring the point of the upper triangle down so that it meets the base of the lower triangle. Crease it well and unfold it temporarily. Note that the base of the upper triangle does not need to line up with the top of the paper. It is more important that the point of the upper triangle meets the base of the lower triangle.
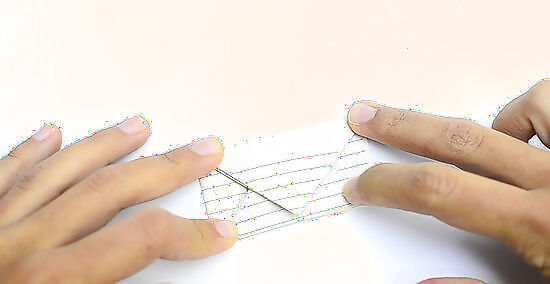
Form a small diamond with the bottom corners. Take the top layer of the bottom right corner and fold it up so that it meets the point of the bottom triangle. Repeat this with the bottom left corner to make the diamond shape. You will be looking at a square with a diamond in the middle and a triangle on top.
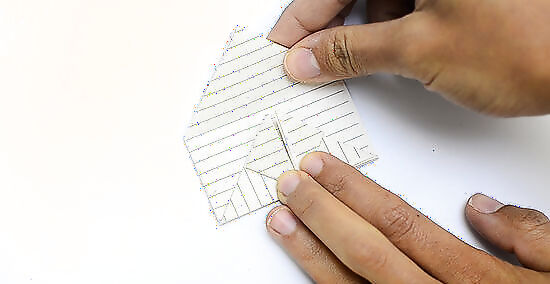
Refold the top triangle and form a diamond with its corners. Fold the top triangle down so it overlaps the bottom triangle again. Fold the top layer of the right and left corners down to meet the tip of the upper triangle. This is just the inverse of what you did at the bottom of the note.
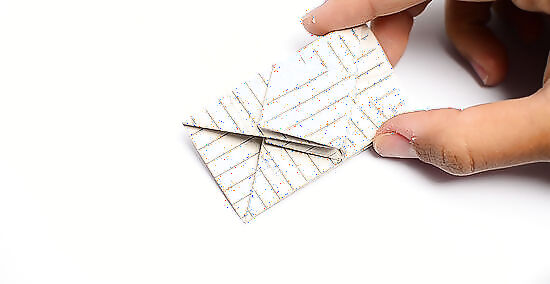
Bring the bottom corners in temporarily to make a horizontal crease. Take the bottom tip of each half of the newly-created top diamond. Bend the tips inward toward the top tip of the diamond. Crease the folds well and unfold them back to the previous shape. The goal here is to create a horizontal crease across the left and right sides of the newly-created top diamond.
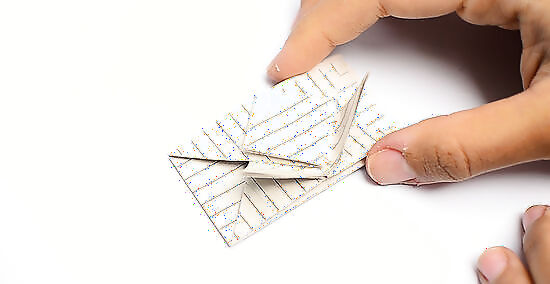
Pull the flaps of the bottom diamond into those of the top. Bring each half of the bottom diamond up so that it crosses the base layer of the paper. Make sure each side is resting behind the corresponding half of the top diamond. The note will now look like a rectangle with 2 loose flaps on the upper diamond.
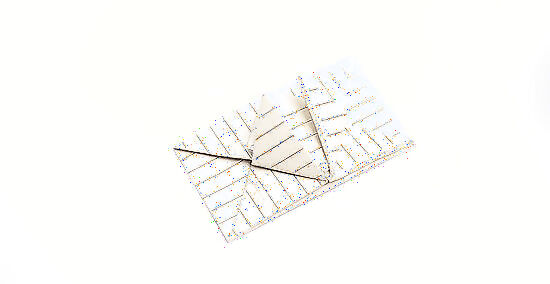
Tuck the flaps of the upper diamond into the newly-created pockets to secure them. Carefully unfold each flap. Fold the flaps in the opposite direction and tuck them into the top-most pockets. You will now have a rectangular note with a secure diamond on the front.
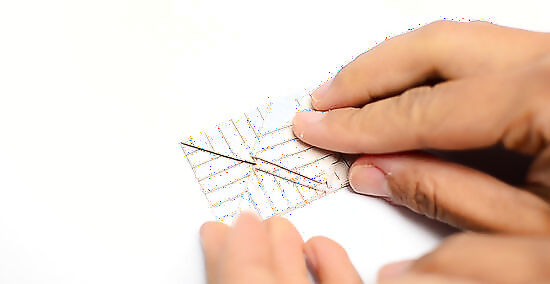
Flip the paper over and fold the sides in. Turn the note over so the back side is facing you. Fold the right vertical edge to the left and the left vertical edge to the right so it slightly overlaps. Only fold the edges as far as they will go comfortably and without ripping them.
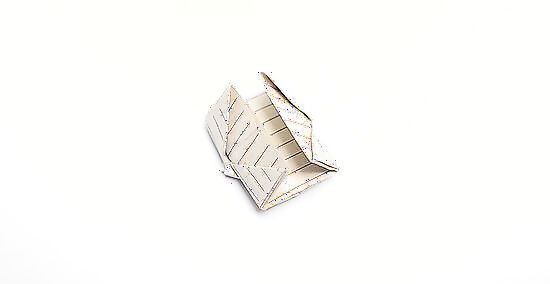
Tuck the left side into the right side and flip the note over. Slip the points of the left side into the corners of the right side to secure the shape. Turn the note over to the front once more. You will now have a securely folded note with a diamond on the front and your message secretly written inside!





Comments
0 comment