
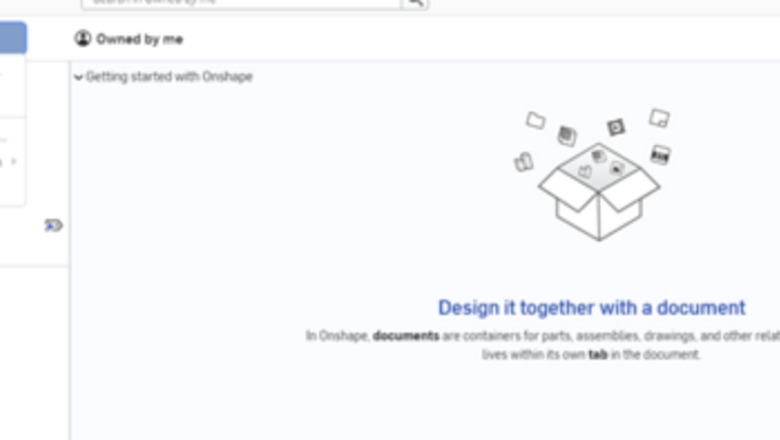
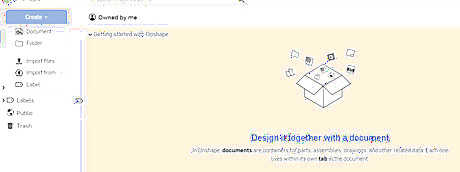
Create a document. Open Onshape and select Create. Then click on Document.... Name your document and press OK.
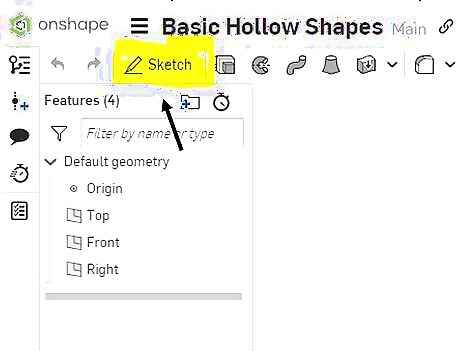
Select Sketch in the top left corner. Then select the front plane option.

Select the Front plane from the cube in the top right corner. There are other ways to do this, but this is the most basic way.
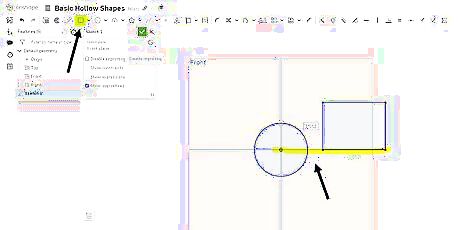
Insert your shapes. Selecting the shape tools in the top-left corner, make sketches of the outline of your hollow shape. Select the Circle tool if you are looking to make hollow cylinders. Make the center of the circle the origin of the drawing. Select the Rectangle tool in the top left for hollow prisms. If you have two shapes, make the corner of the rectangle lies on the same line as the center of the circle (x-axis).
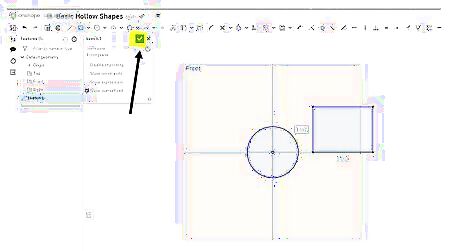
Click on the green check mark. This will accept the sketch.
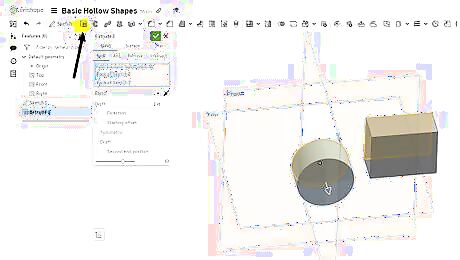
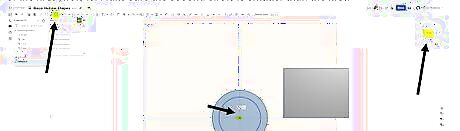
Make your shapes 3D using the extrude tool. Select the extrude button next to Sketch in the top left corner. Then, with the default extrusion setting, select the face of the shape you are trying to extend. The extrude tool adds depth to a 2D sketch, elongating the selected face across the perpendicular plane to make it a 3D object. You can change the depth of the extrusion to set the size of your shape. The depth settings are located in the extrusion dropdown menu below "Blind". Make sure your extrusion settings are set to Solid and Add. These are the default settings, but double-check anyway or the extrusion will not modify the shape into 3D.
Select the green check mark. This will accept the extrusion. Your shapes should now be 3D, extended from the selected face.
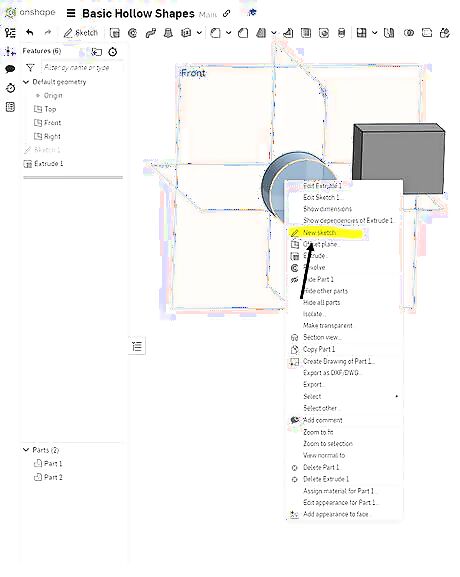
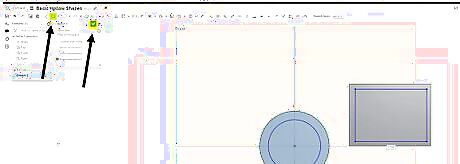
Right-click on the front face of the circle and select New sketch… in the dropdown menu.
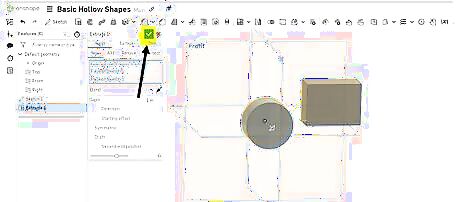
Create a second shape within your 3D shape according to how large you want the hollow section to be. Click the Front view in the top right cube again. Then, select the shape tools and insert new shapes into the center of your existing shapes. Make sure the second shape is smaller than the first and that the lines so not intersect at any point. These shapes will be used to "carve out" the center of your original shapes. Set their sizes so that all area within the lines of the second shape are supposed to be hollow. You do not necessarily need to use the same shapes within your original sketches. For example, while you can use a circle within your circle to create a classic hollow cylinder, you can also use other shapes such as squares and rectangles depending on what shape you want the hollow section to be.
Select the green check mark once you have both of the second shapes sketched. This will confirm the new sketches.
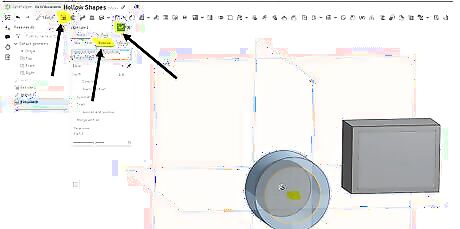
Use the extrude tool to remove the center of the shape. Click on the extrude tool and select Remove in the dropdown menu that appears. Then, click on the small face of your first shape. You do not need to change any other settings. Then, click on the green check mark once more to accept the new extrusion and cut away the material. Repeat this for other hollow shapes you are trying to make. You may need to select the Sketch of the next shape and make it visible before being able to extrude again. Hover you mouse over the corresponding sketch in the Features Column and click the eye icon that pops up. This should allow you to see and click on the next shape.Onshape 13.jpg This extrusion removes the area where the second shape coincides with the first. It should cut away the hollow section you mapped out when sketching the second shape.

Finished. You have completed the construction of basic shapes that are hollow in Onshape. You can now use the basic tools and method learned here and apply it to other, more complex designs.


Comments
0 comment