views
Check annually.
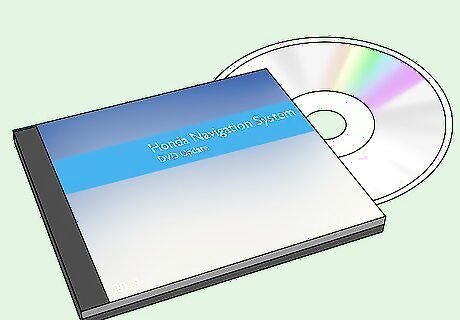
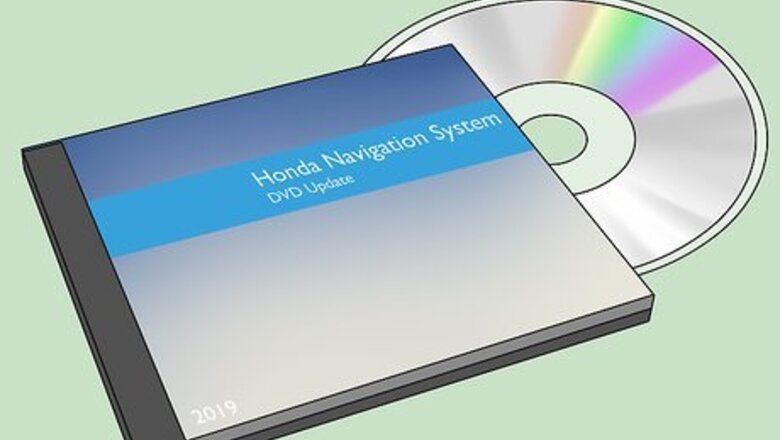
Honda Navigation System Updates are released annually and currently come on a DVD. You will need to purchase the latest disc version from Navteq. Once your new Honda Navigation DVD arrives in the post, you can proceed to the installation process below.
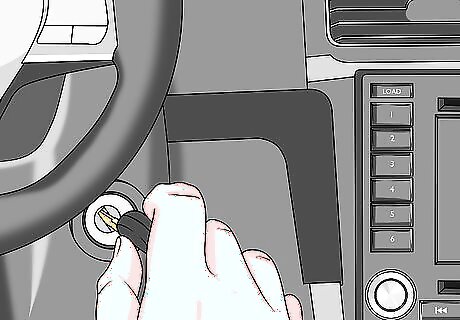
Turn on the ignition in your Honda car and keep it running.
The navigation system should boot up.
Press eject on the DVD tray.
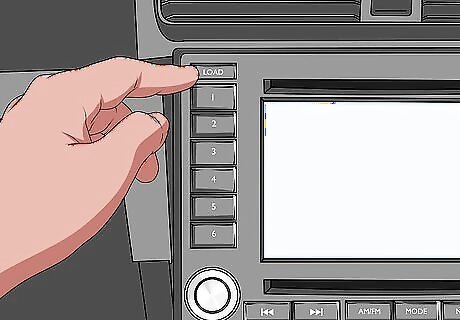
On most Honda navigation systems, this will be in the dashboard. On older models, this can be found underneath the passenger seat.
Remove the out-of-date Honda Navigation DVD.
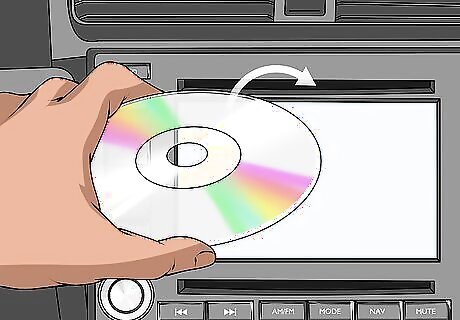
Insert the new disc.
Click yes.
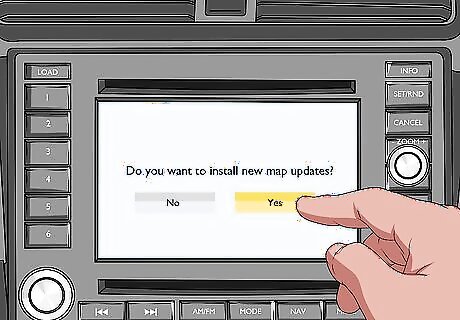
The navigation system's screen will ask if you want to install new map updates. So, click "yes" to proceed.
Key in the ID number.
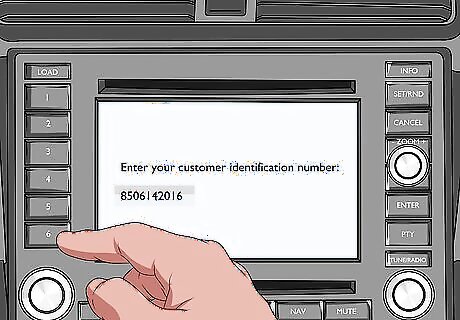
The system will prompt you enter in your unique customer identification and serial number. This can be found on the DVD packaging, so keep it close to hand.
Wait.
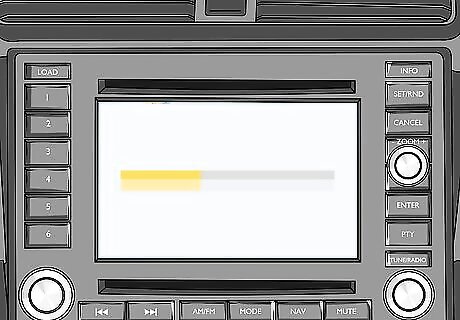
The new maps will start to load into the navigation system. The process should take no longer than 20 minutes. Once loaded, you're good to go.







Comments
0 comment