
- You need to prepare your chart data in Excel before creating a chart.
- To make a pie chart, select your data. Click Insert and click the Pie chart icon. Select 2-D or 3-D Pie Chart.
- Customize your pie chart's colors by using the Chart Elements tab. Click the chart to customize displayed data.
Preparing the Data
Open a project in Microsoft Excel. You can use an existing project or create a new spreadsheet. Microsoft Excel is available on Windows and Mac. You can also use the online web version at the Microsoft 365 website. You can use Excel to make tables, type formulas, make graphs, and more.
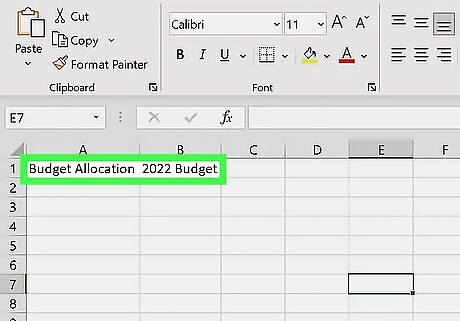
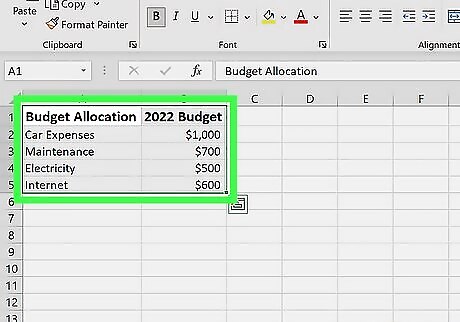
Add a name to the chart. To do so, click the B1 cell and then type in the chart's name. For example, if you're making a chart about your budget, the B1 cell should say something like "2022 Budget". You can also type in a clarifying label—e.g., "Budget Allocation"—in the A1 cell.
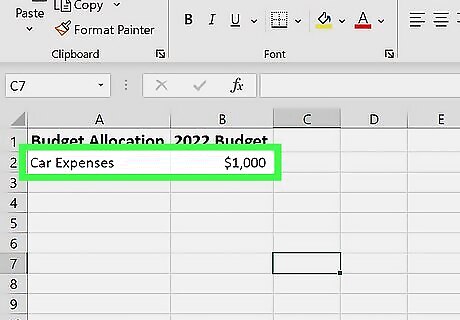
Add your data to the chart. You'll place prospective pie chart sections' labels in the A column and those sections' values in the B column. For the budget example above, you might write "Car Expenses" in A2 and then put "$1000" in B2. The pie chart template will automatically determine percentages for you.

Finish adding your data. Once you've completed this process, you're ready to create a pie chart using your data.
Creating a Chart
Select all of your data. To do so, click the A1 cell, hold down the Shift key, and then click the bottom value in the B column. This will select all of your data. If your chart uses different column letters, numbers, and so on, simply remember to click the top-left cell in your data group and then click the bottom-right while holding the Shift key.
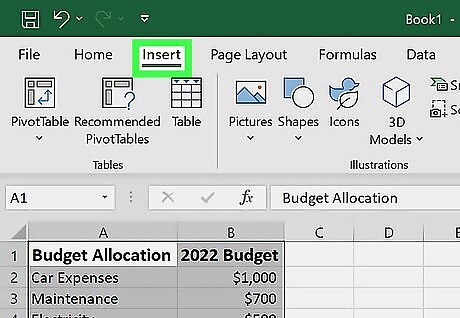
Click the Insert tab. It's at the top of the Excel window, to the right of the Home tab.
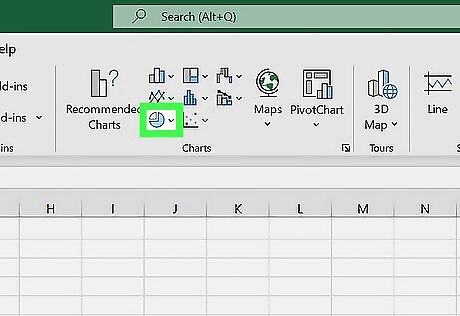
Click the "Pie Chart" icon. This is a circular button in the "Charts" group of options, which is below and to the right of the Insert tab. You'll see several options appear in a drop-down menu: 2-D Pie: Create a simple pie chart that displays color-coded sections of your data. 3-D Pie: Uses a three-dimensional pie chart that displays color-coded data. Donut: Displays color-coded data with a hole in the center for series of data. You can also click More Pie Charts… to view all available options.

Click a chart option. Doing so will create a pie chart with your data applied to it; you should see color-coded tabs at the bottom of the chart that correspond to the colored sections of the chart itself. You can preview options here by hovering your mouse over the different chart templates.
Formatting Your Pie Chart
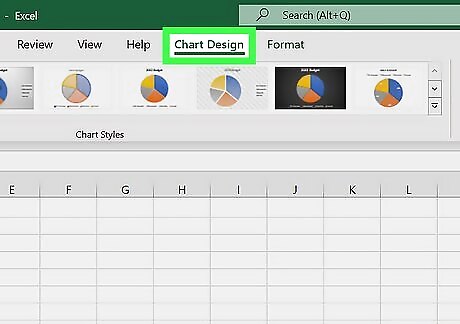
Click Chart Design. This is the tab on the top toolbar, next to Help and Format. You'll be able to change the way your graph looks, including the color schemes used, the text allocation, and whether or not percentages are displayed. If you don't see this tab, you'll need to click on your chart first.

Change your chart style. Switch between styles by clicking the previews above Chart Styles. Only one style preset can be applied at a time. You can also click the paintbrush icon next to the chart to find Chart Styles in the Styles tab.
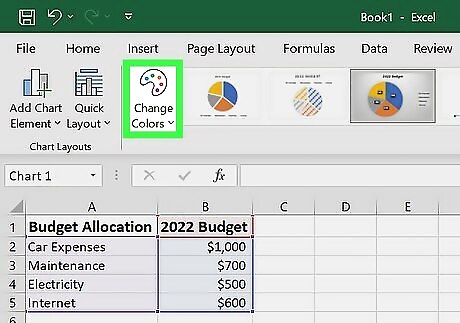
Change your chart color. Click the Change Colors icon. This looks like a color palette. A drop-down menu will appear with multiple color themes listed. Click the color scheme you want to apply. You can also click the paintbrush icon next to the chart and click the Color tab to change your chart colors.

Toggle chart labels. Click your chart, then click the + from the side icons. To remove data and percentage labels from your chart, uncheck Data Labels underneath Chart Elements. To remove category or percentage labels separately, click the arrow next to Data Labels, then More Options. Use the right panel to uncheck Percentage or Category name.
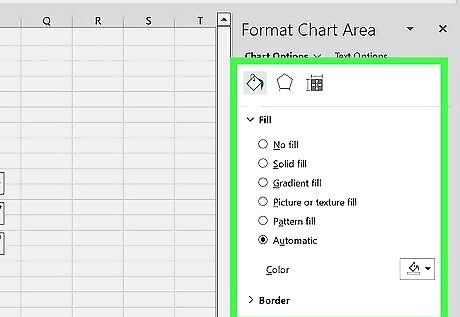
Customize the Chart Area. With the chart selected, the Format Chart Area will be visible in the right panel. Fill & Line: Customize Fill and Border options. Effects: Add effects such as Shadow, Glow, Soft Edges, and 3-D Format. Size & Properties: Customize the height, width, and scale of your chart.


Comments
0 comment