

Running a Cleaning Cycle
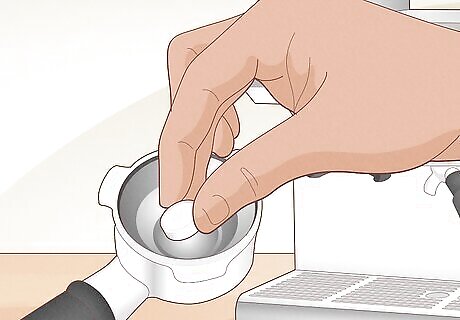
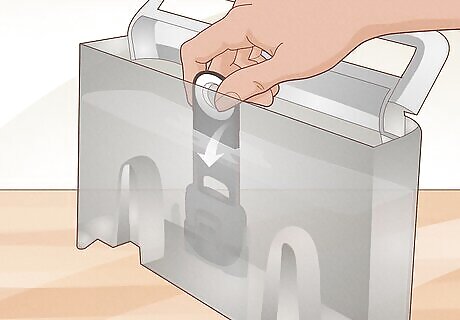
Place a cleaning tablet inside a single-filter basket. Models like the Barista Express Machine have a built-in cleaning cycle that can be performed with the press of a few buttons. Untwist the portafilter from the holder, insert the single-filter basket and cleaning disc. In the middle of the disc, place a Breville cleaning tablet. Twist the portafilter back in the holder. A cleaning cycle should be performed when the solid "CLEAN/DESCALE" light appears on your Breville. Cleaning cycles can be performed once a week. However, the grinder and water tank can be cleaned once every two or three weeks.
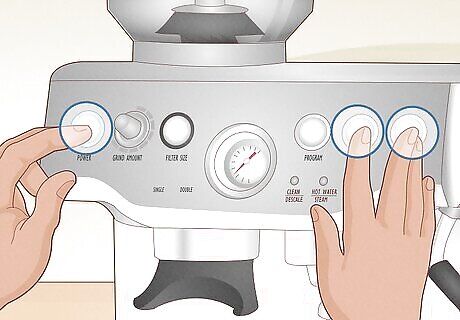
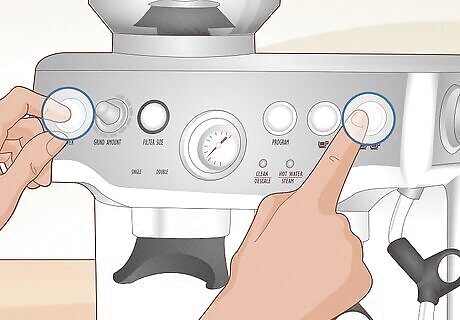
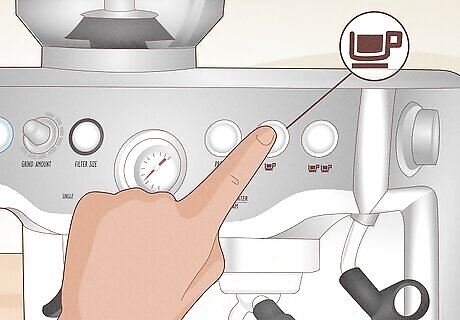
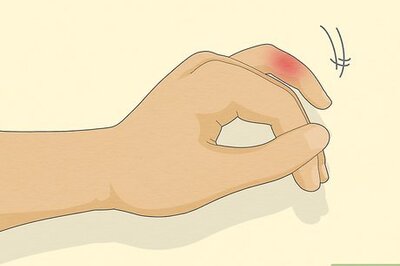
Press the single-cup, double-cup, and the power button simultaneously. Hold all three buttons until the lights on the machine illuminate and the gauge pressure increases. This will trigger the cleaning cycle. Ensure the water filter is full before performing the cleaning cycle.
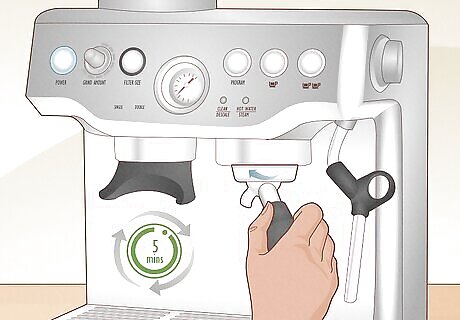
Run the cleaning cycle for 5 minutes before removing the portafilter. The cleaning cycle commences once you hear two loud beeps from the machine. Twist the portafilter from the holder. Look to see if the cleaning tablet has fully dissolved. If not, perform the cleaning cycle one more time.
Descaling and Deep Cleaning
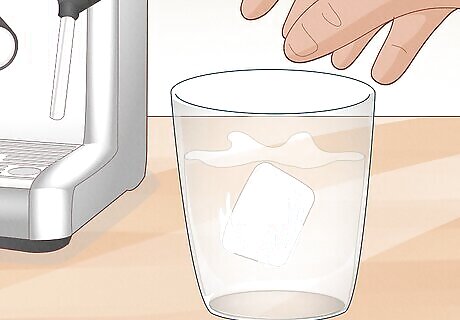
Soak a brand-new water tank filter in a cup of warm water. Before you begin the cleaning process, start by prepping the new water tank filter. Remove the filter from the packaging and plop it into a glass of warm water for 5 minutes.

Rinse and remove the machine's components. First, empty the drip tray and water tank. Then, dispose of the old water filter. Grab one packet of Breville's descaling solution, which comes with your machine. Dissolve the solution in 1 liter (34 fl oz) of warm water. Pour the solution into the water tank and reinsert it into the machine. The cleaning solution comes as a powder or a liquid. If you're using a liquid bottle, follow the instructions on the back. Generally, you'll add half a bottle of liquid with enough warm water to reach the maximum fill line. Descaling removes mineral buildup, improving the coffee's taste and preventing clogs in the water flow.
Hold the double-cup and power buttons to enter descale mode. To descale your Breville, ensure the machine is powered off. Then, simultaneously press and hold the double-cup and power buttons to start the descaling process. The single cup, power, clean/descale, and hot water/stream buttons will illuminate when the machine is ready. The unit will heat up during this process.
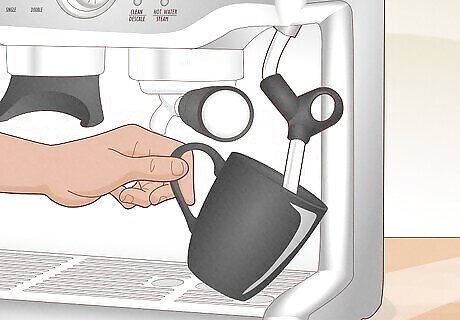
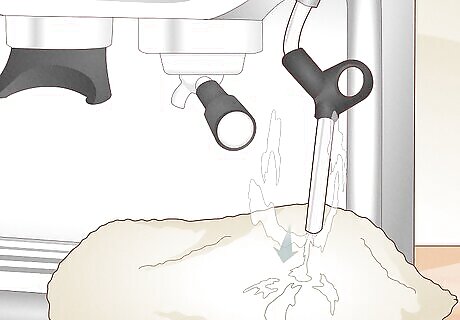
Slip a large bowl under the steam wand to catch the solution. Before you start the descaling process, grab a large 2 liter (68 oz) bowl or similar container under the steam wand. This will catch all of the solutions expelled from the machine. Press the single-cup button to start descaling the coffee component—the process should take 25 seconds. The single-cup button continuously flashes as water runs through the machine. Wait for the single-cup button to stop flashing before moving on to the next step.
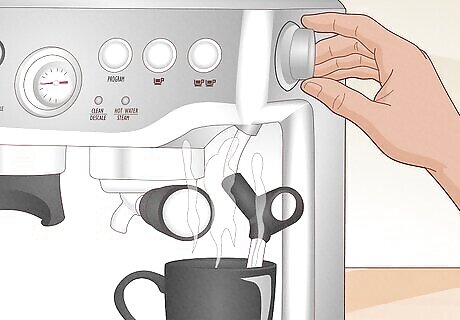
Descale the steam and hot water components. On the side of the machine, there's a steam dial that controls the hot water and steam wand components. Manually turn the dial right towards the hot water component. Wait 8 seconds for the water to flush the system. Then, twist the dial left towards the steam icon. Steam will be expelled from the wand for 13 seconds.
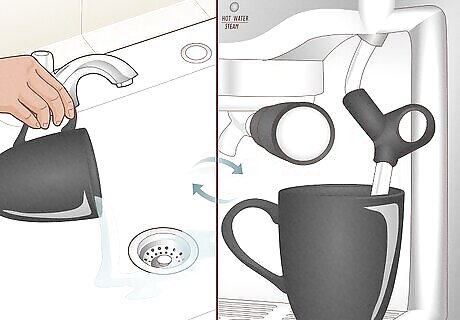
Repeat until no more descaling solution remains. Repeat the previous steps to continue the descaling process until all of the solution has run through the steam wand and hot water components. If necessary, dump out the bowl of the excess solution if it's getting full.
Place the new filter into the water tank. Remove the new filter from the warm cup of water from Step 1. Slide the filter into the filter holder and click it back into place in the water tank. Now your machine is ready for use! Descale your espresso machine every 3 to 6 months to avoid clogging or water issues.
Daily Cleaning
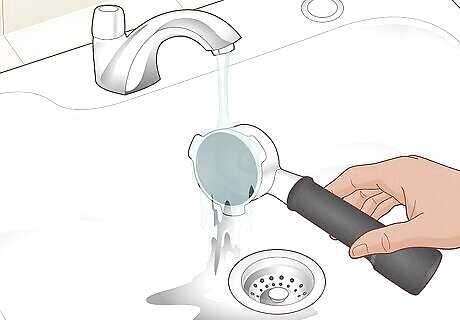
Remove the ground puck in the portafilter, if necessary. After making your morning espresso, toss the coffee grounds into the trash while it's still warm. Rinse the portafilter under the faucet for a few seconds to remove any coffee residue or oils that may affect the espresso's quality. This method is recommended after each use.
Brew a "blank shot" to remove lingering coffee and oils. Place the portafilter back into its slot. To brew a blank shot, select the "1 cup" option and ensure the water tank is filled to brew a cup of water. This process will help flush the group head.
Expel milk buildup from the steam wand. Cleaning the steam wand should be the last step of a quick clean. Grab a hand towel and release a little steam into it. The towel will absorb any milk buildup that comes out. Afterward, grab another damp, clean cloth to wipe the wand down. You can also use the backside of the hand towel.
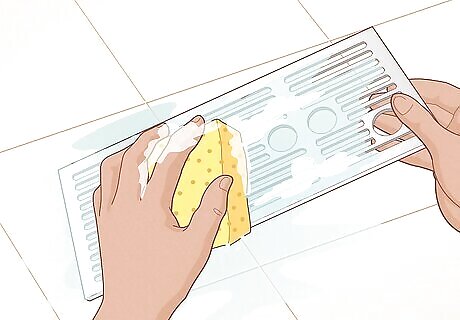
Rinse the drip tray with warm, soapy water. Slip the drip tray from the machine's base to avoid questionable smells in your kitchen. Discard any liquid collected in the tray. Then, saturate a sponge with warm water and dish soap to remove any dried grime and coffee buildup. Dry with a hand towel before reinserting it into the Breville.
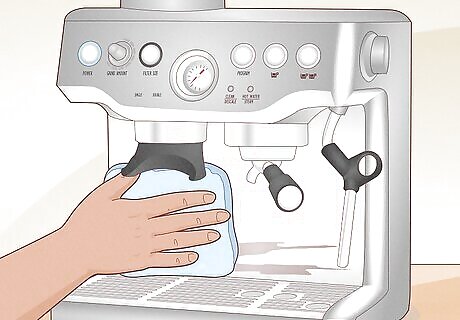
Wipe down the exterior of the Breville with a microfiber cloth. Use a dry microfiber cloth to remove dust, coffee grounds, or spills to clean and polish the machine. The texture of the cloth will prevent streaks in the finish, restoring its shine. For stubborn stains, dampen the cloth and use warm water and soap.


Comments
0 comment