views
Using the Contacts App
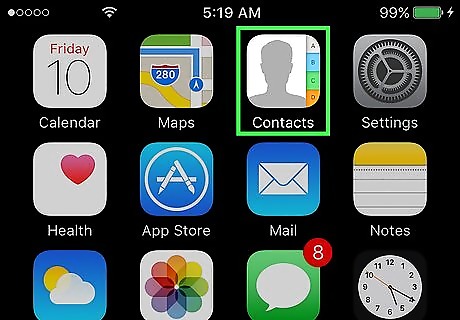
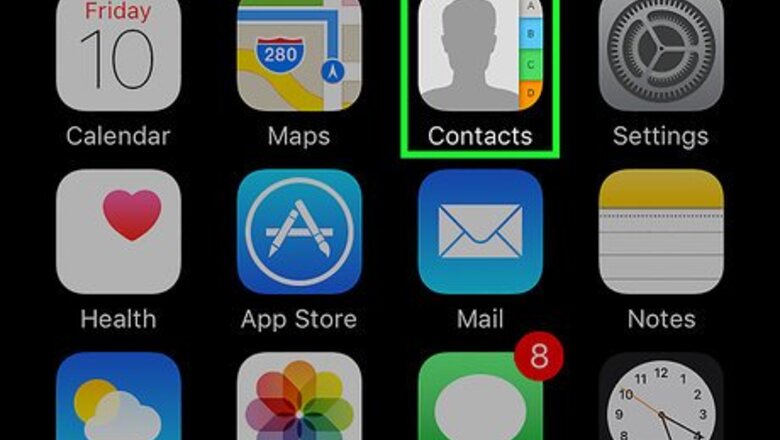
Open Contacts. It's an app with a person-shaped silhouette on a grey background and colored tabs along the right side. Alternatively, you can access Contacts from the Phone app by tapping the Contacts icon at the bottom of the screen.
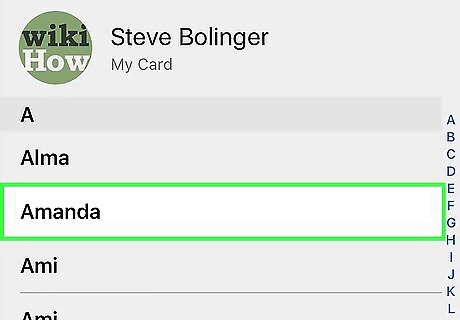
Tap a contact's name. Doing so will open their contact page. To search for a specific contact, tap the Search bar at the top of the screen and type in their name.
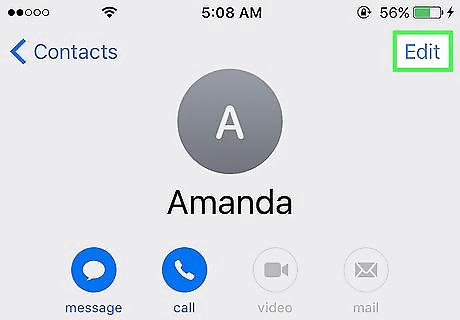
Tap Edit. It's in the upper-right corner of the screen. Doing so will allow you to make changes to this person's contact page, including deleting the contact altogether.
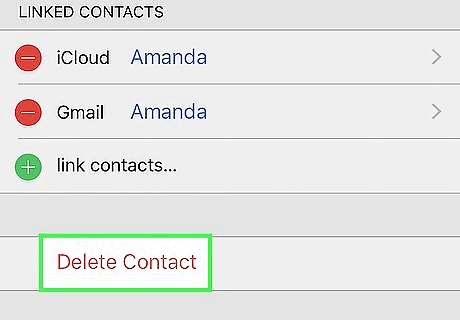
Scroll down and tap Delete Contact. It's at the bottom of the contact's page.
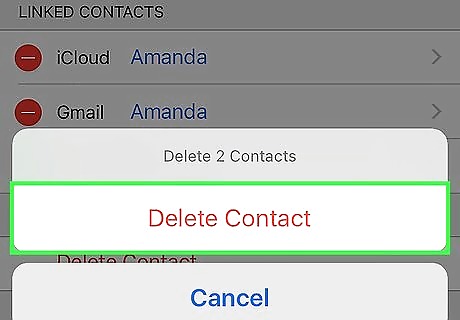
Tap Delete Contact again when prompted. You'll see this prompt at the bottom of the screen. After doing so, the contact will be deleted from your iPhone. You won't see a "Delete" option for contacts added from other apps like Facebook. If your iPhone is connected to your iCloud account, the contact will be deleted on all your connected devices.
Deleting All iCloud Contacts
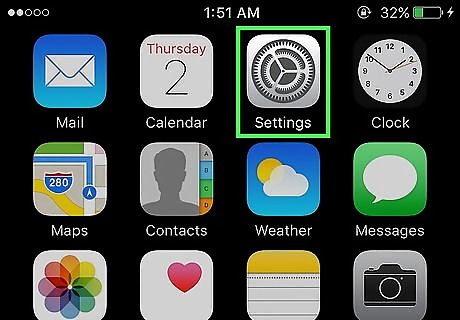
Open Settings. It's a grey app containing gears (⚙️) that's typically located on the home screen.
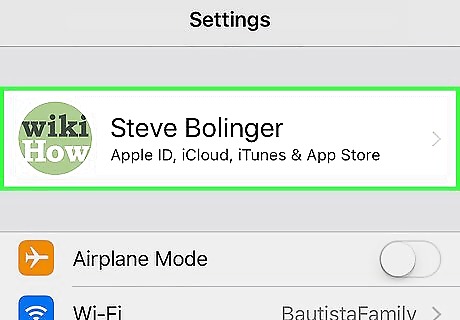
Tap your Apple ID. It's the section at the top of the menu that contains your name and image if you've added one. If you are not signed in, tap Sign in to (Your Device), enter your Apple ID and password, then tap Sign In. If you are running an older version of iOS, you may not need to do this step.
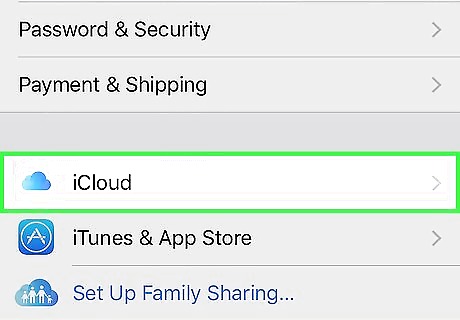
Tap iCloud. It's in the second section of the menu.
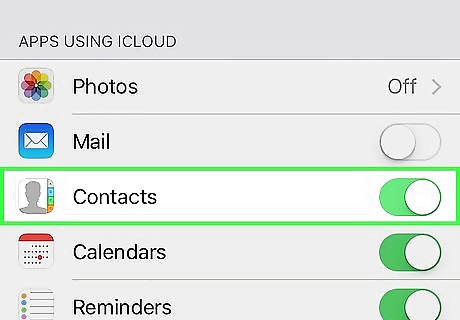
Slide "Contacts" to the "Off" position. It will turn white, and you will be prompted to delete all of the iCloud contacts stored locally on your iPhone.
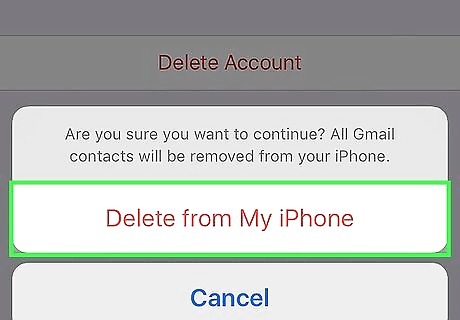
Tap Delete from My iPhone. All of the contacts that you had synced with your iCloud account will be deleted from your iPhone. These contacts include any locally saved information (e.g., manually added contacts).
Disabling Contacts from Email Accounts
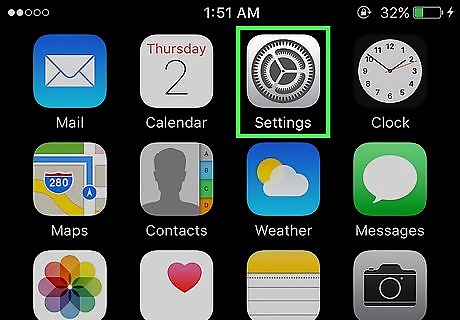
Open Settings. It's a grey app containing gears (⚙️) that's typically located on the home screen.
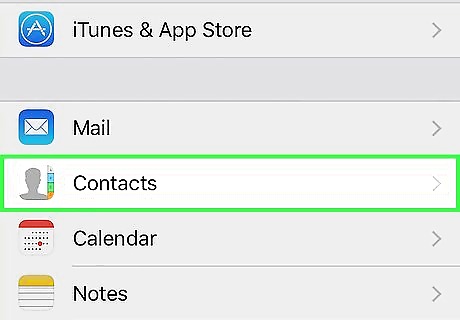
Scroll down and tap Contacts. You'll find it about a third of the way down the Settings page.
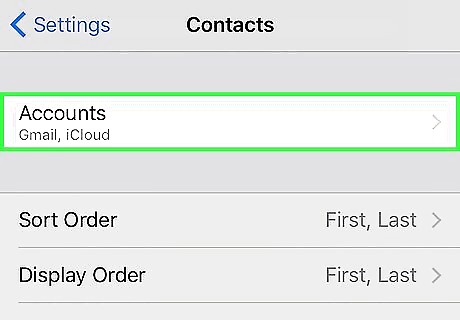
Tap Accounts. It's at the top of the page.
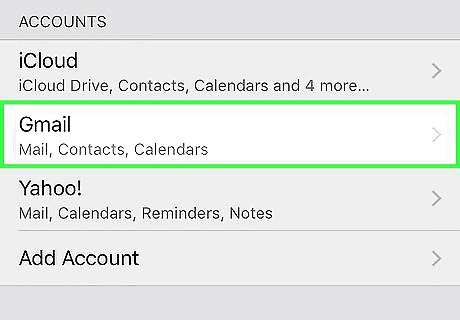
Tap an email account. At the very least, you'll see iCloud on this page. For example, you'd tap Gmail to open your Contacts settings for a Gmail account.
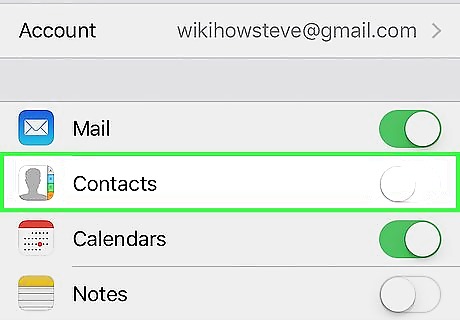
Slide the "Contacts" to the "Off" position. It will turn white, signifying that the contacts from your selected email account are no longer appearing in your iPhone's Contacts app.
Disabling Contact Suggestions
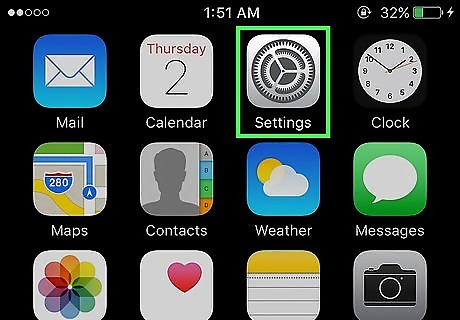
Open your iPhone's Settings. It's the grey app containing gears (⚙️) that's typically located on the home screen.
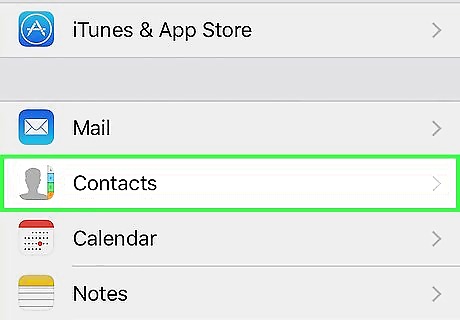
Scroll down and tap Contacts. You'll find it about a third of the way down the Settings page.
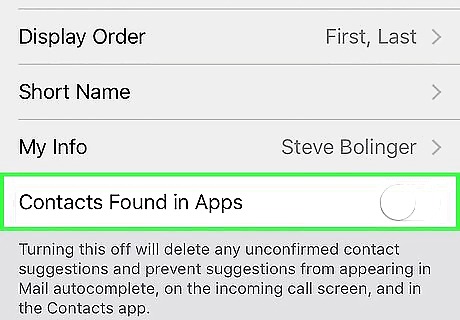
Slide "Contacts Found in Apps" to the "Off" position. It's at the bottom of the screen; the button will turn white. You'll no longer see contact suggestions from apps in your iPhone's Contacts app or in the autocomplete field for Messages and Mail.
Using Groups
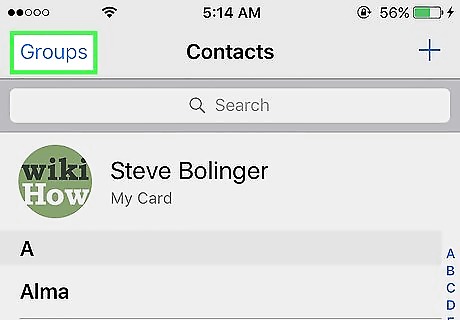
Separate your contacts into groups. You can create groups for your family, your business associates, your friends from the gym, etc. That way, you can hide entire categories of contacts from the list without having to remove them completely. To manage groups, tap the Groups button at the top-left of the Contacts screen.
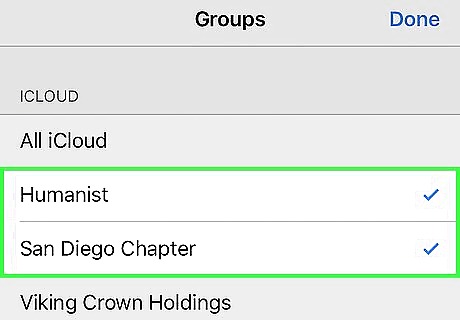
Tap the groups you want to hide. When they are checked, they are visible. When they're unchecked, they'll be hidden from your contact list.
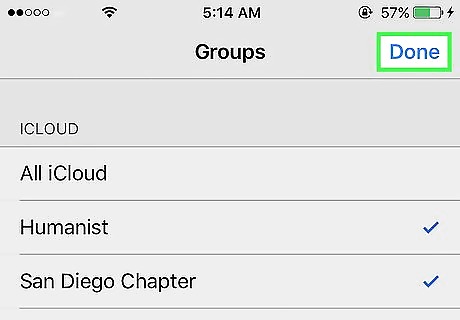
Tap Done when finished. Your contact list will now only display the groups you have chosen.




Comments
0 comment