views
Freezing Water into Ice
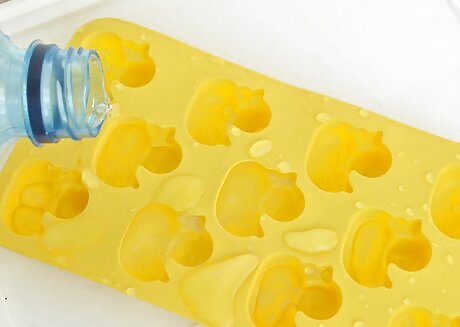
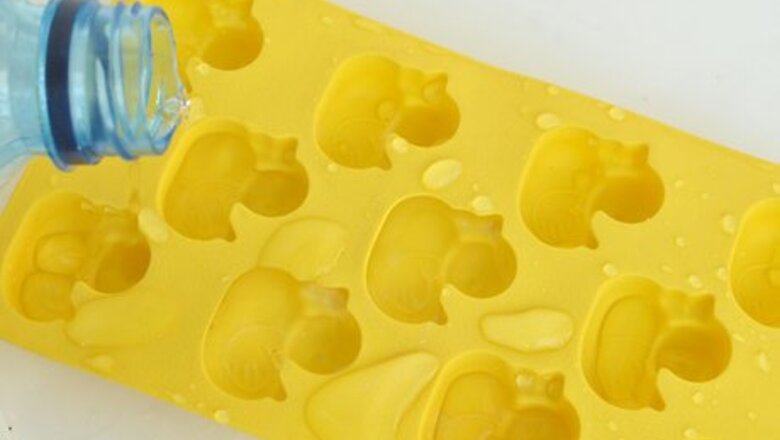
Pour water into a plastic container. Full up an ice tray, a food storage tub, a popsicle tray, or a plastic bottle with water. You can use room-temperature water, cold water, or hot water straight from the tap. Hot water actually freezes more quickly than cold water. Try freezing separate containers of hot and cold water to compare the results. Feel free to try this out with other drinks like fruit juice or lemonade. If you use an ice cube tray or popsicle tray, you’ll be able to enjoy popsicles later on! Don’t use a glass container. The water will expand as it freezes and might break the glass. Breakage will also happen if you put a glass container filled with hot water in the freezer, so don’t ever try this.
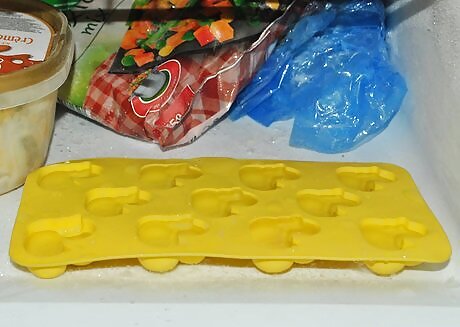
Place the container of water into the freezer. Carefully set the container of water into the freezer compartment of a refrigerator at home or at school, with permission. Slide the container towards the back of the freezer so no one accidentally nudges it before the water freezes. Check to make sure the freezer is set to a temperature below 32 °F (0 °C), which is the freezing point of water.
Leave the water in the freezer for at least 3 hours. Try not to open up the freezer door during this time to keep the freezer nice and cold. While you wait, the water will begin freezing from the outside in. Water in a smaller container will freeze faster than water in a bigger container, so you’ll need to wait several hours or overnight for a large amount of water to freeze completely. A tray of ice cubes will freeze in about 3 hours. A plastic water bottle might be frozen after 4 or 5 hours. Check back after 8 to 10 hours for a big plastic bowl of water. Sugary liquids like fruit juice will take longer than plain water to freeze.
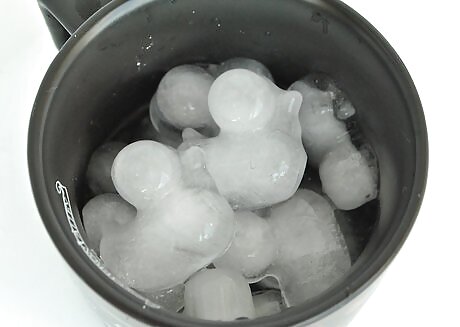
Remove the container from the freezer and observe the ice. You’ll see that the water has changed states from liquid to solid. This is a simple example of changing states from liquid to solid, or freezing. If you leave the ice at room temperature, it will melt and return to its liquid state after a while. An ice cube will melt in a matter of minutes!
Crystallizing a Sugar Solution
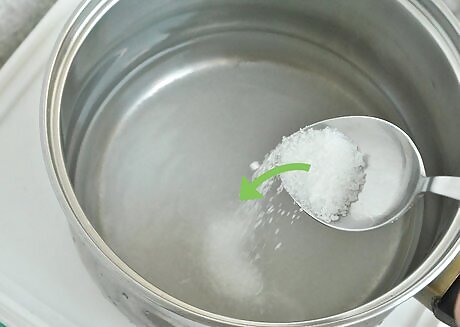
Mix 1 c (240 mL) of water and 3 c (675 g) of sugar into a saucepan. Use warm or room-temperature water and granulated sugar. Pour the ingredients into the saucepan and stir them together with a spoon.
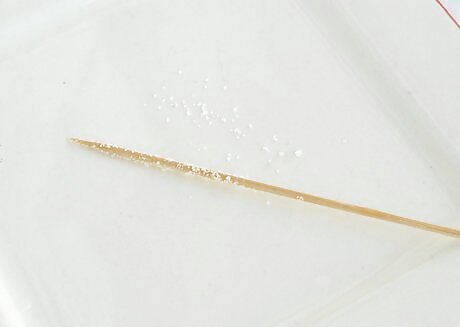
Coat a damp bamboo skewer with dry granulated sugar. Dunk the end of a skewer in a cup of water to dampen it slightly. Then roll it in a pile of granulated sugar until the skewer is covered in granules of sugar. Set this to the side and allow it to dry. This will encourage more sugar crystals to form from the liquid solution.
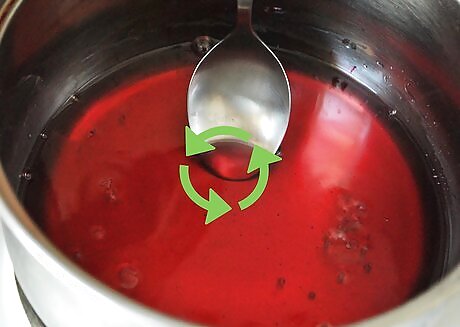
Bring the sugar-water to a boil on a stovetop burner. Ask an adult to assist you with this step. Place the saucepan on a burner and set the temperature to high. While it heats up, stir the solution constantly. Once it boils, keep stirring it until all of the sugar has dissolved. You’ve successfully created a solution, which is a combination of more than one compound. If you want to turn your crystallized sugar into edible rock candy, add a few drops of liquid food coloring and/or liquid food flavoring while the solution is still boiling.
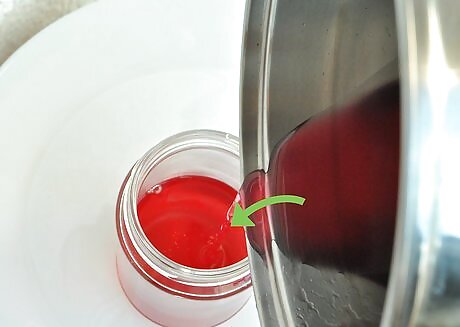
Pour the boiling solution into a heat-safe glass container. Have an adult assist you with this step. Turn off the burner and remove the saucepan from the heat. Carefully pour the boiling liquid into a heat-safe glass container. Wear oven gloves for protection and be careful not to splash the liquid. It’s essential to use a heat-safe container for this step. Any other glass may shatter.
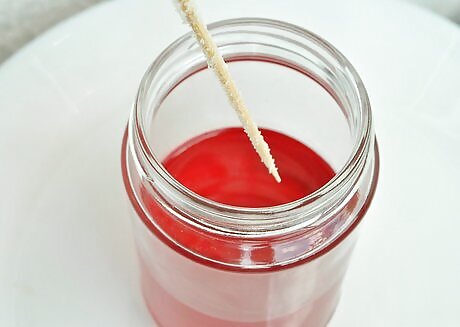
After 10 minutes, lower the sugary end of the skewer into the solution. Allow the solution to cool down for about 10 minutes. Then slowly lower the sugary end of the skewer into the middle of the container. Hold it in place with a clip or piece of tape and another skewer. If the top opening of the glass container is narrow, pinch the skewer with an alligator clip. The sides of the clip should rest on the rim of the container and keep the skewer in place. Another way to hold the skewer in place is to create a plus-shape out of 2 other skewers. Tape these 2 together and rest them over the rim of the container. Finally, tape the sugary skewer to the others so it remains upright.
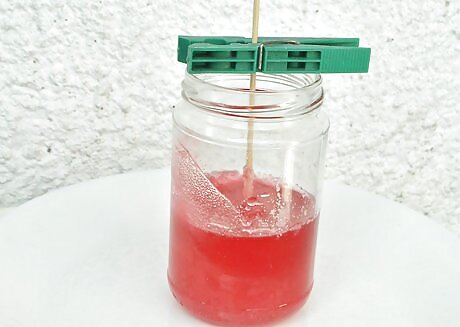
Allow the crystals to form for at least 1 week. Leave the solution in a room-temperature spot where it won’t be disturbed. Sugar crystals will begin to form around the skewer after a few days. Wait at least a full week to see more crystals grow. If you notice the skewer crystals are getting close to other crystals growing along the sides of the glass container, gently move it away so the growth of your skewer crystals isn’t disturbed.
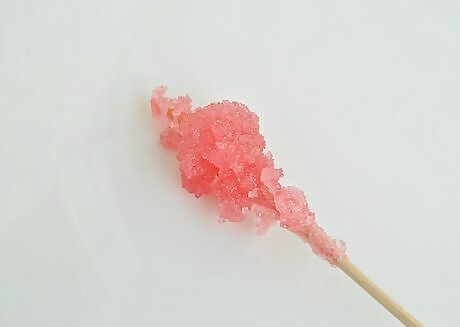
Remove the skewer and observe the solid crystalline sugar. Use a butter knife to tap around the hardened edges of the solution if necessary. Then gently lift out the skewer and its coating of sugar crystals. If you’d like to eat your rock candy, allow the skewer to drip-dry within another container. Once the liquid has dried, you can enjoy your crystallized sugary snack!
Polymerizing Milk into Plastic
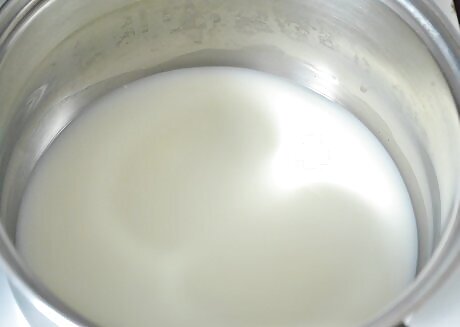
Microwave 1 c (240 mL) of whole milk until it’s steaming. Pour 1 c (240 mL) of whole milk into a microwave-safe container. Heat it on high for roughly 1 minute. Add another 30 seconds if necessary; the milk should be steaming but not yet bubbling. Alternatively, this can be done in a saucepan on a stovetop, with adult supervision. Whole milk will work much better than 2% or skim milk because it has a higher fat content. Add extra calcium or lime to the milk this will help solidify the milk.
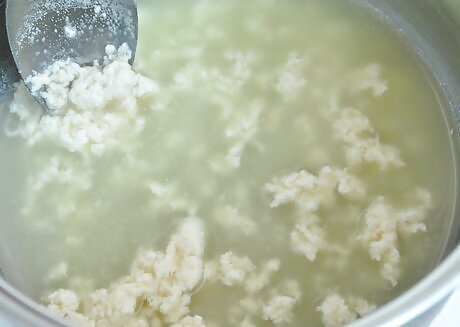
Stir 4 US tbsp (59 mL) of vinegar into the hot milk. Carefully remove the microwave-safe container from the microwave using an oven mitt. Measure out 4 US tbsp (59 mL) of distilled white vinegar and pour it into the milk. Stir the 2 liquids together slowly with a spoon. While stirring, you’ll notice hard clumps or curds forming in the milk. This will start to smell pretty weird. Don’t let this put you off, though. Keep stirring!
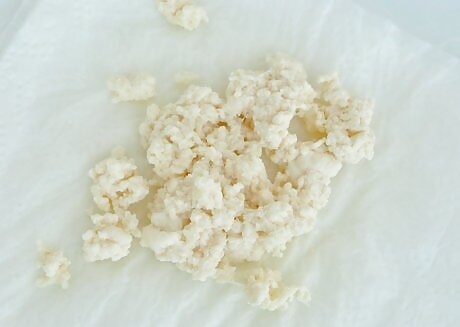
Scoop out the curds onto a stack of paper towels. Layer 3 or 4 paper towels on a plate to absorb the moisture. After the milk and vinegar have started to cool slightly, use a spoon to lift out as many of the solid clumps as possible from the mixture. Place the curds in a pile on the paper towels. If you’re having a hard time picking the curds up with your spoon, tilt the container over a strainer above a sink to drain out most of the liquid.
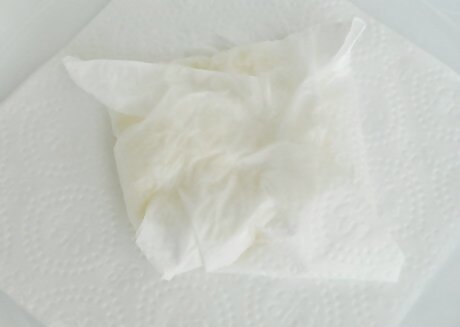
Squeeze the moisture out of the curds using the paper towels. Once you’ve placed all of the curds onto the paper towel, fold the dry sides of the towel over the curds and press down. Use the paper towel to sponge off as much of the moisture as possible from the curds. Use a few extra pieces of paper towel to pat the curds dry if the original sheets get too damp.
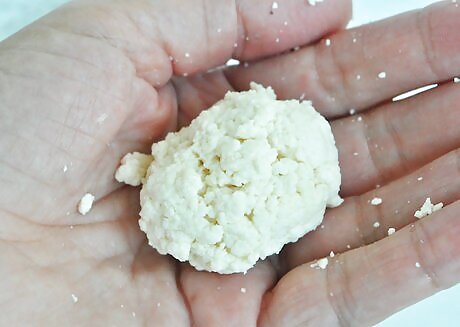
Roll the dry curds – now casein plastic – into a ball in your hand. Pick up all of the dry curds and ball them up in your hand. Squish and knead them until they really bond together, like a ball of dough. The ball of curds you’re holding is now casein plastic! When the milk curdled, the liquid separated from the fat solids and casein protein solids. The fat and protein bonded together in a polymer chain, making it a plastic.
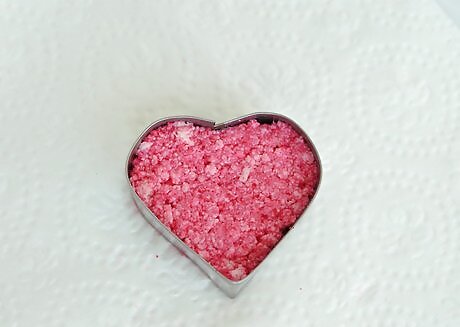
Dye, mold, or sculpt the casein plastic if desired. Casein plastic used to be very popular for beads, buttons, jewelry, and other decorative uses. If you’d like, knead 1 drop of liquid food coloring into your ball of plastic to dye it. Then feel free to hand-sculpt it to your desired shape. Wear disposable gloves to prevent the dye from staining your hands. You can also try rolling it out flat and cutting out a shape using a cookie cutter. Whatever you try, make sure to finish everything within 1 hour of pulling the curds out of the milk. It will harden soon after that.
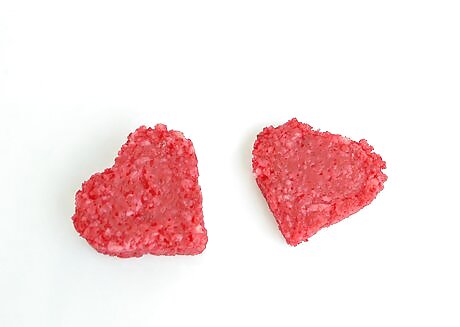
Allow the casein plastic harden for 48 hours. After you’ve shaped or colored your plastic, set it on another piece of paper towel. Wait for 2 days while it hardens. Once this time has passed, you’ll now have a solid piece of homemade casein plastic! Once the plastic has completely hardened, you can draw on it with markers.
Evaporating a Saltwater Solution
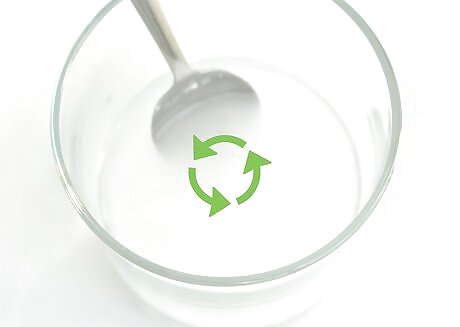
Dissolve ¼ c (55 g) of table salt in warm water. Fill a container with ⁄2 c (120 mL) of warm tap water. Pour in ¼ c (55 g) of table salt and stir the salt into the water until it dissolves. Keep stirring until you can’t see any more particles of salt in the water. This mixture is now a solution.
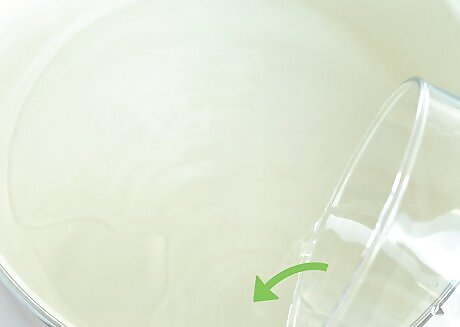
Pour the saltwater solution into a shallow baking pan. Choose a sturdy shallow container with a level bottom and transfer the water into this shallow pan. The water should cover the bottom of the pan in a very thin layer. A metal baking pan, cake tin, or another shallow baking dish will work. Keep the container uncovered.
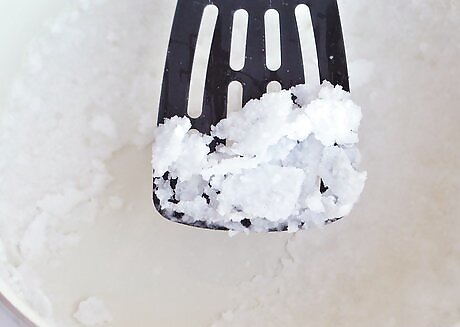
Allow the water to evaporate naturally or in the oven. Set the baking pan outside in the sun, on top of a hot radiator. Depending on the amount of heat the pan is exposed to, this process might take 8 to 10 hours or a couple of days. To speed up the evaporation process, place the pan in the oven at roughly 325 °F (163 °C) and heat the solution for about 1 hour. Through the process of evaporation, the liquid water will turn to gas while the dissolved salt will return to its solid state.


Comments
0 comment