
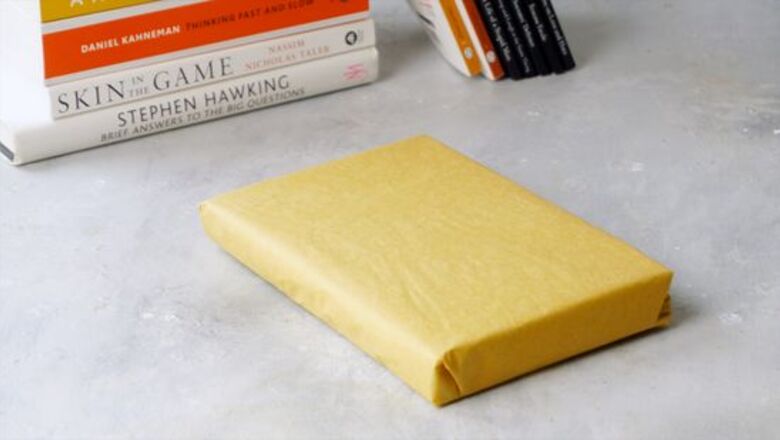
Wrapping the Book in Wrapping Paper

Wrap your book in tissue paper. Lay out a couple of pieces of tissue paper. Place the book at 1 edge of the tissue paper, and roll it up in the paper. If you want, tape the edges to secure it. This way, you can avoid damaging the book by taping the wrapping paper to the tissue paper and not to the book itself.

Roll out enough paper to cover the book and cut a straight line across it. Roll out some of your chosen wrapping paper and lay it flat so that the underside is exposed. Then, when you’ve rolled out enough paper to cover the whole book, use some sharp scissors to cut a straight line from one edge of the wrapping paper to the other, parallel to the roll. Use quick, small cuts to help keep the line straight. If you’re concerned about making a straight cut, get wrapping paper that has a grid on the underside. You can also can use a ruler to lightly draw a line with a pencil and then cut over top of the line. Alternatively, just fold the paper and get a straight crease to follow with your scissors.

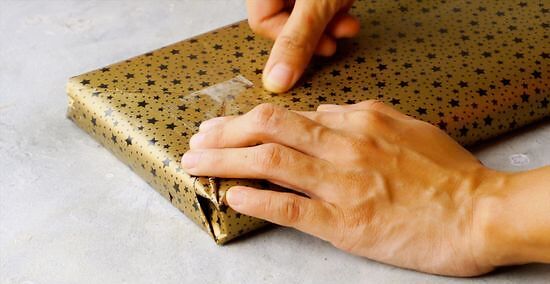
Fold the sides in and tape them down. Center the book on the piece of wrapping paper and fold in one side so that it covers half of your book. Gently pull to ensure that the paper is snug against the book and tape this side of the paper to the center of the book. Then, fold the other side over the book in an identical fashion and tape it to the center.

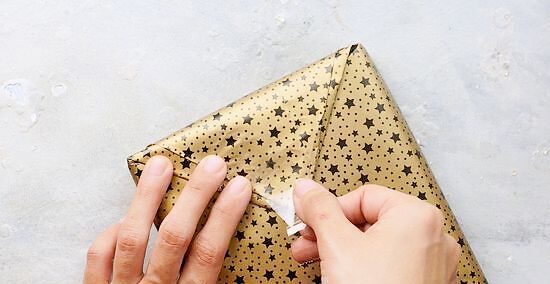
Fold in both sides of 1 end to create a triangle. Crease 1 end so that the paper folds over the edge of the book and along the width of it. Take the 2 corners of the paper at this end and fold them in towards the center of the book. This should create a triangular shape.
Fold the end over and tape it down. Pull this folded, triangular end up and overtop of the book. Carefully pull it tight and secure it to the wrapping paper with a piece of tape.
Repeat this process on the other end. Turn the book and crease the other end. Fold the 2 corners in to form a triangle like you did for the other end. Then, pull it up and over the book and tape it down.
Adding a Bow
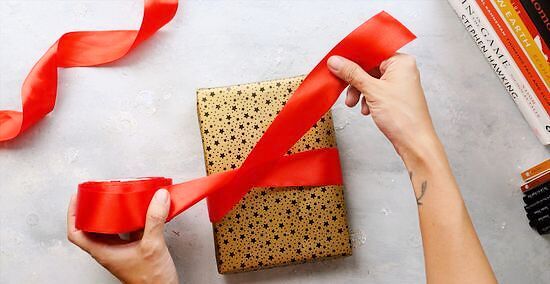
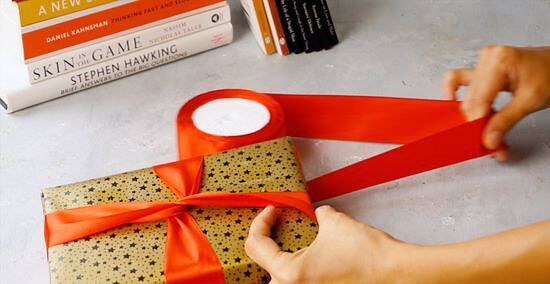
Place the ribbon spool on one side of the book and wrap it around. Place your ribbon spool just to the right or left of your wrapped book and then pull the loose end of the ribbon horizontally across the front center of the book. Stop when the loose end of the ribbon is a little bit past the edge of the book.

Bring the spool under and around the book. Hold the loose end in place with your finger. Lift up the book and bring the spool across the underside of the book and back around to the front. Hold each end of the ribbon in place with either hand. They should cross in the middle and form an “x.”
Pull 1 end of the ribbon up and the other end down. Pull the ribbon on top of the “x” down and the ribbon on the bottom of the “x” up. This should make the ribbon form a cross on the surface of the book.
Hold the loose end against the book and wrap the other end underneath. Use 1 of your fingers to press the loose end of the ribbon against the book and keep it in place. Lift up the book and bring the spooled end of the ribbon up over the top of the book, around the back, and then to the center of the cross.
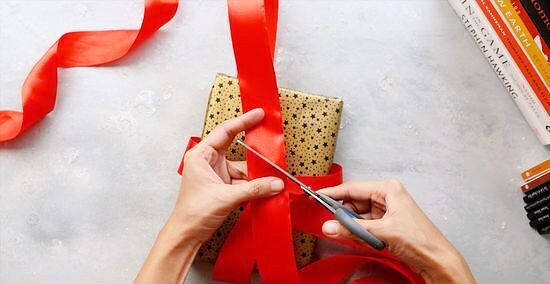
Hold the spooled end over the center of the cross as you cut the ribbon. Press your finger against the center of the cross to hold everything in place and unravel an extra 1–2 feet (0.30–0.61 m) of ribbon. Use a sharp pair of scissors to cut the ribbon off of the spool.
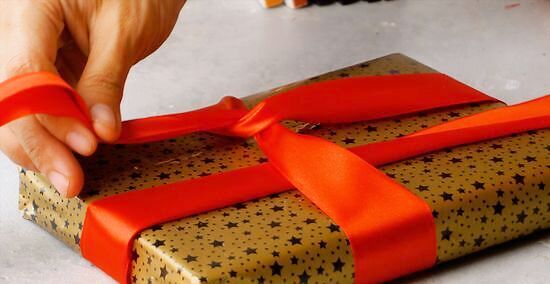
Tuck the new end under the cross. Take the newly cut loose end over the top right corner of the cross. Then, pull it down through the bottom left corner of the cross.

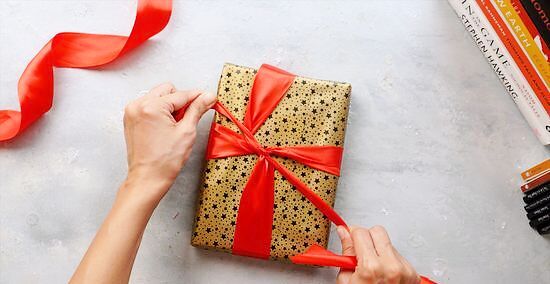
Tie a knot. Hold either loose end in each hand and carefully pull tight. Press the center of the cross with your pointer finger to keep the ribbon tight. Then, tie a simple knot.
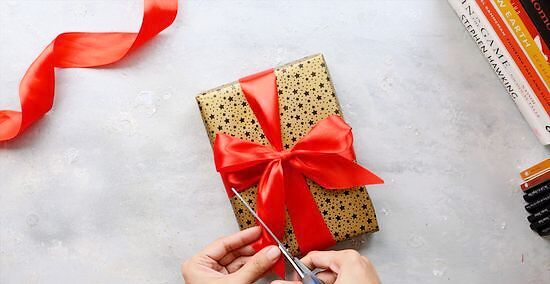
Tie a bow and trim the ends. Take either end in each hand again, but tie them into a basic bow. Pull the bow tight and adjust it to make sure that both loops are equal in size. Cut the 2 loose ends of the bow so that they’re equal in length. To get a fancier look, take 1 end of the bow and fold it in half vertically. Then cut an upward slant from the left side to the right side of the folded ribbon. Unfold the ribbon and repeat this on the other side. Consider tucking some flowers or leaves under the tied ribbon, or adding a pom pom, a tassel or a handmade tag.
Getting Creative with Book Wrapping
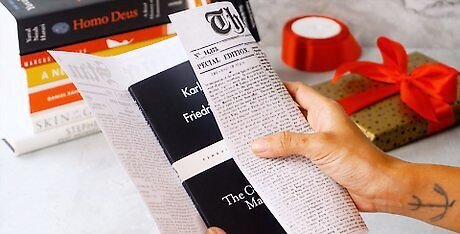
Incorporate text into the wrapping paper to hint that it’s a book. If you’re creative and want to wrap your book in a more unique, fun way, consider making your own wrapping paper and/or using subtle book themes. For instance, consider wrapped the book in newspaper and making a colorful bow to put on it. You can also make roses out of paper that has text on it and glue or tape them to the front of the wrapped book.

Use paper that matches the book’s theme to reveal what it’s about. Wrap the book in a paper that matches the book’s genre, theme, or characters. For example, wrap a children’s book in coloring book pages or use maps to wrap a travel book.

Tape the first paragraph to the wrapping paper to spark interest. After you finish wrapping the book, type out the first paragraph of the book in a fun font and finish the paragraph with an ellipses. In a different, larger font, type something like “Enjoy the story!” and then print out the page. Cut around the edges of the text, tape or glue it onto some cut cardstock to create an attractive border, and then tape or glue it to the front of your wrapped book.


Comments
0 comment