views
Washing the Detachable Components
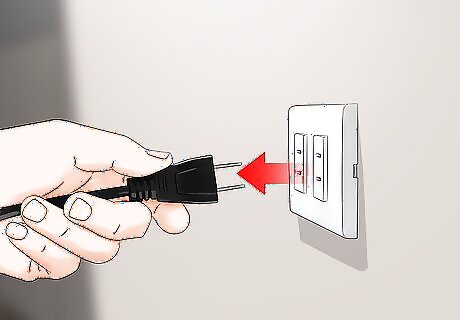
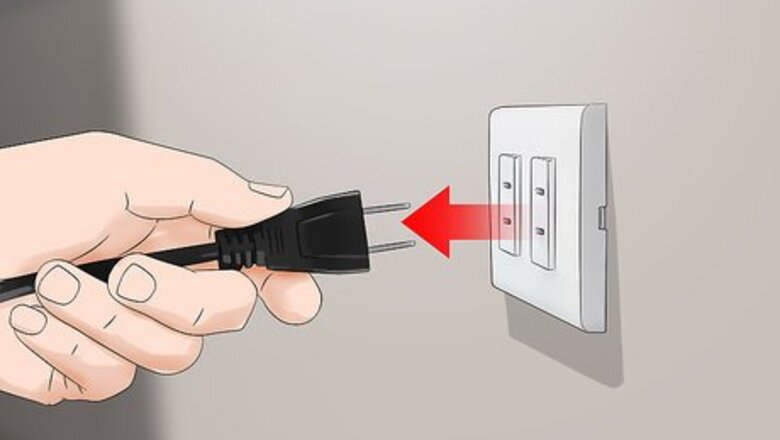
Unplug the Keurig from the wall outlet. To fully clean the Keurig, you need to access some of the parts involved in carrying water and coffee grounds through the machine. There are some electrical components around these parts. Always pull the power cord out of the wall before opening up the machine.
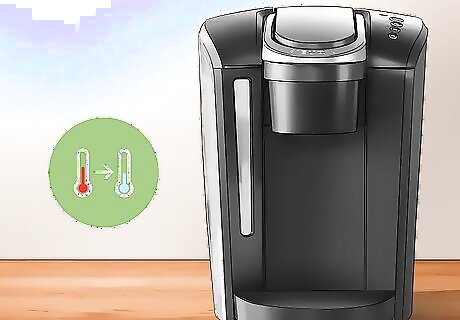
Wait 30 minutes for the water inside the Keurig to cool. The water inside the machine may be hot, especially if you made coffee recently. As long as the machine has no power running to it, the water will begin to cool. Avoid burns by giving it plenty of time to cool off. You will have to tip the machine over to drain some of the water, so play it safe by letting the Keurig rest.
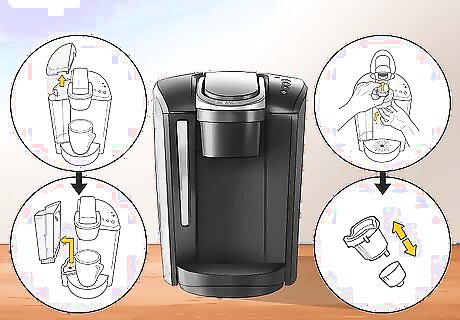
Remove the water reservoir and other detachable components. Lift up the big water tank on the side of the machine to detach it from the base. Then, slide the drip tray towards you to remove it. Next, open the top of the coffee machine and pull out the coffee pod holder, which looks like a black funnel. All of these parts are easy to detach by hand. The funnel requires a little force if you haven’t removed it before, but you don’t need a screwdriver or any special tools to remove it.
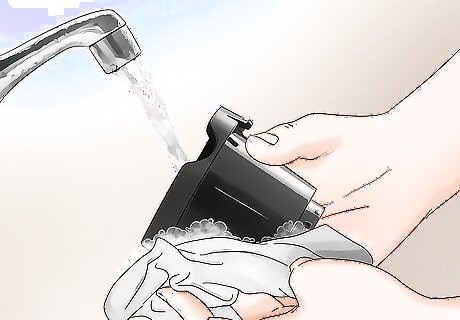
Wash all of the parts with a liquid dish soap and hot water. Dampen a microfiber cloth with warm, soapy water, then use it to scrub all of the removable parts. These parts, particularly the coffee pod holder, get clogged with coffee grounds or scale after repeated use. Rinse the parts fully under running water to remove any loose debris. Be aware of hidden components. The coffee pod holder consists of 2 parts, so pull them apart and wash them both thoroughly. Also, wash the lid on the reservoir tank. Use the soapy water and a microfiber cloth to clean the outside portion of the machine as needed.
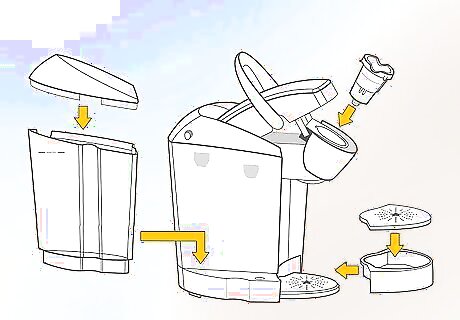
Reassemble the Keurig components after they are clean. Give each component a rinse with warm water if you see any coffee grounds on them. Dry them all off with a microfiber cloth before putting them back in place. Slide the drip tray and water reservoir back in place, then put the coffee pod holder into the slot inside the top part of the machine. When you reinstall the coffee pod holder, notice the tab slots inside the Keurig. Align the tabs on the funnel with the slots to easily slide it into position.
Clearing Sediment Clogs Manually
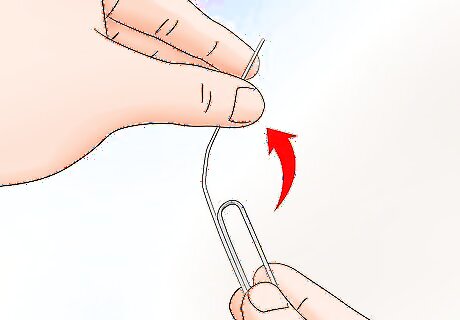
Clear out the holes in the coffee pod holder with a paperclip. Straighten out 1 end of a paperclip to use as a cleaning tool. Then, examine the smaller end of the coffee pod holder. You will see several holes at the end of the funnel. Stick the end of the paperclip in the holes to clear out any coffee grounds there. The pod holder consists of 2 parts. Pull them apart by hand to access a funnel hole in the larger, topmost piece. Sometimes washing the part in hot water is enough to clear out most of the debris. Double-check the funnel after washing it to make sure it’s free of debris.
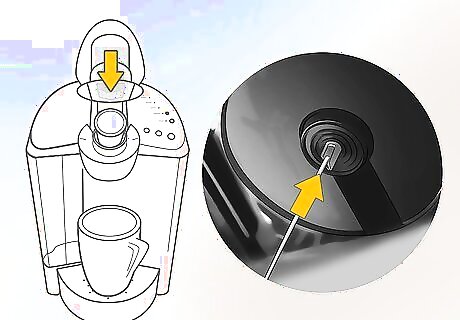
Use the paperclip to clear out the needle inside the Keurig. The needle is located above the spot where the pod holder rests inside of the machine. Open the top part of the machine and look along the top edge to find a small metal needle. Around the needle, you’ll see a series of 3 holes where water flows from the water line to the pod holder. Push the end of the paperclip into the holes and rotate it to clear away stuck debris. The needle pierces the K-Cups during the coffee-making process, so it will always be accessible in the top part of the Keurig. You can’t harm the machine by cleaning out these holes. None of the mechanical or electrical parts are there, so take the time to clear out all of the coffee grounds.
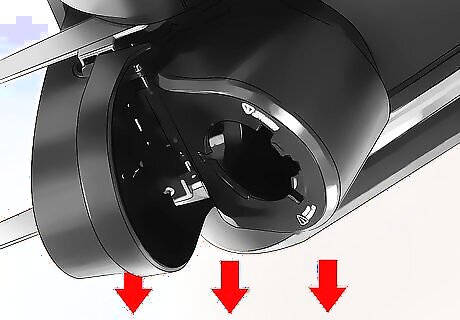
Shake the Keurig out over the sink. Move the coffee maker into the sink, then turn it upside down. Shake it a few times to dislodge any debris loosened by the paperclip. Tapping the bottom end of the machine also helps force out stubborn debris. Any water stuck inside the machine will also come rushing out as the clogs clear, so work over a sink to avoid a big mess.
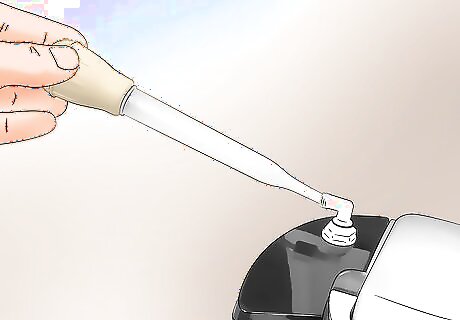
Use a straw to blow air through the water line. Locate the water spout where clean water passes into the machine from the reservoir. It is usually white and located at the bottom of the tank. While holding the Keurig upside-down, push a plastic straw or turkey baster over the spout. Puff on the straw a few times to force out any remaining debris. Another way to access debris in the water line is by sliding off the cover on top of the machine. You will see a big, clear tube running towards the needle. Squeeze the tube a few times to force out any dark-colored sediment stuck inside of it.
Descaling with Vinegar
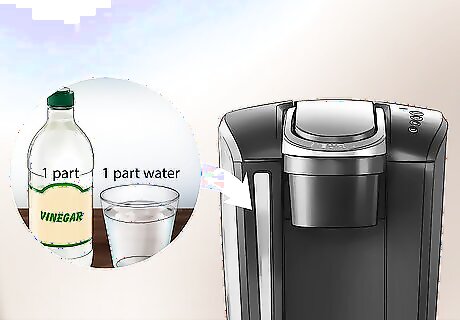
Fill the water tank with equal amounts of water and vinegar. Drain the water reservoir if you already have water in it. Then, fill the tank half full with distilled white vinegar. Top up the rest of the tank with clean water. To avoid damaging the coffee maker, always dilute the vinegar with water. Never run pure vinegar through the machine. Keurig sells a commercial descaling product. It is effective, but it tends to be a bit pricey. If for some reason vinegar doesn’t work, the descaling product is worth a try. Corby Kummer Corby Kummer, Award-winning Food Writer and Coffee Connoisseur Over time, hard water minerals and coffee oils will build up in your machine. To keep your coffee tasting fresh and prevent costly repairs down the line, be sure to descale your machine every three to six months using a homemade vinegar solution. Simply fill the water reservoir with equal parts white vinegar and water, run the mixture through a brew cycle, and rinse thoroughly with fresh water
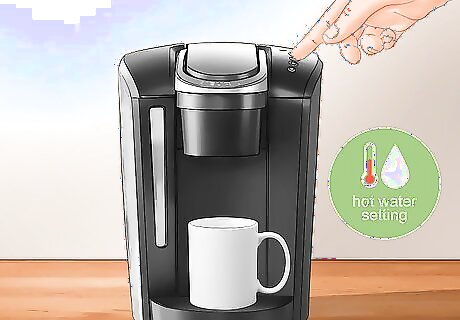
Run the Keurig on a hot water setting. Set a big mug underneath the machine like you’re going to brew some coffee. Start the machine on an ordinary hot brew setting. Let it run until it fills up the mug. Then, dump the vinegar water out in the sink and put the mug back on the drip tray. Continue running the machine until it uses up all of the vinegar water in the reservoir. If your Keurig does not run without a K-Cup inside it, put a used K-Cup in the coffee pod holder. This causes a little bit of coffee or tea to run through the machine, but it doesn’t prevent the vinegar from clearing out the lines. The vinegar smell gets a bit overwhelming, but it is a safe and natural way to flush out calcium scales. As long as you dilute the vinegar, the liquid won’t be acidic enough to damage the Keurig.
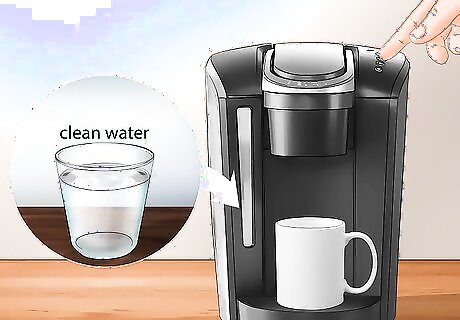
Flush out the Keurig by running clean water through it twice. Once the machine uses up all of the diluted vinegar, detach the reservoir tank and fill it with clean water. Set your mug back on the drip tray. Run the machine again until it uses up the water, pouring out the water in the mug as needed. Repeat the process another time to ensure you remove all of the vinegar in the water line. Go through this process at least twice, even if the Keurig seems to be in working order. Any vinegar left over may degrade the line, but more importantly, it will foul up your next cup of coffee!
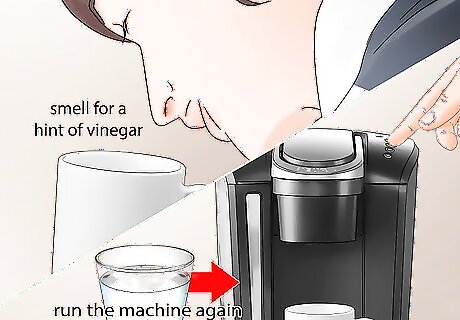
Fill the tank with clean water and run the machine if it still has vinegar in it. Test the water in your mug before deciding that the machine is clean. Smell it first, then taste it. If you get a hint of vinegar in the water, you still have some in your Keurig. Continue flushing the machine with clean water until all the vinegar is gone. Another way to test the machine is by sprinkling some baking soda into your mug. Baking soda fizzes when it comes into contact with vinegar.


Comments
0 comment