views
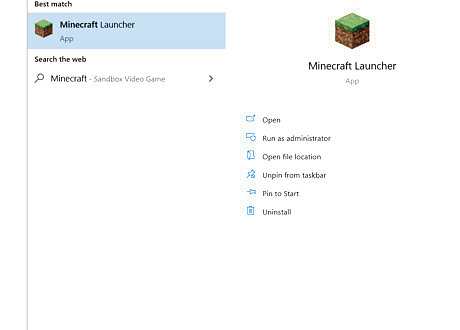
Open the Minecraft launcher. Search for Minecraft on your computer's search bar or find the Minecraft grass block icon on your desktop. Click the search result or the grass block desktop icon and wait for the Minecraft launcher to load.
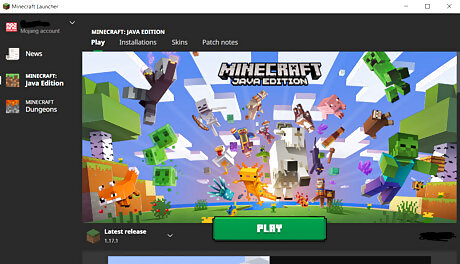
Start Minecraft. Make sure you are playing on version 1.9 or above and press the green Play button on the launcher.
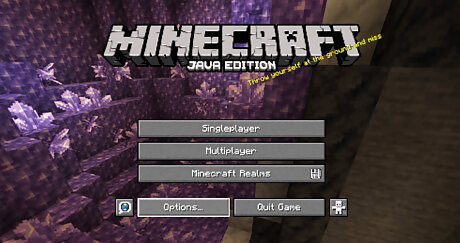
Open the options menu. Once the main screen for Minecraft loads, find the Options button and click it to open the options menu.
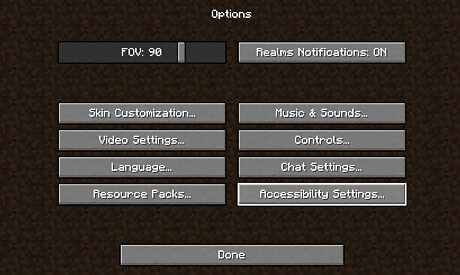
Open the accessibility settings. Once you've opened the options menu, locate the Accessibility Settings button. Click it to open the accessibility settings menu.
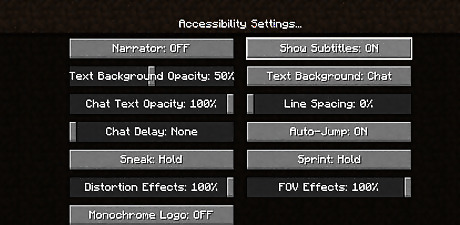
Turn on subtitles. Locate the button that says Show Subtitles: OFF and left click it so it says Show Subtitles: ON.
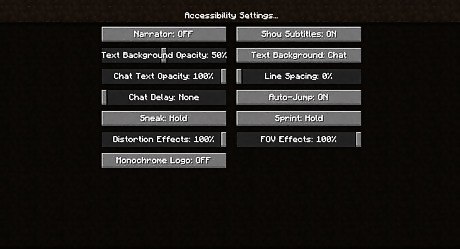
Press the 'Done' button. Locate the Done button at the bottom of the screen and click it to exit the settings and options menu.
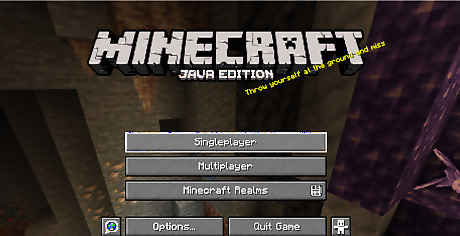
Click the 'Singleplayer' button. Go back to the main menu and click the Singleplayer button to open the list of your worlds.
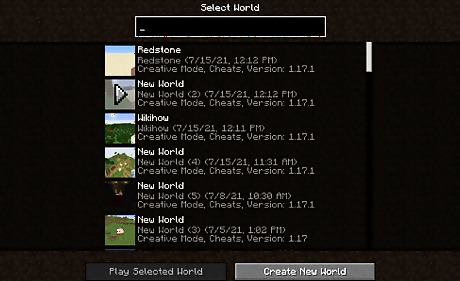
Select a world. Click on the world you want to play with subtitles on.
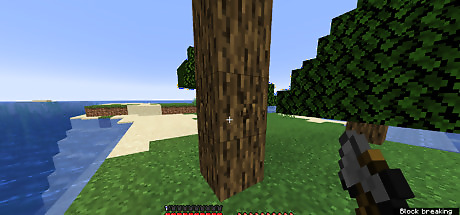
Check that subtitles are on. Once your world has loaded, try moving or breaking a block. Look in the bottom right corner for a black box with white text that tells you what sounds are playing. If you see this, then subtitles are turned on and you can continue to play as normal.



Comments
0 comment