views
Tightening a Bow Tie
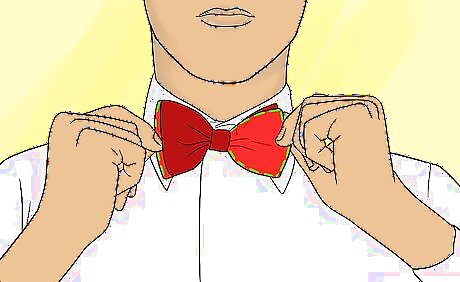
Grab the loop of fabric on each side of your bow tie knot. One of the loops will be on the front of your bow tie, facing out. The second loop on the other side of the knot will be in the back of the bow tie, up against your shirt. Pinch each loop of fabric between your fingers so you have a firm grip.
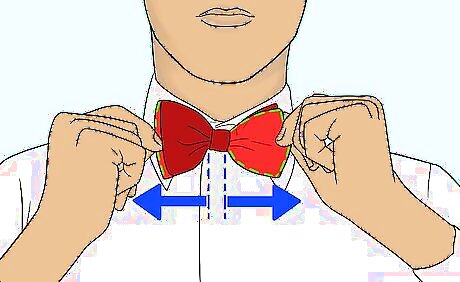
Pull the loops of fabric out to the side and away from your bow tie knot. As you pull the loops in the opposite direction from one another, the knot in the center of your bow tie will tighten. Stop pulling on the loops once your bow tie is tightened to your liking.
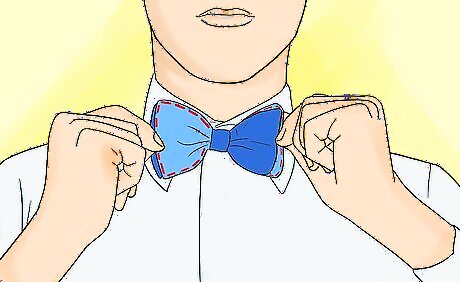
Grab the flat ends of your bow tie on either side of your bow tie knot. One flat end will be in front of one of the loops of fabric. The other flat end on the other side of the knot will be behind the second loop of fabric.
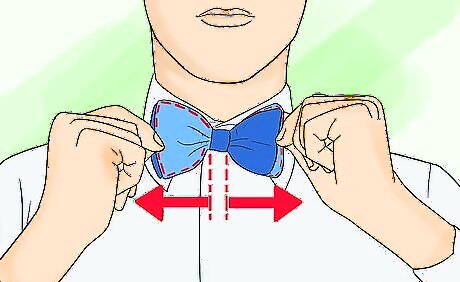
Tug the flat ends out to the side and away from the knot. Pull on the flat ends until they line up with the end of the loop of fabric that's on their side of the knot. Don't pull the flat ends of your bow tie out too far or you could untie your bow tie.
Adjusting a Bow Tie with an Adjustable Slider
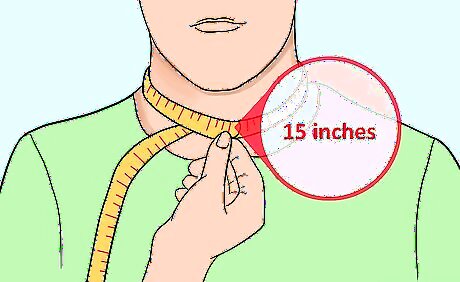
Use measuring tape to measure the circumference of your neck. Wrap the measuring tape around the center of your neck and note the measurement. Make sure the tape isn't too tight or your bow tie won't fit properly. You should be able to fit a finger between the tape and your neck.
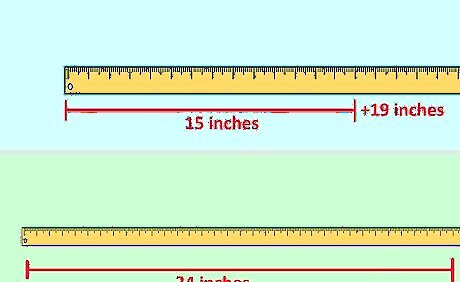
Add 19 inches (48 cm) to the measurement you got for your neck. That's how long your bow tie needs to be, from end to end, when it's untied. The extra 19 inches (48 cm) will give you enough fabric to make the knot and bow. For example, if the circumference of your neck is 15 inches (38 cm), you would want to adjust your bow tie so it's 34 inches (86 cm) long when it's untied.
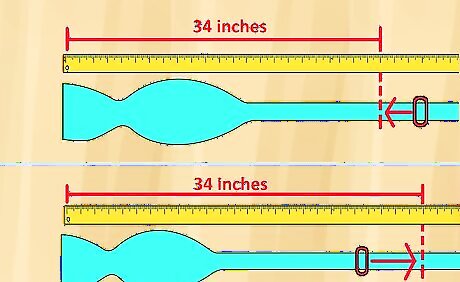
Adjust your bow tie with the slider until it's the right length. If you're trying to make your bow tie shorter, slide the adjustable slider out away from the center of your tie. If you're trying to make your bow tie longer, slide the slider in toward the center of your bow tie. To make things easier, lay your bow tie on a flat surface next to measuring tape so you can see how long it is as you're adjusting it. Once your bow tie is the same length as the measurement you calculated, it's ready to be tied around your neck.
Adjusting a Bow Tie with Measurement Holes
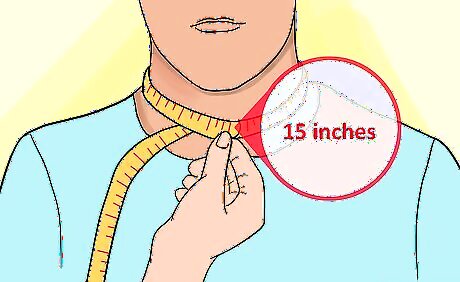
Measure the circumference of your neck with measuring tape. Wrap the measuring tape around the center of your neck. Make sure the tape is flat against your neck and not bunched up or twisted. Note the measurement you get. Don't measure your neck with the measuring tape wrapped too tightly around it or your bow tie will be too tight. You should be able to fit your finger in between your neck and the measuring tape.
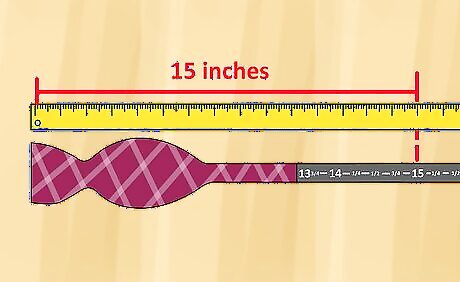
Look for the corresponding measurement on the inside of your bow tie. Lay your bow tie on a flat surface so the back of the bow tie is facing up. You should see a row of numbers going across the thin part of your bow tie. Find the number that matches the measurement you took of your neck. For example, if your neck measurement was 15 inches (38 cm), look for the number 15 (38) on your bow tie.
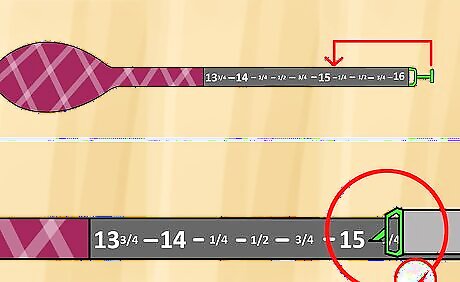
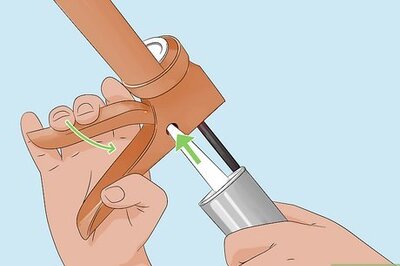
Insert the t-hook on your bow tie into the hole next to the right number. The t-hook will look like a small plastic or metal hook that's in the shape of a capital “t.” Once the t-hook is in the hole, gently pull on it to make sure it's secure. Now that the t-hook is hooked into the number that corresponds with your neck size, your bow tie should fit you when you tie it around your neck.





Comments
0 comment