views
- Drawer dividers can make it easier to separate bras by color or style.
- Tuck your molded bras into one another instead of folding them to keep them in pristine shape.
- You can fold non-molded bras with no padding or wiring; just make sure you tuck the straps so they don’t get tangled or snatched on something.
- You can make an easy hanging bra organizer using wood hangers and hooks.
Setting Up Your Drawer
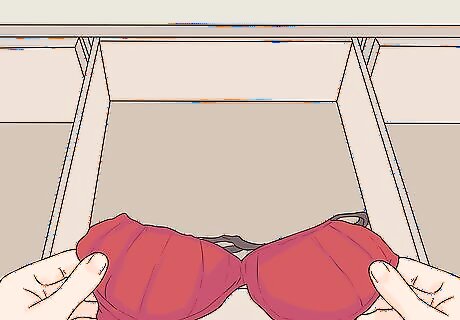
Take everything out of the drawer you keep your bras in. Cluttered drawers can be overwhelming, so starting fresh is a good idea. Take everything out of your lingerie drawer and put it some place clean, such as your desk or bed.
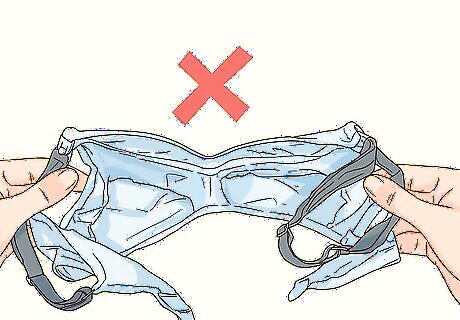
Eliminate any worn, torn, or ill-fitting bras. There is no point in keeping them, especially if you no longer wear them. They will only take up space when you go to organize your bras. Go through your pile of bras, and discard any that are worn, torn, or no longer fit.
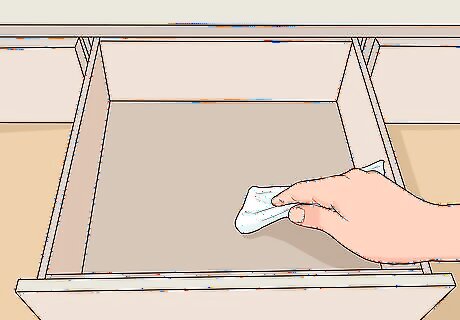
Clean the inside of the drawer if it is dirty. Now that your drawer is empty, this is a great opportunity to clean it. You don't want to put your bras back into a dirty drawer, after all! Spray the inside of the drawer with window cleaner, then wipe it down with a dry cloth. Leave the drawer open and let dry completely before moving on. If you don't have window cleaner, or if you are worried about damaging the finish, wipe the inside of the drawer down with a damp cloth.
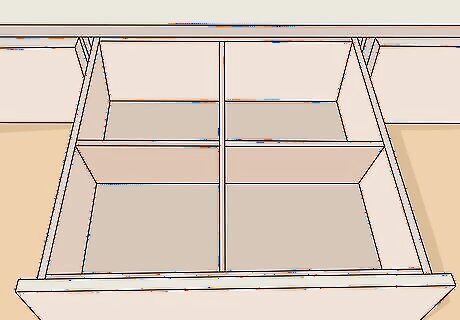
Install some dividers, if desired. Dividers are a great way to keep your bras separate from the rest of your lingerie. If you have a huge selection of bras in different colors, then you can use the dividers to sort the bras by color. Spring-loaded dividers work great, because they can fit into any sized drawer.
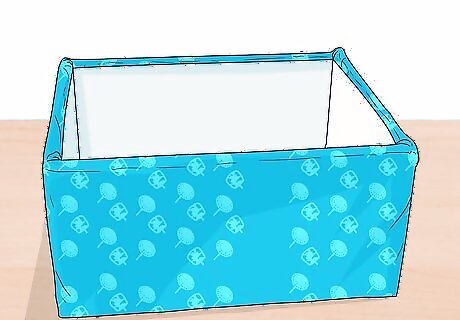
Use fabric-covered storage boxes as an alternative to dividers. You can find these in craft stores, fabric stores, and any other place that sells storage boxes and baskets. Make sure that the boxes are short enough to fit inside your drawer, otherwise you won't be able to close it. You need to get enough boxes to hold your bras or to fill up the drawer. Measure the narrowest edge of your drawer, then buy boxes that match that measurement. If you can't find fabric-covered boxes, you can use paper-covered or plastic boxes instead. Make your own fabric-covered boxes if you can't find ones that you like.
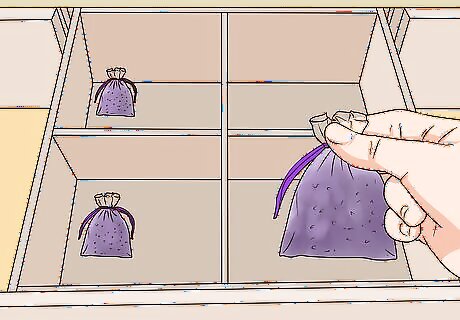
Add lavender sachets to your drawer if you want a nice fragrance. If you made a multi-bra hanger, you can hang the sachet from the top hanger. For best results, use a muslin, chiffon, or cloth sachet filled with natural lavender flowers. Another great option is to put wrapped bars of soap into the drawer instead. You can also use an empty perfume bottle, but wrap it in a handkerchief first. Avoid scented drawer liners, as they often contain oils that can stain bras.
Storing Your Bras
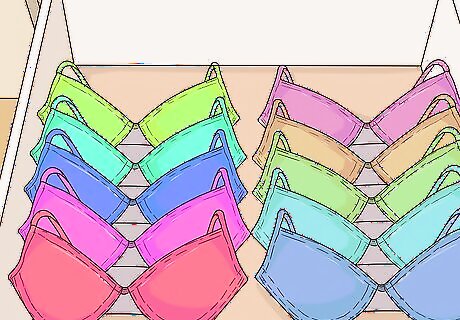
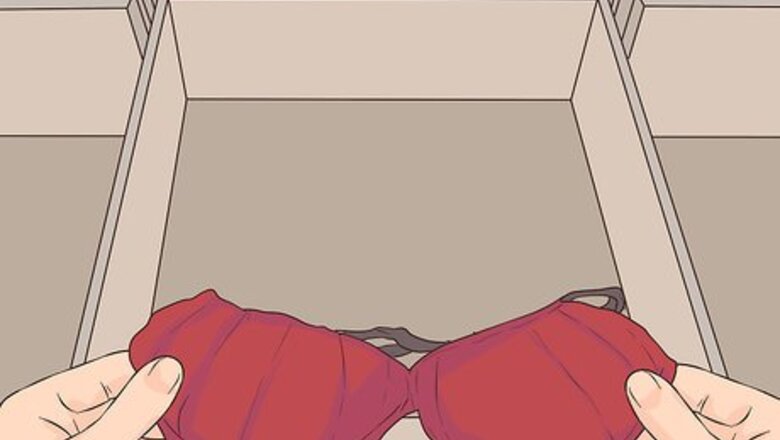
Tuck molded bras inside one another, but do not fold them. Set your first bra into the drawer, towards the back. Place your second bra right in front of the first one, so that the cups from from the first bra nestle into the cups of the second one. Keep adding bras until you run out or until you reach the front of the drawer. Do not fold the bras. Keep them straight. You can close the back straps, however. Don't stack the bras on top of each other. You want to see all of the bras. Molded bras have foam or padded cushioning inside the cup. They are typically wired and have a bowl shape.
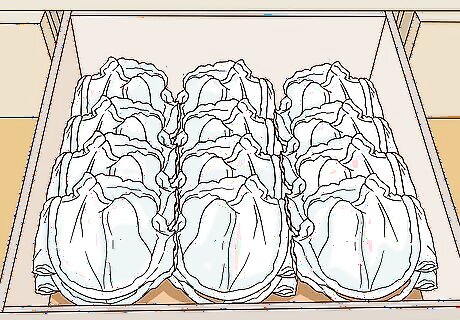
Fold non-molded bras in half and stack them. Non-molded bras are flat without any foam or cushioning inside. They include fabric, lace, and sports bras. Close the strap in the back first, then fold the bras in half. Tuck the straps into the fold so that they don't get tangled.
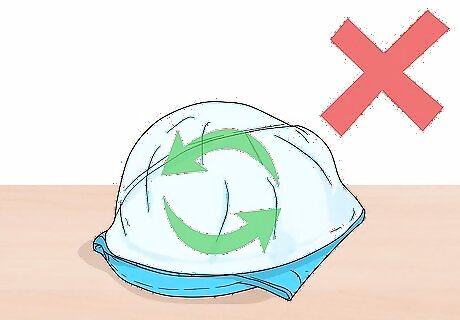
Do not fold bras in half or invert the cups. Lots of people like to fold their bras in half, then invert 1 of the cups into the other to create a single "bowl." While popular, this technique actually damages bras and can cause them to become misshapen. You can fold non-molded bras in half, such as lace or sports bras.
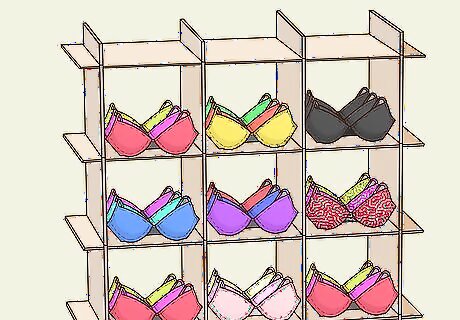
Store bras in hanging shoe cubbies if you don't have drawer space. Buy a long, skinny shoe cubby that you can hang from a hook. Hang the cubby in your closet, then tuck your bras into the cubbies. Plan on using 1 cubby per bra. If you have too many bras, stack 2 bras on top of each other. Hanging shoe cubbies are typically made from fabric. Each cubby is wide enough to hold a pair of stacked shoes.
Getting Your Bras in Order
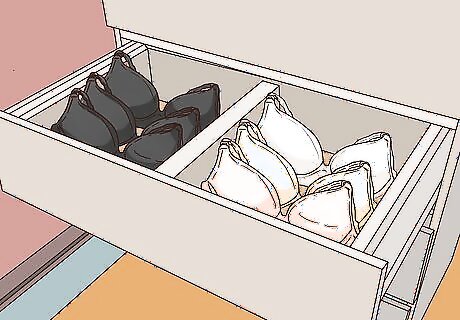
Sort the bras by color. If you have more than 1 color of each bra, then you should keep all of the colors separate. For example, if you have 3 nude bras and 3 black keep the nude bras together and the black bras together.
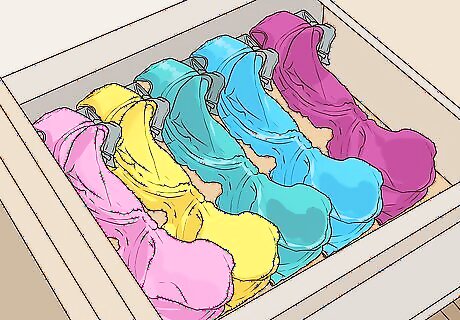
Step up your game by organizing the colors. If you have multiple bras of the same color, then arrange them from dark to light. If you have lots of different colors, you could arrange them in rainbow order, or as close to it as possible. For example: If you have medium pink, burgundy, and light pink bras, arrange them from dark-to-light: burgundy, medium pink, and light pink. If you have teal, pink, blue, yellow, and purple, arrange them in rainbow order: pink, yellow, teal, blue, and purple.
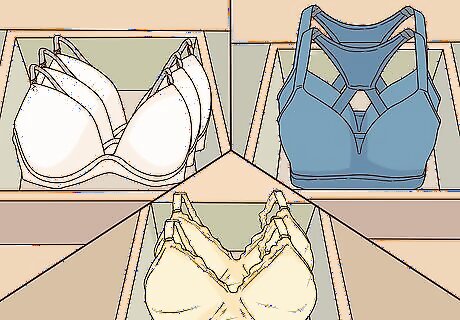
Sort your bras by type if you don't want to sort them by color. Chances are, you have some bras that are simple and plain for wearing every day under t-shirts, and fancier bras for special occasions. You may even have some push-up bras, sports bras, and non-molded/non-padded bras. Keep all of these bras in their own section.
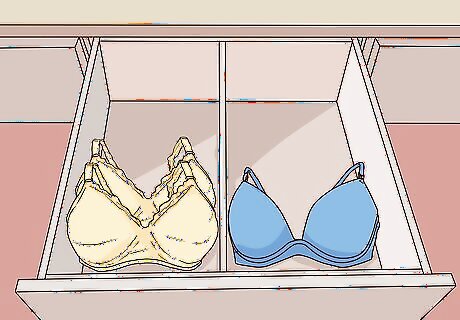
Keep similar bras together if you lack drawer space. If you only have 1 or 2 bras of each color or type, pair them up first, then tuck similar colors/bra types into the same compartment. This way, you won't have 2 bras in 1 compartment and 1 bra in another compartment. You'll have more space for other items, such as underwear. For example: If you have 1 white, 1 black, and 1 nude bra, put all of them into the same compartment. Keep the other colors in a different compartment. If you have only 2 non-molded bras and 1 fancy bra, keep them in 1 compartment. Keep your molded bras in a second compartment.
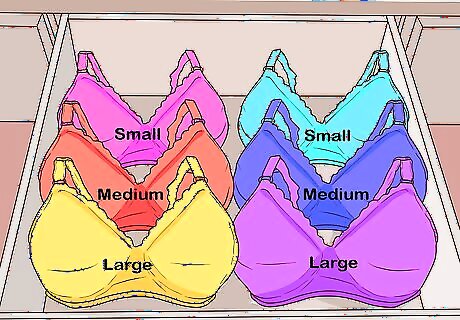
Keep bras ordered by size, if needed. If your weight and bra size fluctuate often, you probably own several different bra sizes. Keep the different bra sizes in order, from smallest to largest. You can also keep the size you wear the least often towards the back of your drawer.
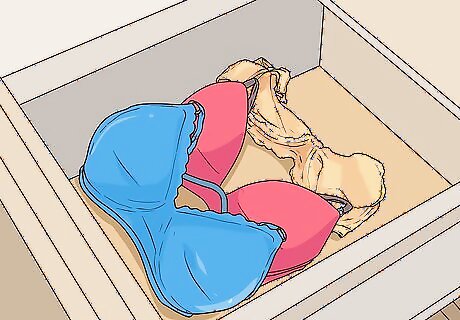
Keep the bras you wear the most towards the front. Chances are, there are some bras that you wear more than others because they look better or are more comfortable to wear. It would be much more convenient for you if you put those bras the most towards the front of your drawer, and the bras you seldom wear towards the back. If you are using a shoe cubby or a multi-bra hanger, put the bras you wear the most towards the top, and the bras you wear the least towards the bottom.
Creating a Multi-Bra Hanger
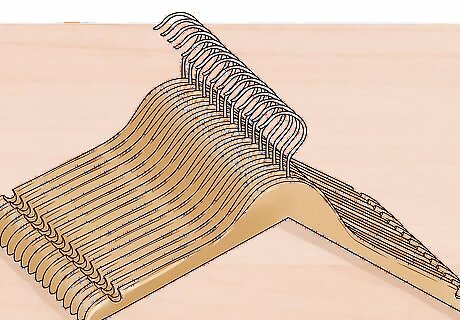
Get a pack of wooden hangers. Make sure that the hangers don't have that horizontal bar at the bottom for hanging pants. Try to get the kind of hanger that is made out of 2 pieces of wood and has a joint in the top, where the metal hook is. The joint will make it easier to insert the screw later on. Plain wooden hangers will work the best, but you can try fabric-covered ones too. Plan on getting between 4 and 6 hangers--1 for each bra. Keep in mind that this only works with strapped bras, not strapless.
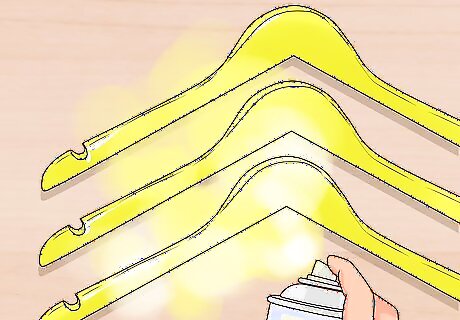
Spray paint the hangers if you don't like the color. Wrap a piece of painter's tape or masking tape around the metal hook first. Spray the hanger and let it dry, then flip it over and spray the back. Let it dry completely before removing the tape. You can make the hangers all the same color, or you can paint them different colors for a multicolor or ombre effect. Don't paint fabric-covered hangers. Shake the can of spray paint well before you use it. Hold the can 8 to 10 inches (20 to 25 cm) from the wood. Spray the hangers with a clear acrylic sealer for a more durable finish.
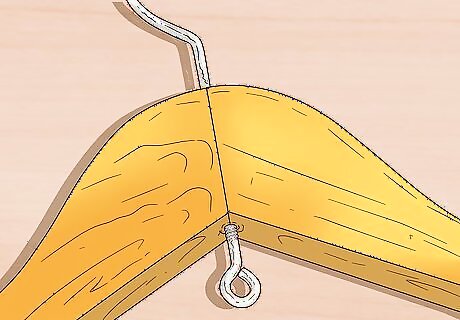
Screw an eye hook into the joint of each hanger, except for the last hanger. Turn the first hanger upside down so that you can see the underside. Find the joint where the 2 pieces come together, then screw a metal eye hook into the joint. Do this for all of the hangers, except for the last one. The eye hook needs to be big enough for the hook part of the hanger to fit through. If your hanger is made from a solid piece of wood, you'll have to drill a hole into the underside of the hanger first. Make sure that the eye hook is oriented perpendicular to the hanger. You should not see the front O part of it, but the side.
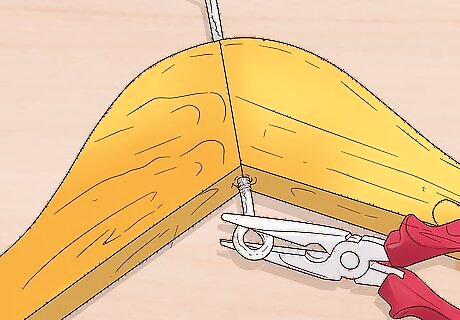
Close the hooks with pliers, if needed. Most eye hooks are closed so that they form a complete O-shape. Some eye hooks are open, so that form a question mark shape instead. If your hook is like the latter, pinch it closed with a pair of heavy-duty pliers.
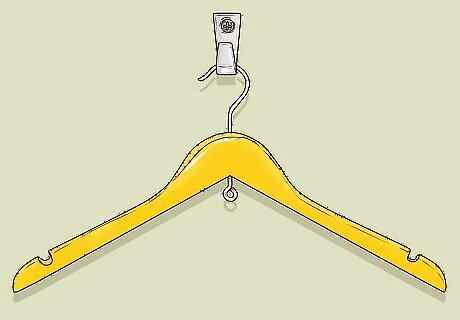
Hang the first hanger in your closet or from a hook on the wall. Make sure that you hang it high enough so that you can fit the other hangers under it. You'll need about 12 inches (30 cm) of space beneath the last hanger.
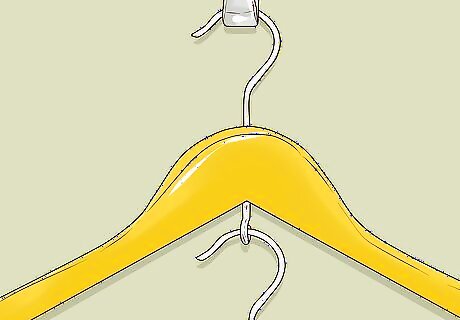
Link the hangers together through the eye hooks. Slide the hook at the top of each hanger through the eye hook you installed at the bottom of each hanger. Add the hanger without the eye hook last.
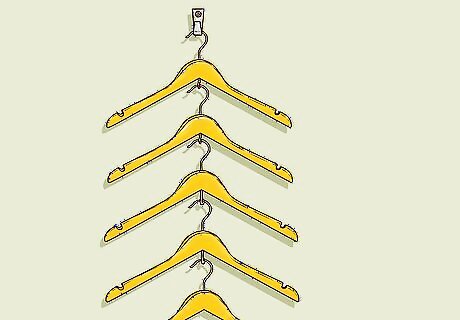
Hang your DIY bra hanger as desired. You should now have just 1 hook at the top of your hanger. You can hang it in your closet alongside the rest of your hangers, or you can hang it from a hook on the wall. Make sure that you leave about 1 to 2 feet of space under the last hanger, otherwise your bra may get dirty.
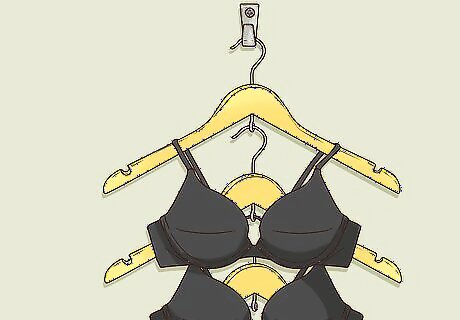
Hang your bras from the hangers like you would hang shirts. Close the backstraps on each bra, then adjust the shoulder straps so that they are even. Slip the shoulder straps over the arms of the hangers, just like you would hang a shirt. Start hanging the bras from the bottom-most hanger, then work your way up to the top. If the bras slip off of the hangers, take them off, then draw a squiggle of hot glue along the top of each hanger. Let the glue set, then put the bras back.


Comments
0 comment