
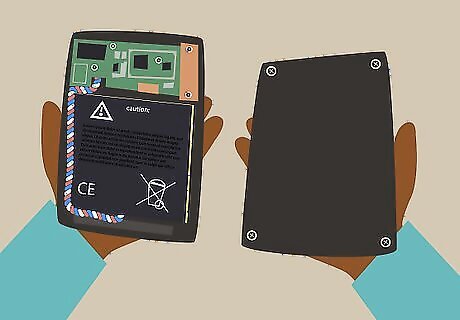
- First, to remove the Kindle Fire's back, use a wedge tool to work around the edges until you finally pry off the backing completely.
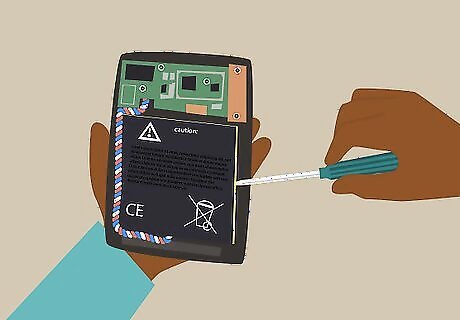
- To take out the battery, disconnect the power connector (the white plastic part with multi-colored wires), gently pry out the battery, and store it somewhere cool and dry.
- Use a Philips head screwdriver to unscrew the touchscreen controller and the motherboard.
- Finally, unscrew the power button board, the speaker assembly, the screen protector, and the screen with your screwdriver.
Removing the Backing

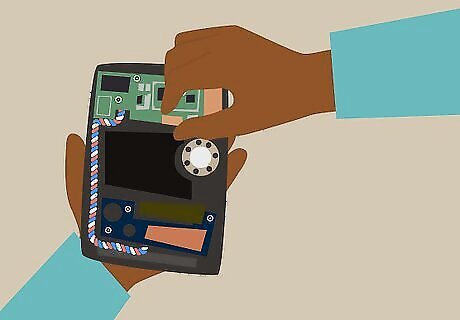
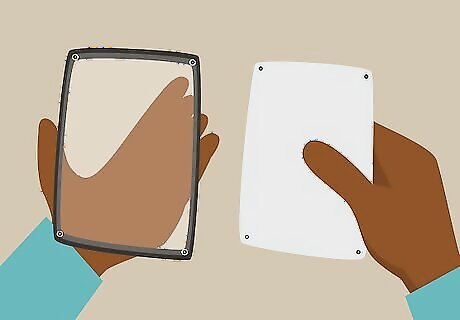
Make sure the back of the device is facing you. The Kindle Fire is designed with simplicity in mind, and as a consequence, there are no grooves for you to remove the backing with just your hands; you’ll need some tools. To begin, flip the tablet over so the backing is facing you.

Wedge a pry tool in the edge creases. Grab a plastic pry tool and begin wedging the back cover off, starting from the sides of the USB charging and data port.
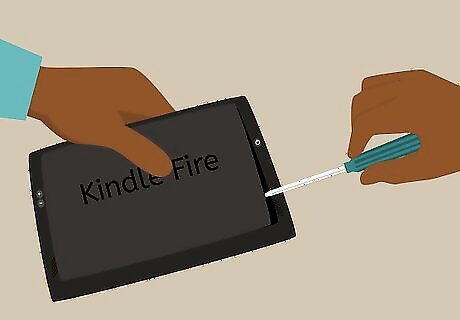
Hold the gap open. Once you have a considerable gap between the backing and the front portion of the device, insert a guitar pick or any other thin plastic object you can use to hold the gap open.
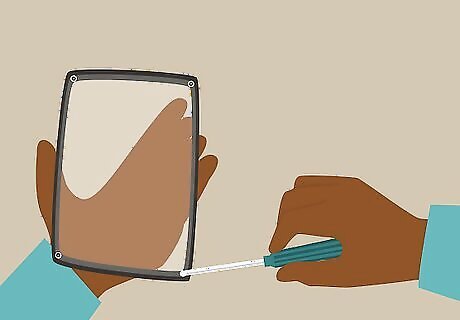
Continue wedging around the edges. Work your way around the sides of the tablet with the wedge tool until the back plate eventually gives way.
Removing the Battery

Disconnect the power connector. Once the back cover is off, you must remove the battery to be able to take everything else out. Use a plastic pry tool to unhinge the power connector. This is the white plastic part with multicolored wires attached to it. The connector is located at the bottom of the motherboard and should be noticeable when you first see the internals of the device.
Remove the battery. Take the battery out by gently prying it out from the sides.

Set the battery aside. Keep it in a safe, cool, and dry place.
Detaching the Touchscreen Controller and the Motherboard
Remove the connectors. The touchscreen controller is located in the upper-right corner; it has a brown chip and a thin connector that attaches to the green motherboard. Gently flip the connector by prying open the thin black plastic hinge securing the connector to the motherboard. Be very careful when doing this, as the hinge can damage easily.
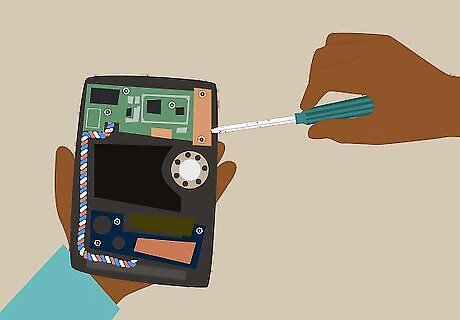
Remove the touchscreen controller. Unscrew the touchscreen controller with a small Philips head screwdriver, and remove the controller. Set the touchscreen controller aside.
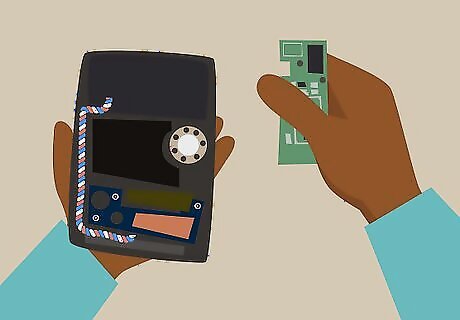
Take out the motherboard. Do this by removing the remaining six screws. The holes are ringed with copper so you can easily locate them. You can then take out the motherboard after removing these screws.
Removing the Other Parts and the Screen
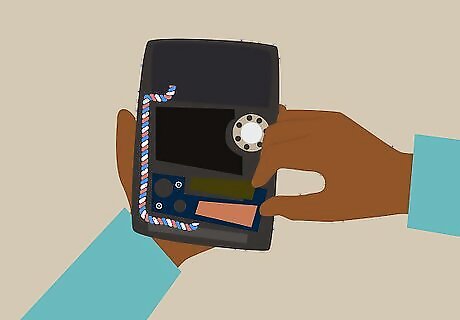
Remove the Power button board. Do this by unscrewing a single screw at the top of the internal assembly. It should be a small green circuit board with a copper ring surrounding the screw.

Remove the speaker assembly. This is located at the bottom of the device and is secured with two screws on either side.
Remove the screen protector. Take out the metallic plate that protects the screen assembly by unscrewing the screws located at all four corners of the metal plate.
Remove the screen. The screen is secured by four screws, easily visible from the small metallic portions, which help the screws secure the screen in place. Unscrew them, and the screen should pop right off. You have successfully taken apart your Kindle Fire.


Comments
0 comment