
Autodesk Revit is a Windows-only building modeling application used by architects, landscape artists, engineers, plumbers, and structural mechanics. If you're planning a new building or construction project, you can add, remove, and move floors and walls by dragging a few lines. This wikiHow will show you how to add floors in Revit.
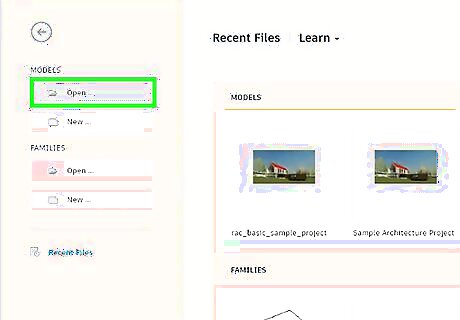
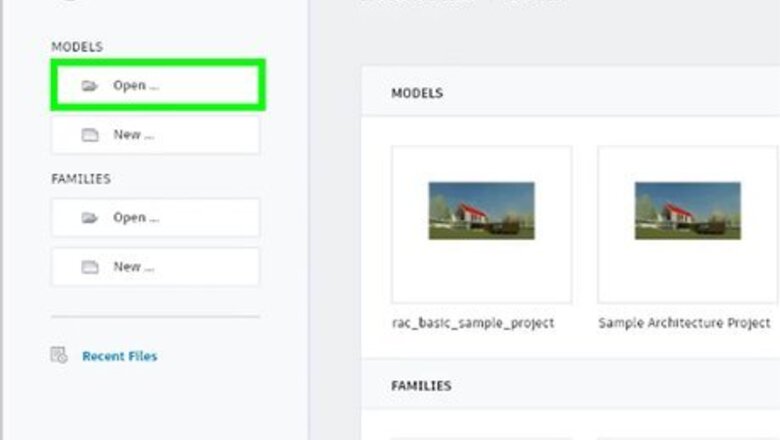
Open your project in Revit. You can either open the program and then open your project by going toFile > Open or you can right-click your project file in your file explorer.
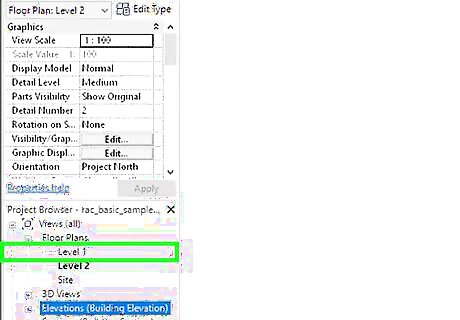
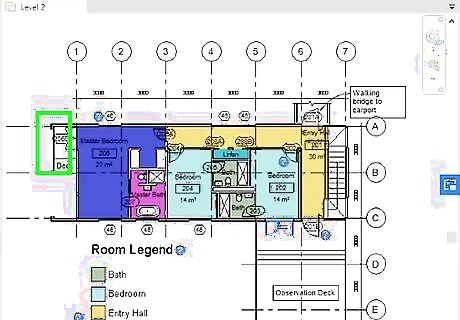
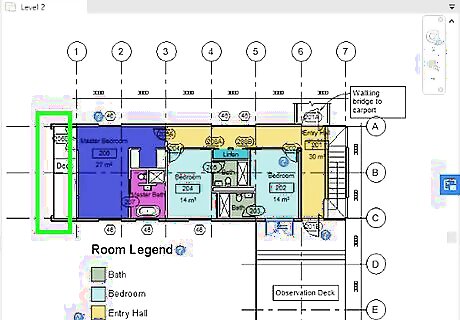
Select an elevation view to add levels to. You'll see a list of all your different views in a panel on the left side of the screen.
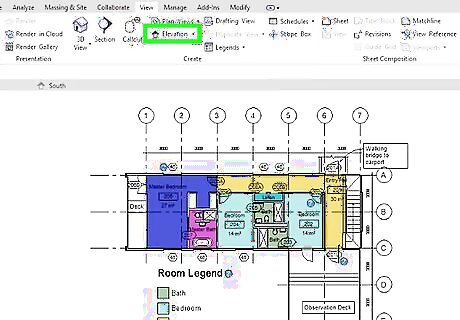
Click Level. You'll see this in the "Structure" tab on the right side of the application window in the "Datum" grouping.
Click your drawing area to start a line. You should see the elevation listed next to the line as you draw it.
Click when the line is complete. As you move your mouse horizontally across your drawing space, you'll see the line appear behind your cursor.


Comments
0 comment