views
Punched Tin Luminaries
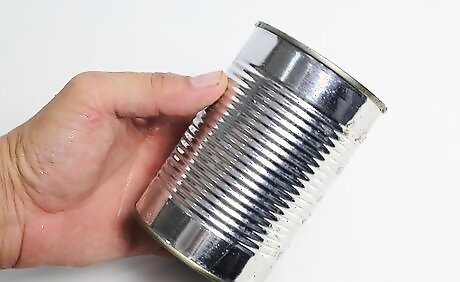
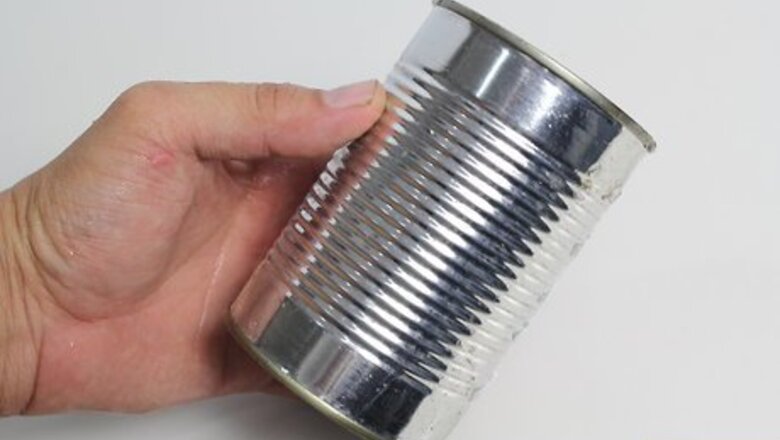
Clean tin cans thoroughly to remove any remaining food. Commercial-sized food service cans work well for outdoor luminarias.
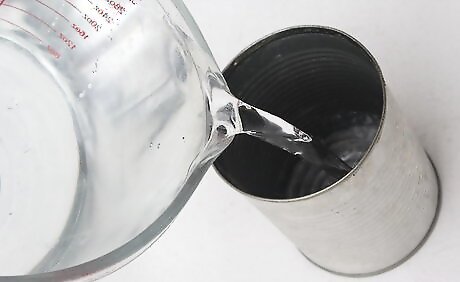
Fill the cans 3/4 full of water.
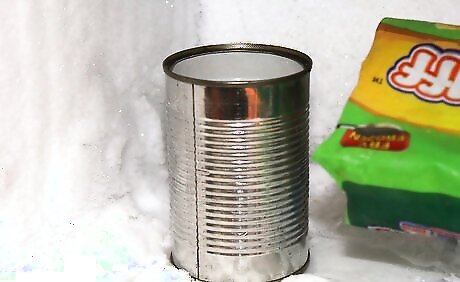
Place them in the freezer until the water is frozen solid. Do not fill the cans completely, as the expanding ice might cause it to burst its seams. The ice will prevent bending of the can when you begin the punching.
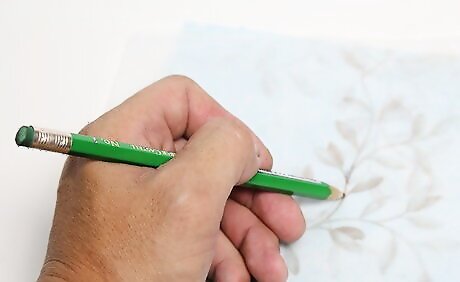
Transfer your design onto tracing paper. For the best results, use a design that relies only on its outline, as small details get lost. Use pictures from coloring books, greeting cards, quilt or other crafting patterns or design your own pattern. Mark dots about 1/8 inch (3 mm) apart on the outline.
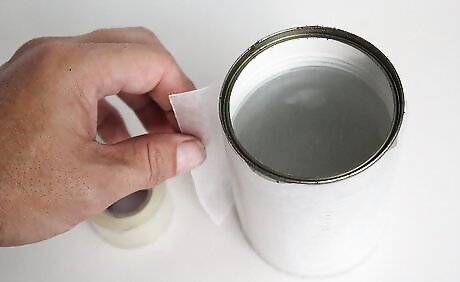
Remove the cans from the freezer and wipe away any condensation that forms. Tape your design to the can with masking tape.
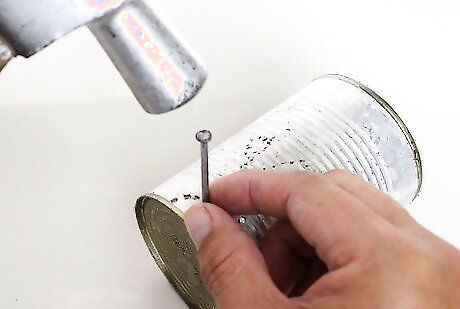
Place the point of a nail or awl on the first dot, and strike the head with a hammer until the nail goes through the can and into the ice. Remove the nail and repeat the process on each dot.
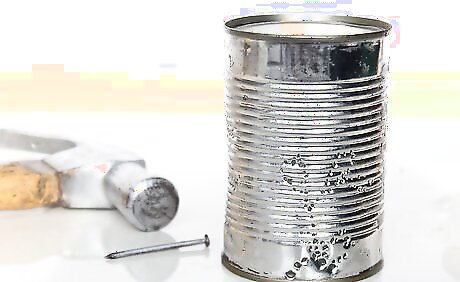
Allow the ice to melt and pour out the water.
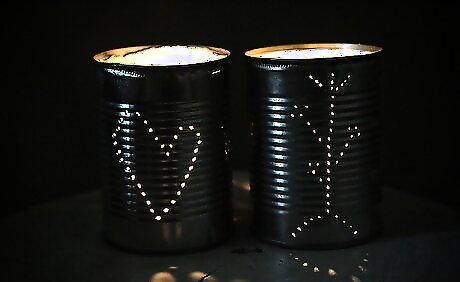
Set a votive or tea light candle in the bottom of the can and light it. You may also use household emergency candles, if the can is taller than the candle.
Framed Punched Tin
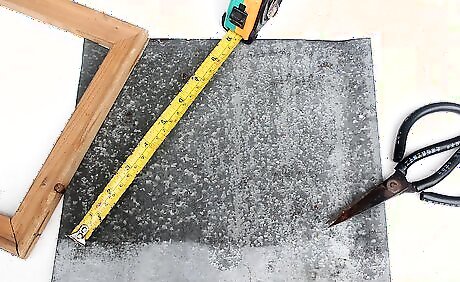
Measure the cabinet into which the punched tin panel will be set and use the tin snips to cut a tin sheet 1 inch (2.54 cm) larger on all sides.

Transfer your design to tracing paper and mark dots 1/8 inch (3 mm) apart along the entire outline.
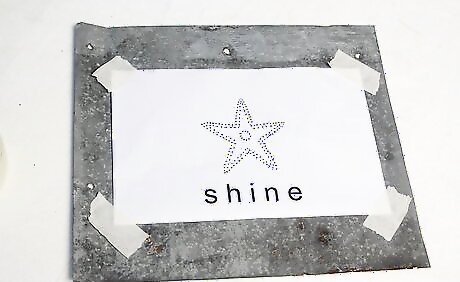
Place the tin panel on a flat surface and tape the pattern in place.
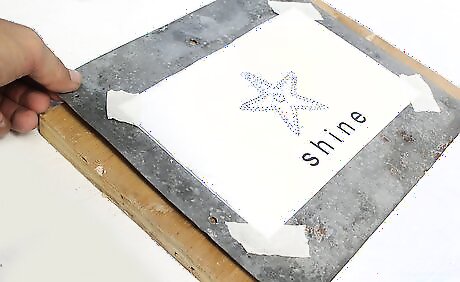
Set a piece of wood under the tin sheet at the point where you will begin punching the pattern.
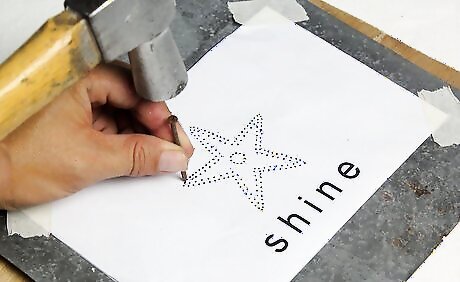
Place the tip of a nail or awl on each dot and strike the head with the hammer, driving the nail through the metal. Repeat for all the dots on the pattern.
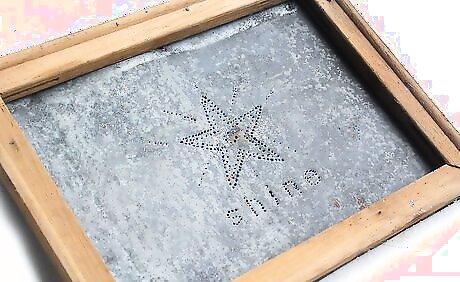
Frame the tin sheet as appropriate for the particular cabinet in which you plan to use it.



Comments
0 comment