views
Choosing Plants for an Urn
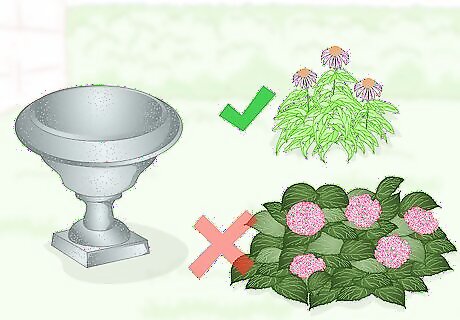
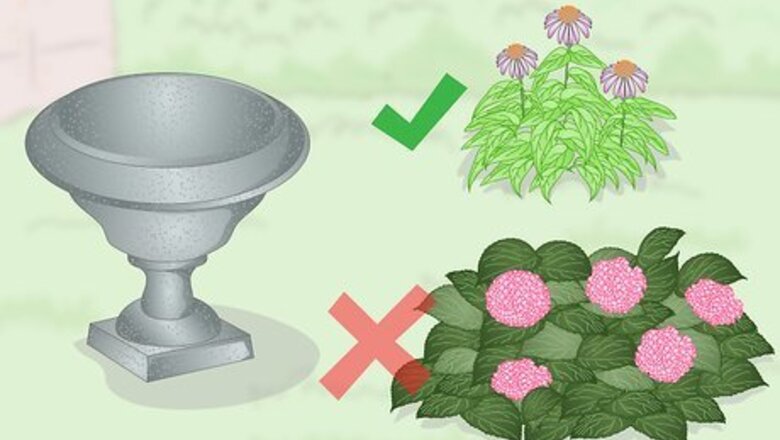
Stick to small or medium-sized flowering plants. Gardening urns most often come in sizes that range between 12–29 inches (30–74 cm) wide and 12–24 inches (30–61 cm) tall. For this reason, they're best suited for planting showy annuals and perennials that don't put down deep roots. Many popular container species like azaleas, impatiens, and hostas also tend to do well in urns. Dahlia, geraniums, impatiens, and other showy annuals are good for filling urns with bright bursts of color, while hearty perennials like blue star juniper or Creeping Jenny may be a better choice for gardeners with less time to devote to upkeep. No matter what you choose to display in your urn, the most important thing is that the planter be about twice the size of the root system once it reaches maturity. Talk to someone at your local greenhouse or plant nursery or look up information online to find out how big you can expect a particular species to get.
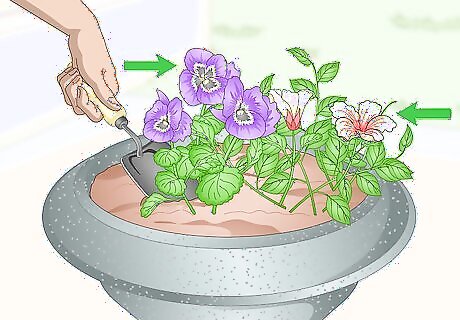
Mix-and-match plants in large urns. Oversized urns are typically spacious enough to house a variety of plants, making your companion-planting options nearly limitless. Try pairing 2-3 different offerings to put together your own unique arrangements. In addition to creating a more eye-catching display, combining multiple plants in the same container will help you save precious space in your garden and in smaller containers. A cluster of peach-colored tulips, for example, will stand out in dazzling contrast to a bed of white heliotrope. For best results, stick with plants that have similar soil, water, and sunlight needs, as they’ll all be sharing the same resources.
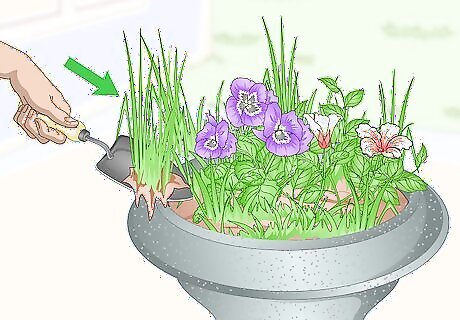
Fill out your planter with ornamental grasses. If you have a little extra space to play around with after incorporating your main show plants, consider filling it out with some lush greenery. Grasses like fountain grass, fescue, and bluestem lend decorative urns a textural depth that can be used to balance out the bold colors of annual flowering plants. Plant tall, spiky grasses in the center of the urn to serve as an impressive focal point, and sew cascading species around the perimeter of the planter for a more elegant overflowing effect. Most species of grasses are relatively low-maintenance, but they can compete for resources with your main display pieces, so make sure your arrangements get plenty of water and sunlight throughout the day.
Adding Your Plants
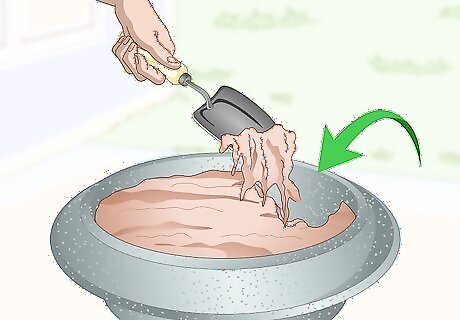
Fill the urn with a well-drained potting soil mix. Add the soil until the urn is roughly ¾ of the way full, leaving at least 1 inch (25 mm) of space at the top of the container for waterings and natural soil shift. Most annuals and flowering plants will require at least 8 inches (20 cm) of soil to give their roots ample room to spread out. Perennials and other lush species may need as much as 12–16 inches (30–41 cm). Almost any commercial potting soil should work just fine for housing common garden plants. In general, however, it's a good idea to use the type of soil recommended by growers for the specific species you're planting.
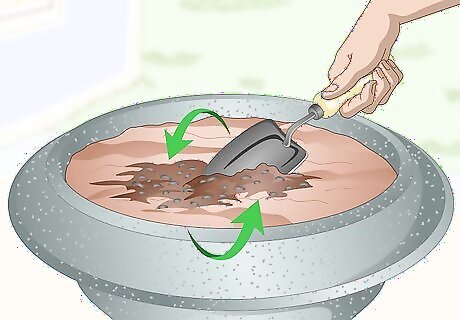
Amend the soil if needed to promote proper drainage. Like other growing containers, urns have a tendency to hold more water than is good for the plant. The simplest way to overcome this issue is to mix an equal amount of organic material into the soil before potting your plants. Ordinary garden compost, peat moss, or well-rotted manure will generally give you the best results. Consider adding 2–3 inches (5.1–7.6 cm) of gravel to the bottom of the urn to filter out excess moisture if you’re working with a species that prefers dry, sandy soil.
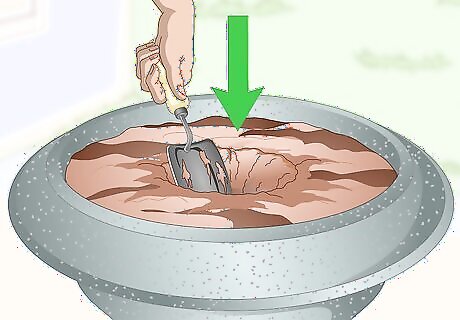
Clear out a hole in the soil for the plant you’ve chosen to display. Scoop out the depression by hand, or use a trowel to remove more soil faster for perennials and other sizable species. Be sure to dig deep enough to comfortably accommodate the root structure of the plant. It’s better for the urn to be too big than too small, since the plant will need some room to breathe and grow. When planting multiple plants in the same urn, do it one at a time to make sure each one is snug and secure before moving onto the next.
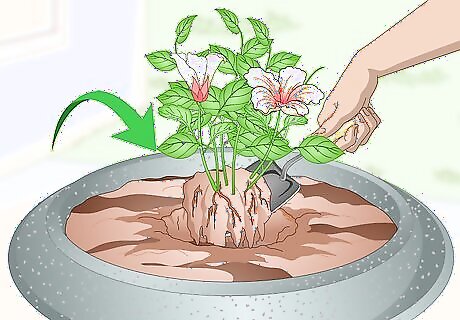
Place the plant’s root structure into the opening. Remove the plant carefully from its growing container by taking hold of the lower stem and lifting it out in one piece. Transfer the plant to the awaiting urn, then fill in and lightly compact the loose soil to anchor it in place. It’s important that the plant’s root system rest just below the surface of the soil and be completely covered. While it’s possible to grow plants from seed in an urn, starting with a young or fully-grown plant that has already successfully taken root is a more practical option, as it involves less labor and offers instant results.
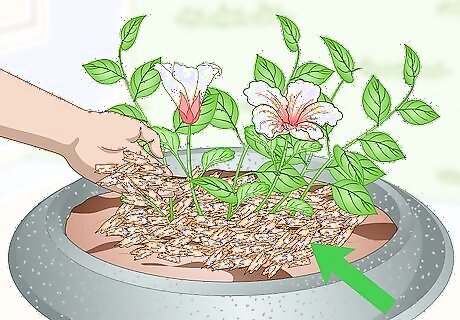
Cover the growing soil with wood chips if you don’t want it to be visible. The rich, water-retaining material will keep the underlying soil concealed and insulate it against extreme temperatures while simultaneously enhancing its drainage properties. A thin layer of mulch (no more than 2–3 inches (5.1–7.6 cm)) can also be useful for beautifying decorative urns that sit closer to the ground. As an alternative to wood chips or mulch, you could also try sewing a blanket of moss over exposed areas for an extra touch of green. Since urns are primarily ornamental fixtures, some gardeners prefer them to have a neater presentation than other containers.
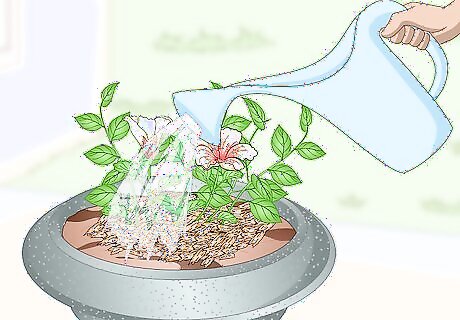
Water your plant thoroughly. Once your plant is in its new home, give it a healthy drink to encourage it to continue flourishing. Shower the surrounding soil with enough water to dampen it, but not leave it soggy or oversaturated. After that, continue watering your plant regularly according to its preferred natural schedule. A good way to determine whether a plant needs water is to bore into the soil with your fingertips. If it feels dry below the surface, it’s probably overdue for a watering. Be careful not to overwater your container plants. An overabundance of moisture can easily weaken plants and lead to wilting, along with more serious complications like fungal infections and root rot.
Picking out the Right Urn for Your Garden
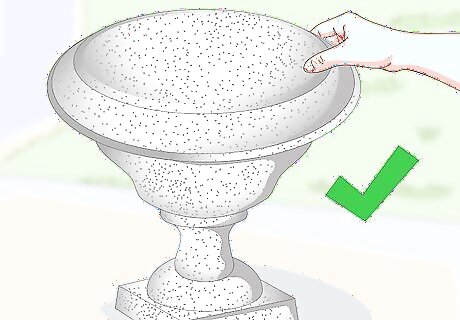
Choose a stone, concrete, or metal urn for greater durability. These urns are made with a single-piece molded construction. Because of this, they tend to last longer and hold up better against the elements than less solid materials. Another major selling point of heavier urns is that they're less likely to overturn as a result of a storm, stiff breeze, or curious pet. Quality materials give gardening urns a more tasteful, permanent appearance compared to the usual ceramic or plastic pots. Gardening urns aren’t cheap, especially when they’re made from stone or metal. It’s not uncommon for larger planters to go for $200 or more.
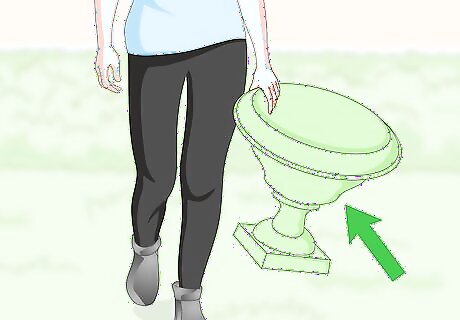
Go with a plastic, synthetic, or wooden urn for ease of movement. If you think you might want to relocate your urn to a different spot in your garden, you might be better off purchasing a lightweight plastic or molded fiberglass model. In some cases, you may also be able to find urn-like planters fashioned from treated rattan, bamboo, and similar woods with a high strength-to-weight ratio. Though they tend to wear out faster, plastic urns are the most economical option, and are much easier to set up and move than heavier materials. Mid-sized fiberglass or wooden urns arguably provide the best balance between durability, versatility, and aesthetics.
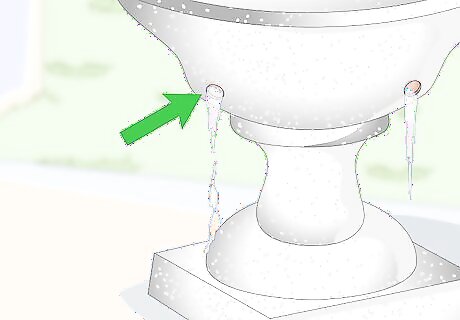
Select an urn with built-in drainage holes at the bottom. Drainage holes make it easier for moisture to make its way out of an urn after a watering or heavy downpour. These days, almost all urns come with pre-formed holes for drainage. If you're unable to find one, however, you may be able to make them yourself by drilling a small hole every 4–6 inches (10–15 cm) around the circular base of the urn. Be careful when drilling holes in stone or concrete urns. It's possible for these materials to crack when too much force is applied to them. Water can accumulate quickly in urns without adequate drainage, leading to wilting, rotting, and other serious issues that can threaten the health of your plants.
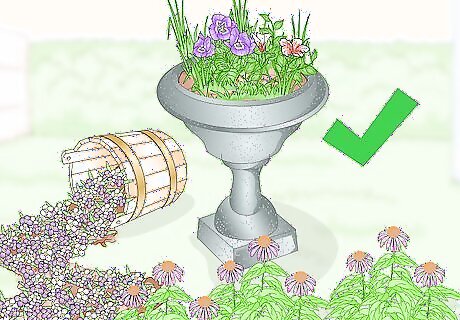
Look for urns that complement your gardening space. A tall, slender urn may be just the thing you need to line an archway or fill in open areas strewn low-growing plants. Conversely, large, squat planters make eye-catching fixtures on their own and allow you to grow multiple plants in the same container. Garden urns range in size from basic 10-12 inch (25-30 cm) plastic planters to massive stone and metal fixtures with diameters upwards of 30 inches (76 cm). Compact urns can be displayed on their own or situated on top of a bench, pedestal, or set of stairs, giving you more freedom in terms of how to work them into your garden.





Comments
0 comment