
Framing the Shot

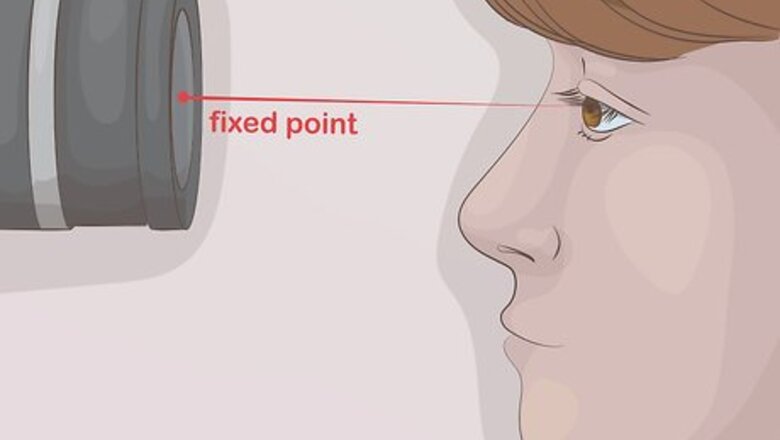
Have your subject look at the lens or other fixed point. Having your subject look directly at the camera lens will help you take a detailed photo of their iris and pupil. If you want to capture the eye from a different perspective, have your subject look at a fixed point so you can find the best angle from which to take the shot.
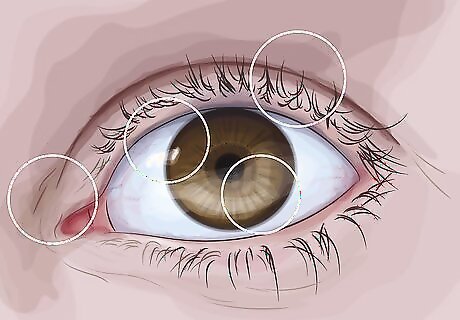
Examine the eye closely and decide what most interests you. Are you drawn to the colors and patterns of the iris, or the reflection of the light on the pupil? Do you want to focus on the wrinkles around the eye, or the curvature of the eyelashes? Your answer to this question will be the main detail you focus on when taking your shot.
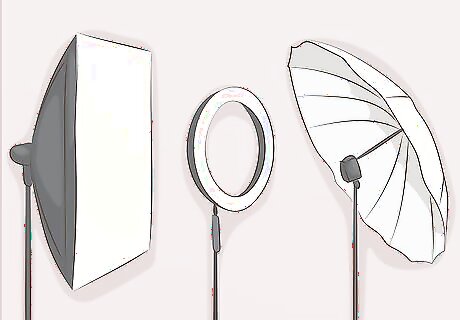
Produce a catch light with a continuous light source. A catch light is the small white spot you sometimes see in close-up photographs of the eye. You can create a catch light by setting up a stable, continuous source of light. You can use a softbox, an umbrella, a ring light, or natural light to create this effect. Make sure that your camera isn’t casting a shadow over your shot.

Get as close as you can to the eye. Many close-up shots of the eye don’t turn out for the simple reason that the photographer didn’t get close enough to the eye. Position your camera’s lens as close your subject as it can be without your shot going blurry. Be careful not to block the light you need for your shot.
Use your camera’s zoom to hone in on the eye. Adjust your zoom until you find a viewpoint you like. Widening your shot to include other detail can provide some context, but may take away from the detail you’ve chosen to focus on.

Keep your camera steady with a tripod or other sturdy surface. When taking a close-up shot, the slightest shake of your hand can blur your photo. Using a tripod or other surface to support your camera as you take your photo will help prevent this from happening.
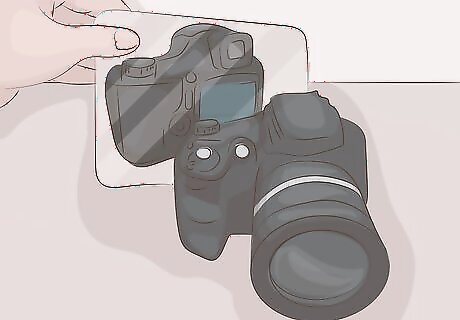
Set up a mirror behind your camera to take a photo of your own eye. If you want to take a macro photograph of your own eye, a camera with flip screen is the best option because it will allow you to easily see whether your shot is on target and in focus. If your camera doesn’t have a flip screen, however, placing a small mirror behind your camera will also give you a view of the display screen. If you’re taking a photo of your own eye with a cellphone, you’ll also want to use a mirror. This is because taking a photo of your eye on the selfie setting of your phone will affect the lighting of your shot.
Selecting Lenses and Attachments
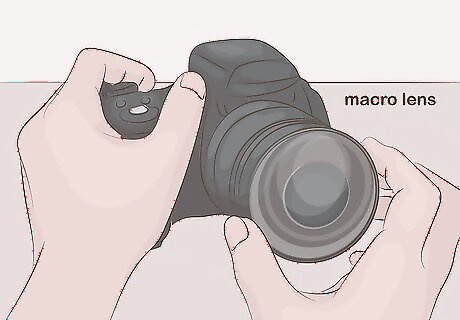
Put a macro lens on your camera. A macro lens will allow you to best capture the detail of the eye. Macro lenses vary in focal length from 50 to 200mm. You can still take a good close-up photo of the eye with a regular lens, but you may not be able to get the eye to fill the entire frame or capture all the detail you want. If you don’t have a macro lens and don’t want to spend the money to get one, try using a close-up filter as an alternative.
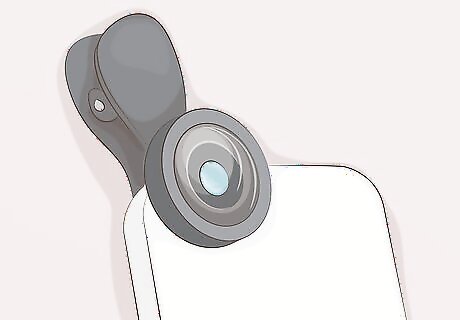
Use a macro mode or macro lens attachment when using a cellphone. Many cellphones have a macro mode, which will allow you to take a more detailed photograph of the eye than with your camera’s standard settings. A macro lens attachment for your cellphone will produce even more detailed shots. You can find a macro lens attachment for your cellphone at most major retailers and electronics stores. If you’re planning to buy a macro lens attachment, make sure you choose one that fits your phone model.
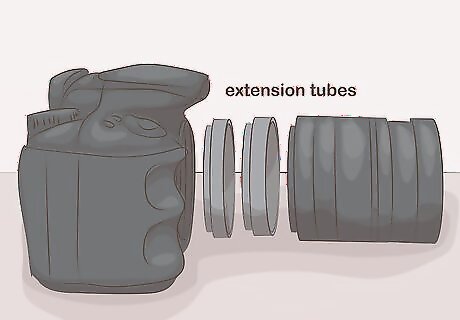
Consider adding an extension tube to make the lens focus closer. Extension tubes fit between the rear mount of the lens and the camera body. Using an extension tube will magnify the eye in your shot, allowing you to capture more intricate details.
Adjusting Your Camera’s Settings
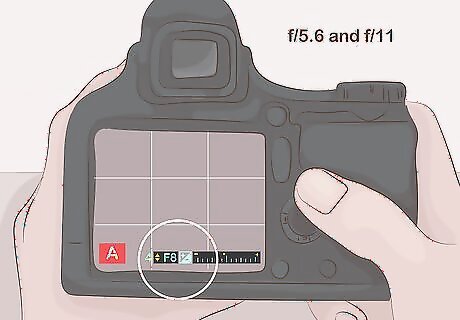
Make your camera’s aperture smaller for a shallower depth of field. For a close-up shot, the best depth of field is shallow. Set your camera to camera’s aperture number to between f/5.6 and f/11. The aperture number you choose will depend on what details of the eye you want to highlight in your photograph. Play around with the aperture to see how the aperture setting changes your shots.

Use a fast shutter speed to eliminate blurriness. The eye is constantly moving, which can blur your shot. For a sharper image, set your shutter speed to at 1/100th of a second or faster. Using a tripod will also allow you to set a higher shutter speed.
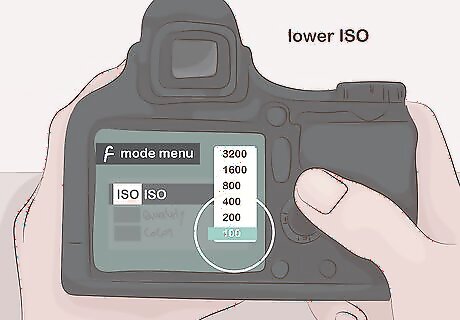
Lower your ISO value to prevent digital grain. Increasing your ISO value allows you to take photographs in low-light conditions, but will make your photo grainy. If you’re taking your photo in a well-lit area, keep your ISO value as low as possible.
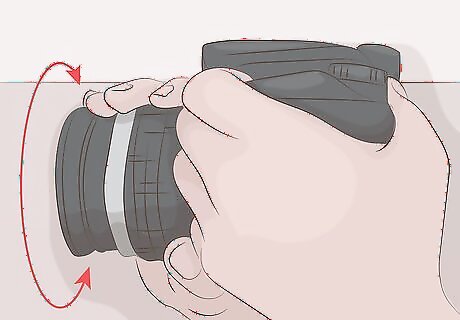
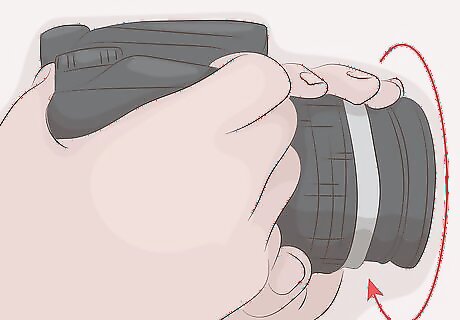
Focus your lens manually. Autofocus may not focus on the details you want to focus on, so it is best to just turn it off and focus the shot yourself. To manually focus your lens, turn your focus ring so that everything is out of focus. Then turn it back the other way until the details you want to highlight in your shot are in focus.
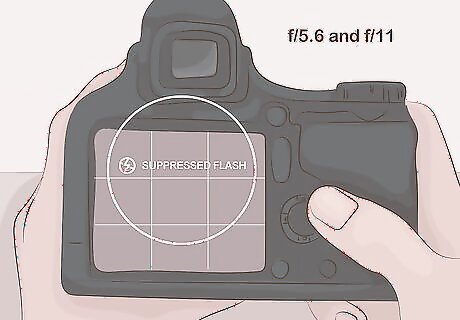
Turn off your camera’s flash. Avoid using your camera’s flash or shining other bright lights at your subject’s eyes. Bright light can damage their eyes, and can cause your subject to squint, interfering with your photograph.

Take lots of photos to capture the perfect shot. It’s impossible to know what combination of viewpoint, composition, focus, and depth of field will produce the best shot. So try as many combinations as you can. When taking a close-up shot, the small changes you make can give you very different photos.


Comments
0 comment