
- You can edit, delete, and export your contacts in Gmail.
- When editing your contacts, you'll need to click the pencil icon by the contact name.
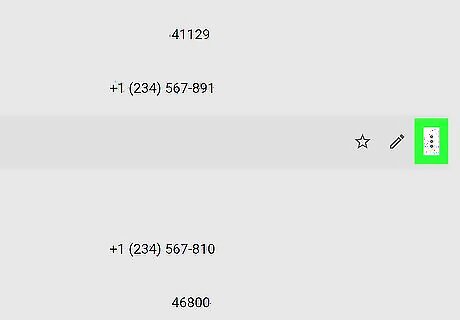
- You can delete or hide your contacts by clicking your contact options.
Opening Contacts
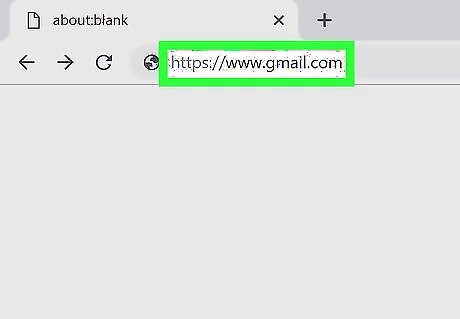
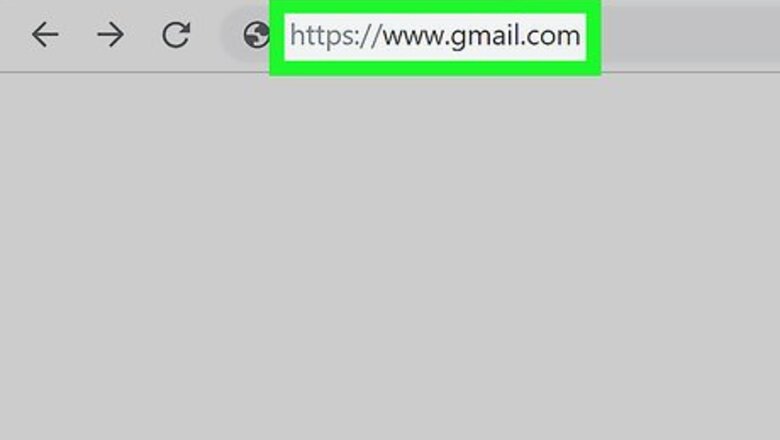
Open Gmail in your internet browser. Go to https://www.gmail.com/. This will open your Gmail inbox if you're already logged in. If you aren't already logged in, you'll need to enter the account's email address and password to continue.
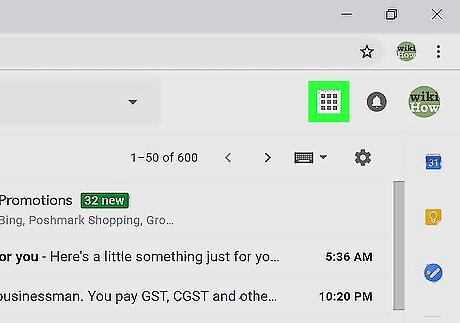
Click the Android 7 Apps icon on the top-right. You can find it next to your profile icon in the upper-right corner of the page. This will open a menu panel.

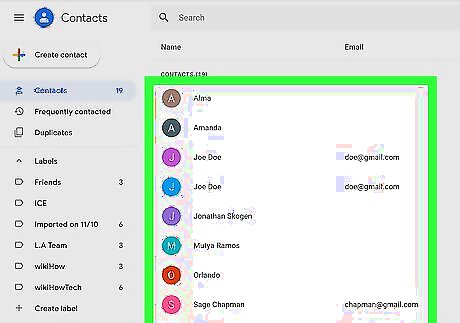
Click Contacts in pop-up. This option looks like a white figurehead in a blue circle. It will open a list of all your Google contacts on a new page.
Editing Contacts

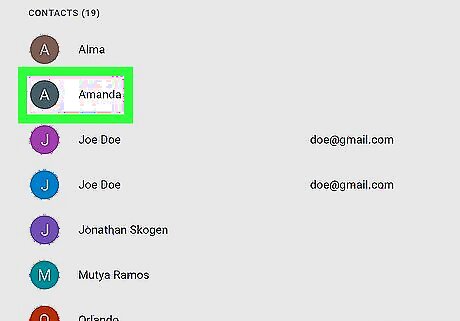
Find the contact you want to edit on your Contacts list. You can look up your contact by their name, email, phone, company, or address.
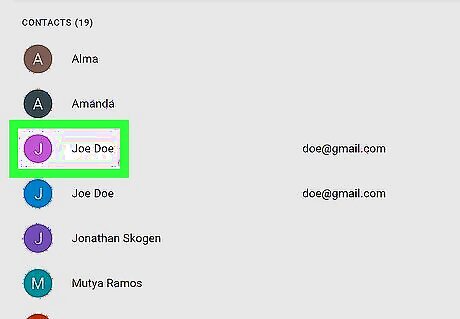
Hover over your contact's name on the list. You will now see the editing buttons on the right-hand side.

Click the Android 7 Star icon next to your contact's name. You can find it on the right-hand side. The star will turn blue, and the selected contact will be added to your "Starred Contacts" list.
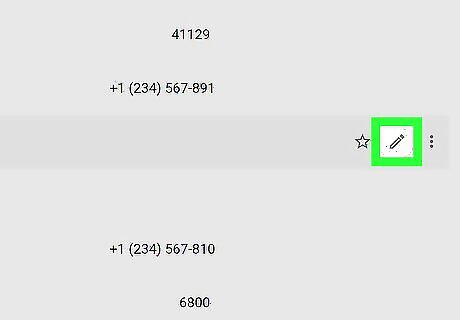
Click the Android 7 Edit icon next to your contact's name. You can find it next to the star on the right-hand side. It will open the selected contact's details in a new pop-up.
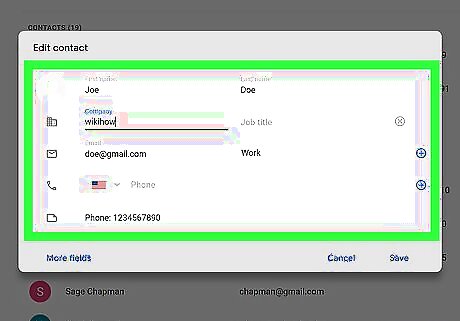
Edit your contact's information. You can add new details to this contact here or update their old information.
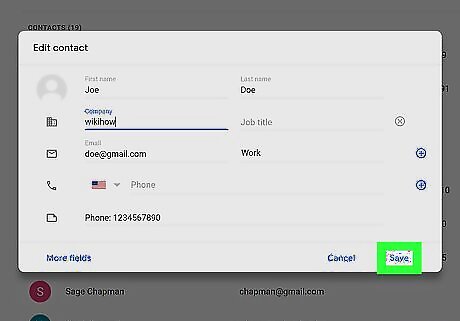
Click Save on the bottom-right. This will update your contact's information.
Deleting or Hiding a Contact

Find the contact you want to edit on your Contacts list. You can look up your contact by their name, email, phone, company, or address.

Hover over your contact's name on the list. You will now see the editing buttons on the right-hand side.

Click the ⋮ icon next to your contact's name. It's on the right-hand side. This will open all your contact options on a drop-down.

Click Delete on the menu. It's listed next to a trash icon. Alternatively, you can select Hide from contacts here. This option will hide the selected contact from the list here, but you can still easily add them to your emails.
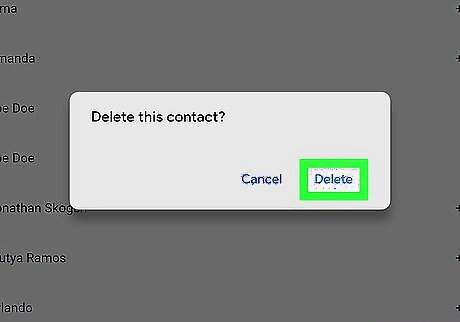
Click Delete in the confirmation pop-up. This will confirm your action, and delete the selected contact from your Contacts list.
Exporting a Contact

Find the contact you want to export or print. You can look up your contact by their name, email, phone, company, or address.

Hover over your contact's name on the list. You will now see the editing buttons on the right-hand side.

Click the ⋮ icon next to your contact's name. It's on the right-hand side. This will open all your contact options on a drop-down.
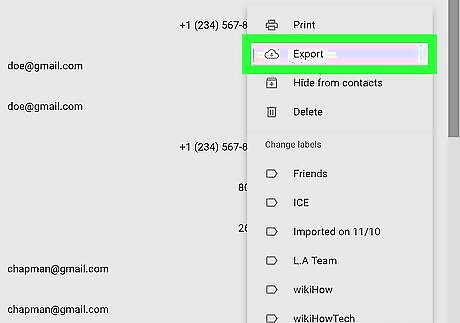
Click Export on the menu to export that contact. It's listed next to a cloud and arrow icon.
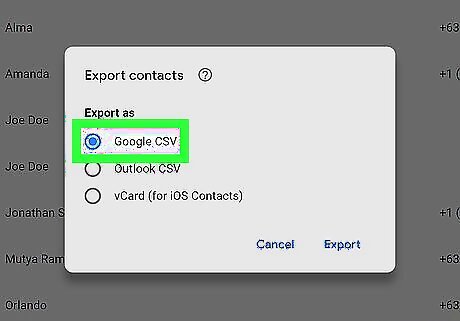
Select an export format. You can export your contacts in Google CSV, Outlook CSV or vCard format.

Click Export in the pop-up. This will export the selected contact, and save it to your computer's downloads folder.
Printing a Contact
Find the contact you want to export or print. You can look up your contact by their name, email, phone, company, or address.

Hover over your contact's name on the list. You will now see the editing buttons on the right-hand side.

Click the ⋮ icon next to your contact's name. It will open your contact options.
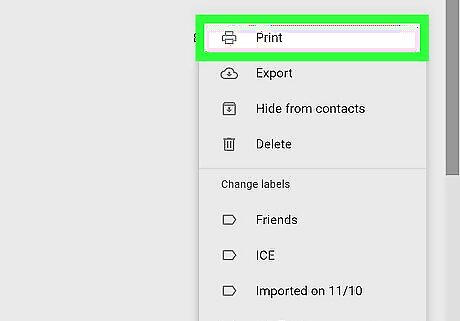
Click Print on the menu. This will open a print preview of the selected contact's information.
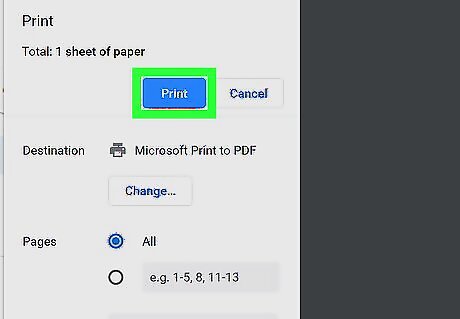
Click the blue Print button. This will print out the contact info from your printer.
Labeling Contacts
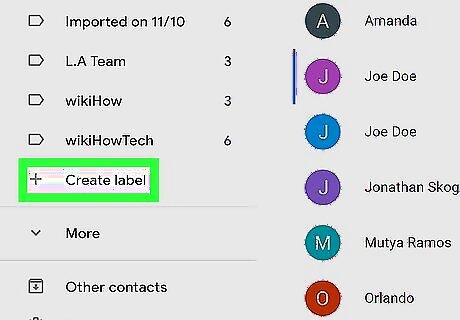
Click the Create label button on the left sidebar. You can find this option under the "Labels" heading on the left-hand side of the page. If you don't see this button, click the Android 7 Expand More icon next to the Labels heading. Using labels is useful if you want to group certain contacts together, or if you email groups often. You can simply enter the name of the label into the To field in your next email to send a message to everyone in that group without typing in all the names individually.

Enter the label you want to create. You can assign contacts to this label, and group them together later.
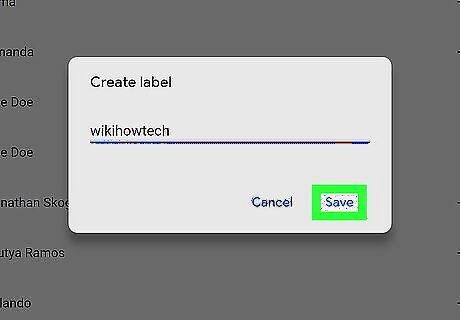
Click the Save button. This will create and save your new label. Your new label will show up under the Labels heading on the sidebar.
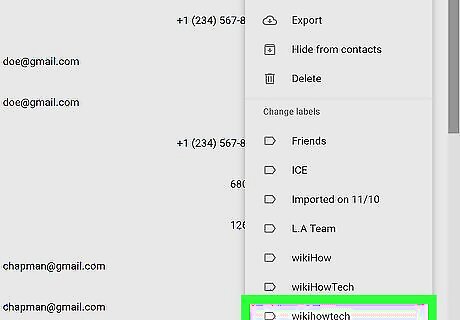
Click the ⋮ icon next to a contact's name. It's on the right-hand side of the page. It will open your contact options.

Select the label you want to assign this contact to. A blue checkmark will appear next to the selected label on the drop-down menu. You can assign multiple labels to a single contact.
Assign another contact to your label. This will help you group contacts together, and easily see them on a list together.
Click the label on the left sidebar. This will open the list of all the contacts assigned to this label. You can view your labeled contacts, and edit them here.


Comments
0 comment