
Choosing Your Fabric and Cord
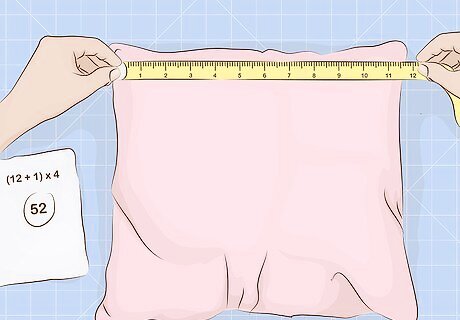
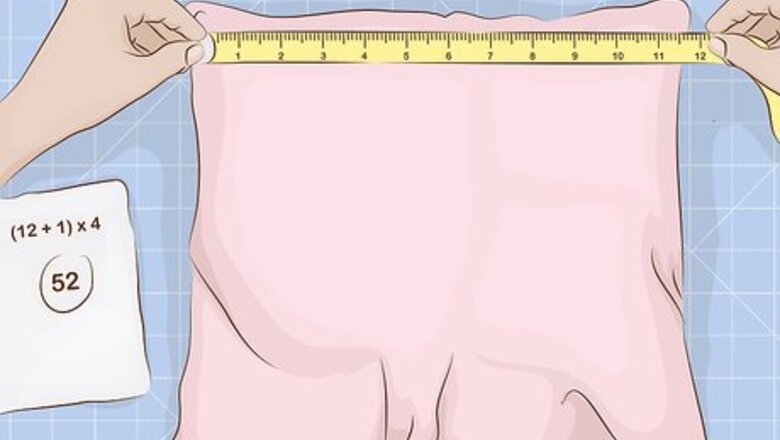
Measure the length needed by your upholstery project. The length of fabric and cord you need depend on your specific project. Measure the length of each side the piping is meant to cover. For example, if you’re adding piping to a pillow, you’ll want to measure the length of each side, including the corners. If your piping needs to go around corners, you’ll want to add an inch (2.5cm) per corner to the total length of fabric and cord you’ll need.
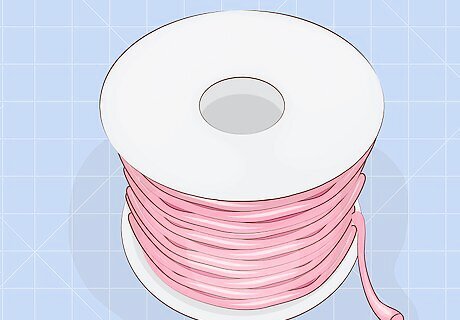
Determine the kind of cording you’ll need. Piping cord is made of a few different substances, but for the purposes of upholstery you need tough cord. You should choose cord made of plastic or hard foam. They’re more resistant to the wear and tear that comes with upholstery than softer options. If you’re using a template that specifies a width for your cord, follow it. Otherwise, the width largely depends on your preference. You don’t need to worry about color or pattern when choosing your cord, since it will be covered by fabric.

Choose your fabric. The kind of fabric you choose is entirely up to you. Maybe you want piping that contrasts vividly with the upholstery you’re adding it to, whether through color or pattern. You might instead want something more subtle that’ll blend in with your upholstery. Either way, pick a fabric that’s close in material to your upholstery; the design and color are up to you. Your upholstery piping should be somewhat similar to the upholstery itself for a more uniform look, especially when considering the material. For example, if your upholstery is polyester, your piping should match the fabric. When choosing your fabric, keep the placement of your piping in mind. If the area sees a lot of wear and tear, you’ll want tougher fabrics.
Cutting Your Fabric into Strips
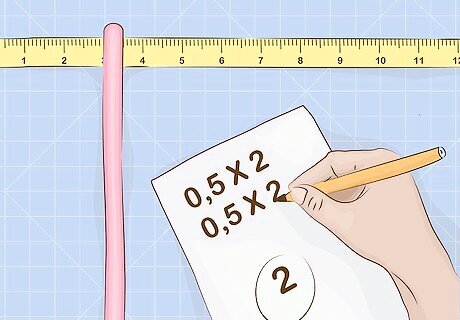
Figure out the width you’ll need for your strips. The width of the strips will be equal to twice the width of your cord plus twice your seam allowance. For instance, if your cord and seam allowance are each ½” (1.3cm), the width of your strips will be equal to 2 inches (5.1cm). The seam allowance is the space between the seam and the end of the fabric. It allows pieces of a pattern to sit together properly.
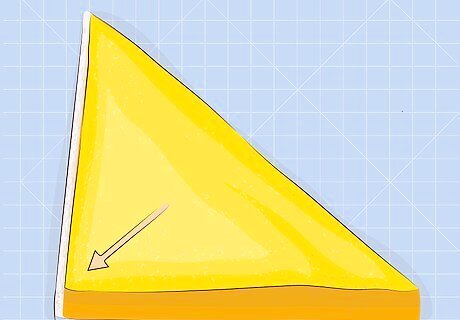
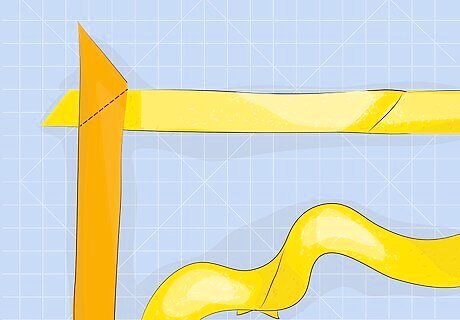
Fold a corner of the fabric towards the selvage. The selvage is the small strip at the end of a square of fabric that bears the manufacturer’s name. As you bring an opposite corner of the fabric towards this strip, you’ll create a 45 degree fold in the fabric, also known as the bias. While the bias is technically any diagonal line on your fabric, the true bias goes from the selvage to the opposite end of the fabric, intersecting with the grain.
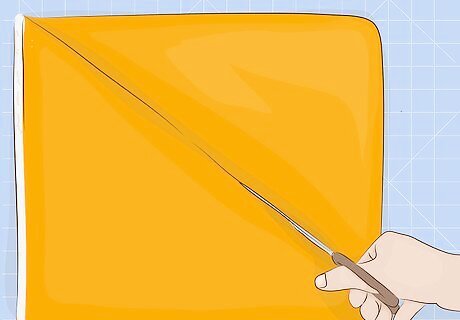
Crease the line and cut. Run the finger along the line to make a crease in the fabric. Unfold the fabric and use a sharp pair of scissors to cut along the the crease. You’ll be cutting the fabric on the bias. Cutting your fabric this way will make for smoother piping than cutting straight strips. Cutting along the bias leaves you with fabric that’s more pliable and less likely to fray at the edges.
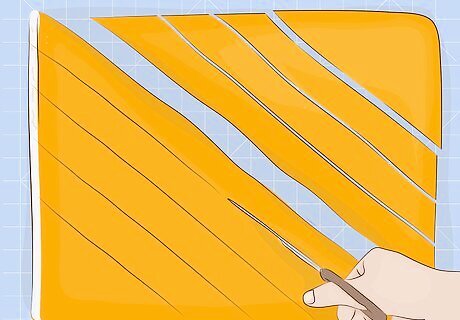
Make a cut parallel to your previous line, cutting strips to width. If using the same example as above, you want to measure a distance of 2 inches (5.1cm) away from the cut you’ve just made. Use a fabric pencil and ruler to draw a parallel line marking the other edge of the strip. Use your scissors to cut along this line. Repeat this process until you have enough strips for the length of your cord.
Stitching Your Strips Together

Lay two strips end to end at a 90 degree angle and stitch them together. Lay the strips right side up; you should see the ends of the strips passing each other. One should be vertical, the other crossing it horizontally. Use a straight stitch to sew the strips together. The stitch should go at a 45 degree angle, parallel to the horizontal strip’s diagonal edge. You’ll be able to turn multiple strips into one long section of fabric.
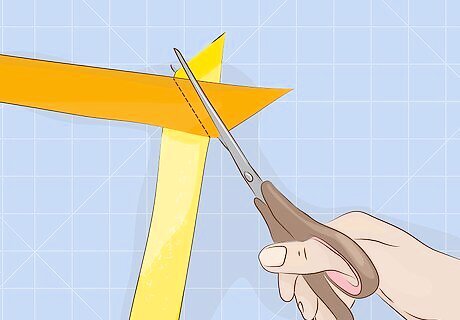
Trim the ends of the strip back to your seam allowance. If using a standard ½” (1.3cm) seam allowance, you’ll want to leave just that amount of fabric past the stitch. You can use a fabric pencil to mark a line on the fabric before cutting. Pressing the seams open after cutting will make the two strips into one long section.
Keep adding and stitching strips until you’ve reached your needed length. For smaller projects, you might only need to do this a few times. However, if you’re dealing with upholstery on larger furniture such as a couch, you’ll have to connect several strips together.
Sewing in the Cord

Fold your fabric over the cord. Once your strips have all been sewn together, you’ll want to lay your piping cord in the middle of it, following the length. Be sure to place the cord on the wrong side of the fabric. After folding the fabric over, make sure to hold it tightly. The edges should line up together nicely.
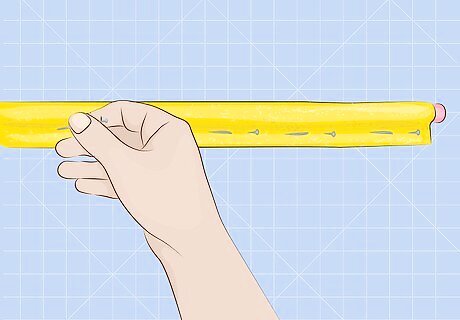
Insert pins to keep the fabric in place. Place the pins perpendicular to your piping, piercing through both sides. The fabric will stay curled around the cord as you stitch. The pins should be small enough that they don’t tear through your fabric.
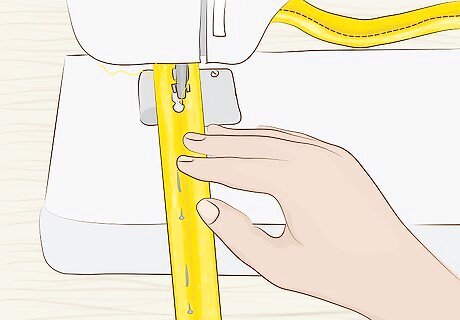
Use a sewing machine with a zipper foot to sew the piping shut. A zipper foot will let the needle get as close as possible to the cord without cutting through it. Slowly push your piping through the sewing machine, removing pins as you get near them. The stitching should run parallel to the cord. When you install the upholstery piping, you’ll sew the ends shut. For now, you don’t need to worry about them.


Comments
0 comment