views
Making Natural Concealer
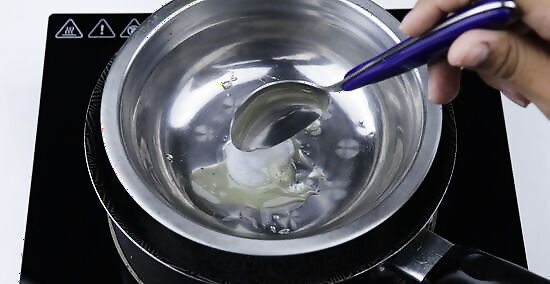
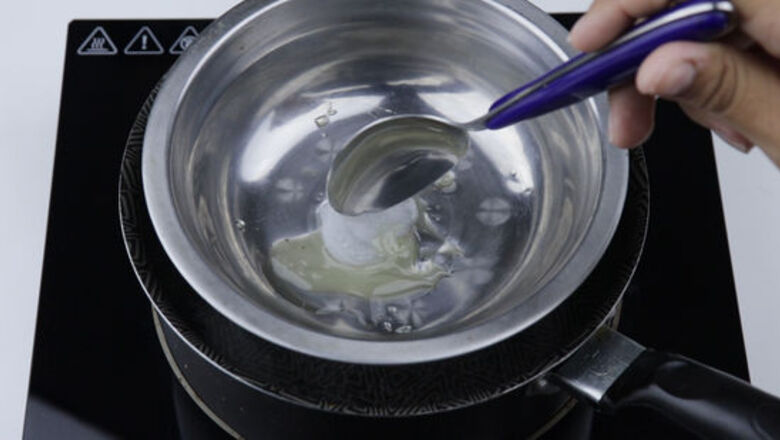
Melt shea butter and beeswax in a double boiler, stirring to combine. Fill the bottom portion of a double boiler with water, and place it on the stove to boil the water. When the water is at a rapid boil, place the top of the boiler over the water, and add 1 teaspoon (4.9 mL) of shea butter and ⁄2 teaspoon (2.5 mL) of beeswax to the upper bowl of the boiler. Then, stir them until they’re melted. If you don’t have a double boiler, you can make your own by placing a large glass or ceramic bowl on top of a medium-sized pot. Be sure to fill the pot with water before you put the bowl on top.
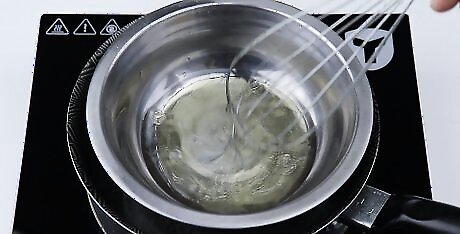
Whisk in the jojoba oil, witch hazel, and aloe vera gel. Once the shea butter and beeswax have melted, leave the pot on the heat. Use a whisk to add 2 tablespoons (30 mL) of jojoba oil, 1 teaspoon (4.9 mL) of witch hazel, and 1 teaspoon (4.9 mL) of aloe vera gel to the mixture. Stir the ingredients thoroughly to combine them. It may take 1-2 minutes of stirring for all of the ingredients to combine evenly. Be sure to leave the burner on while you add these ingredients.
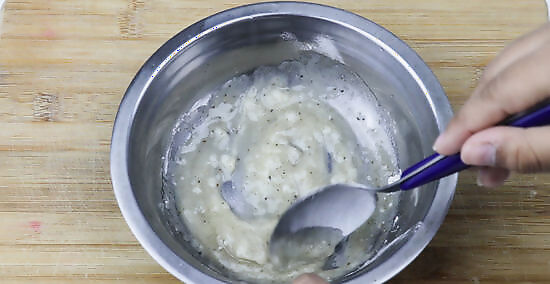
Remove the pot from heat and add the bentonite clay and zinc oxide. Turn the burner off and place the pot on an unheated surface to finish the concealer. Pour 2 tablespoons (29.6 ml) (168 g) of non-nano, uncoated zinc oxide powder and 1/2 teaspoon (1.46 g) of bentonite clay into the mixture and stir them well. Be sure to use non-nano, uncoated zinc oxide because it is safe for use on your skin and around your eyes. As an ingredient, zinc oxide sits on the top of the skin and reflects light to make your skin appear brighter and smoother, but the particles are large enough that they won’t absorb into your pores.
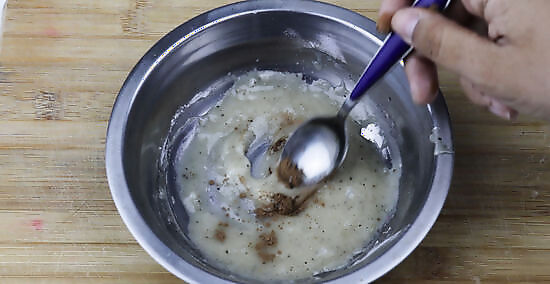
Mix in a small pinch of cocoa powder to darken the shade. The mixture should be a very light tan color, so you’ll need to make it darker if it doesn’t match your skin tone. Take a small pinch from the 1/4-1/2 teaspoon (0.61-1.23 g) of cocoa powder, and stir it into the mixture. For people with very light skin tones, the original mixture may match the shade of your skin. Only add small amounts of cocoa powder at a time to prevent the shade from becoming too dark for your skin.
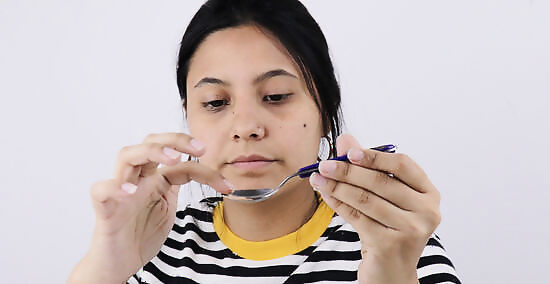
Dab some concealer on your jawline to see if the shade matches. After you add the cocoa powder, use a spoon to place a small amount of the concealer on your lower jawline and rub it in. If it’s the right color, the concealer will blend into your skin and make it look smoother.
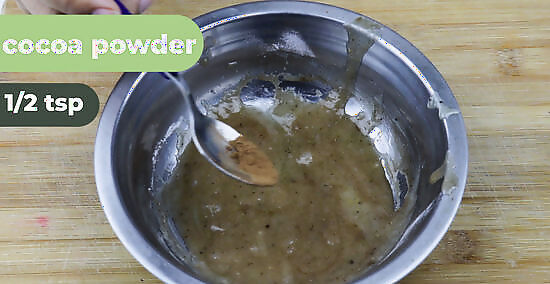
Add additional cocoa powder if the shade is too light. If the concealer is lighter than your skin tone, add an additional pinch of cocoa powder, up to 1/2 teaspoon (1.23 g) of cocoa powder. Be sure to stir the mixture thoroughly after each time you add the powder. Be careful not to add too much cocoa powder, and remember to test the concealer on a new spot after each time you stir the mixture. There’s no way to make the concealer lighter if it’s too dark, other than starting over. Avoid using more than 1/2 teaspoon (1.23 g) of cocoa powder, as too much powder can give the concealer a gritty texture.
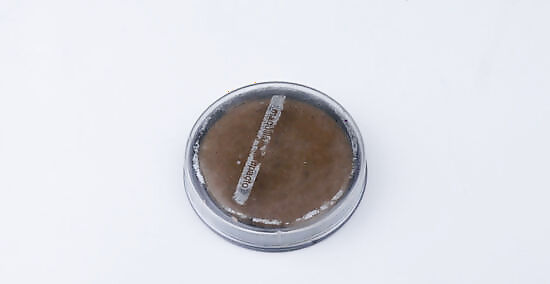
Pour the concealer into a resealable jar. When the concealer is the right shade, carefully pour or spoon it into a small jar that will hold all of the mixture. Then, close the jar tightly to keep out air and particulates. The finished concealer will be a liquid product, which can easily harden if left uncovered. When you store the concealer in an airtight jar, it will last for up to 6 months. When you’re ready to use the concealer, you can use your fingers, a brush, or a beauty sponge to apply the concealer to your face.
Creating a Natural Highlighter
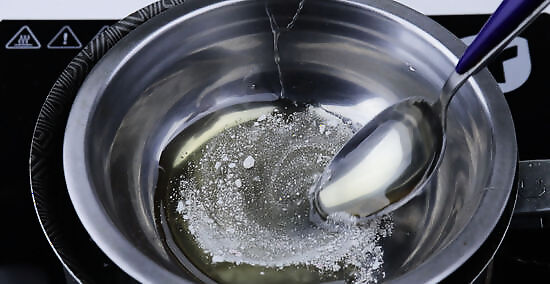
Combine the jojoba oil, beeswax, and mica in a heated double boiler. Fill the bottom portion of a double boiler with water, and place it over high heat. When the water is at a rapid boil, put the upper bowl onto the bowler, and add 2 tablespoons (30 mL) of jojoba oil, 2 teaspoons (9.9 mL) of beeswax, and 1 teaspoon (4.93 g) of white or reflective mica powder to the top portion. Stir them to combine the ingredients. If you don’t have a double boiler, you can make your own. Place a large ceramic or glass bowl over a medium-sized pot filled with water to create a double boiler, and then fill the bottom portion with water to boil. Try to avoid using a darker colored mica powder, as this can change the color of the highlighter and make it look more like a bronzer.
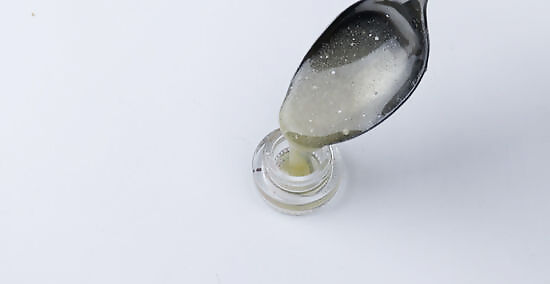
Pour the melted mixture into a small resealable jar. Once the mixture is combined, turn off the burner and pour the liquid highlighter into a small, airtight jar. Leave the lid off of the jar so that you can access the highlighter. Be careful when transferring the highlighter to the jar. It will still be warm, so you shouldn’t touch it with your fingers. It may be helpful to use a spoon or spatula to scoop it into the jar.
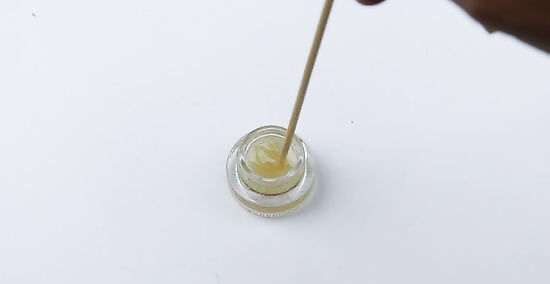
Stir the mixture in the jar thoroughly for 1-2 minutes. Use a small spoon or a toothpick to continuously stir the highlighter as it begins to cool. This will keep the solid mica powder from settling at the bottom of the mixture. If you stop stirring and begin to see the mixture separating in the jar, continue stirring until it has cooled for an additional 2-3 minutes.
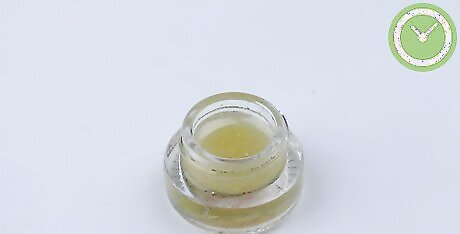
Let the container sit open for 1 hour to set. After the mixture has cooled to a semi-solid state, it needs to set to be ready to use. Leave the jar open, and keep the container away from direct sunlight or heat. Try not to touch the mixture with your fingers, as the heat from your hands can cause it to melt.
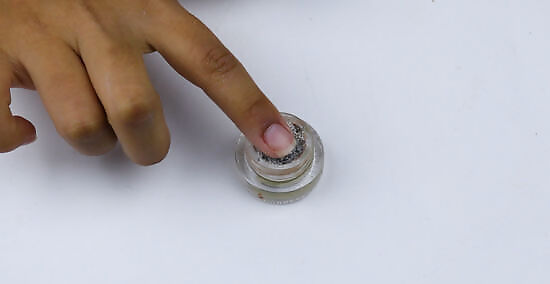
Use your fingers to flatten the highlighter and close the lid of the jar. After an hour has elapsed, the highlighter should be a solid pressed powder. If you notice any bumps or imperfections in the highlighter, use your fingers to press the solid highlighter until it is flat in the jar. Then, seal the lid tightly to protect the highlighter from particles in the air. Your highlighter will last up to 12 months if stored in an airtight container. You can use your fingers, a brush, or a beauty sponge to apply the highlighter.





Comments
0 comment