
Creating Your Screen Frame
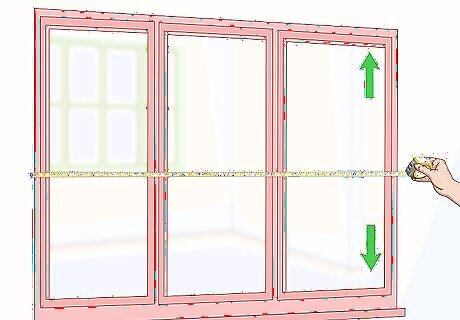
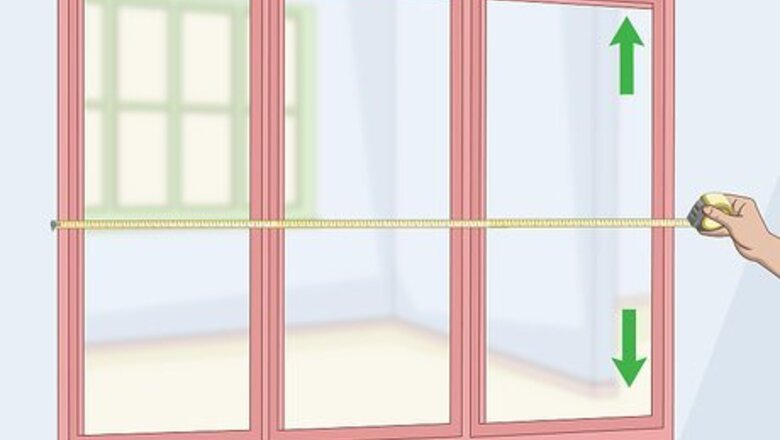
Calculate the opening of the window you are screening. Measure the height and width of your open window frame. Most aluminum and vinyl frames have a channel for the screen to fit into, so be sure to measure all the way to the insides of this channel. Subtract ⁄4 inch (0.64 cm)—as well as an additional an additional 1.5 inches (3.8 cm) for corner connections—from each dimension to determine the height and width of your new frame. Older windows with wooden frames may be trickier, and the corners won't always be square. If possible, use the original screen to obtain dimensions for your new one. Otherwise, use your best judgement.
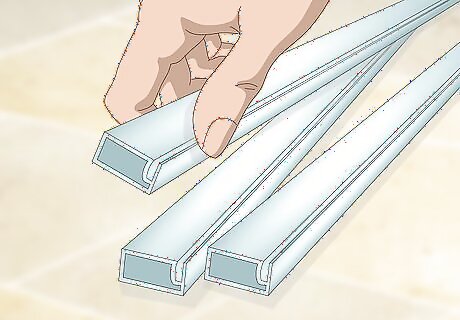
Buy aluminum window frame stock pieces. Home hardware stores sell window screen kits with precut pieces of aluminum as well as individual pieces. Most individual pieces are available in 72 inch (180 cm) and 94 inch (240 cm) lengths. Standard aluminum frame pieces are ⁄8 inch (0.64 cm) in width and ⁄32 inch (2.0 cm) thick, which will work for most windows. Focus on purchasing enough aluminum for your frame's dimensions. Take note of the spline groove on the screen frame—the width should be marked on the packaging. When you purchase your spline, it needs to match the width of the spline groove. If you're re-screening a window and the screen frame is still in good shape, you can use that instead of purchasing new framing. Just make sure to keep the black spine that goes around the old screen, since that is what holds the screen in place.
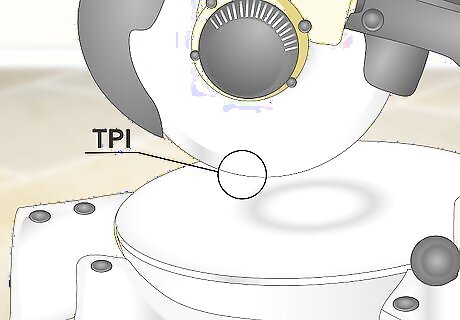
Purchase a hacksaw with the appropriate teeth per inch (TPI). Measure the width of your aluminum pieces. If their thickness is between ⁄8 to ⁄2 inch (0.32 to 1.27 cm), the TPI should 14 to 18 TPI. For thickness between ⁄32 to ⁄16 inch (0.24 to 0.79 cm), the TPI should be 24. Finally, for anything less than ⁄8 inch (0.32 cm), the TPI should be 31. Buy hacksaws from home hardware stores or online suppliers. Check the TPI on the product label or manual.
Saw the aluminum frame pieces to length with a hacksaw. Mark the cutlines on each bar using a permanent marker. Attach your aluminum pieces into a vice grip for maximum stability. Grip both handles of the hack saw and make big, long strokes away from you along the cutline. Make sure the blade teeth are pointing forward and you're using as much of the blade as possible with each stroke. If you don't have a vice grip, place each bar onto a clean, flat surface. With the edge to be cut hanging from the surface, have a friend hold the other end firmly as you carefully saw the bar. Always exercise caution and cut away from you and anyone helping you.
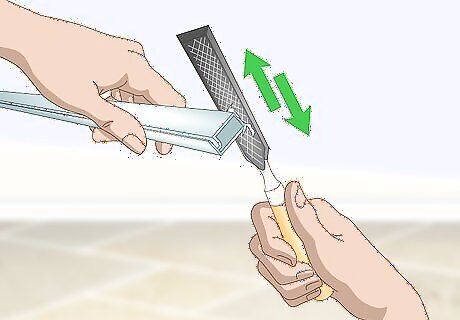
Use a metal file to remove any rough edges. Sawing aluminum can leave some rough cuts. Obtain a second-cut file with a medium degree of coarseness and rasp-cut teeth. Hold the aluminum firmly against a clean, flat surface with your non-dominant hand. Now, use your dominant hand to apply pressure from the file toward the rough aluminum surface and move the file in forward strokes away from you. Once the file reaches the end of the aluminum, lift it up and bring it back toward you. Never file in back and forth motions. Whenever possible, secure your aluminum in a vice grip to keep it stable.
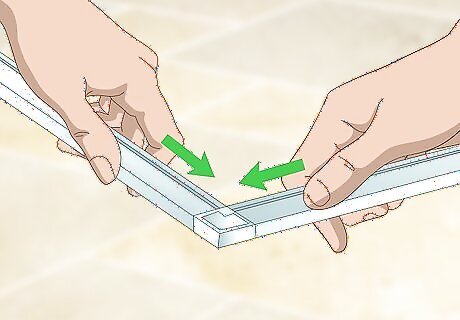
Connect the upper and lower window corners with 4 corner inserts. Push the frame pieces into the openings of the "L-shaped" plastic or aluminum frame corner inserts. Make sure that the spine tracks in the corners align with the tracks on the frame pieces. Make sure your corner inserts are 1.5 inches (3.8 cm) long. Purchase them from home hardware stores separately or in window screen packages.
Cutting the Screen
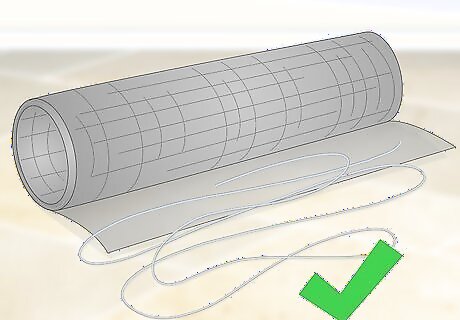
Purchase screen spline with charcoal fiberglass for the best results. Spline can be purchased from home hardware stores separately or in window screen packages. Window screen packages will provide you with the appropriate spline for the provided aluminum pieces. But if you purchase your spline separately, make sure its width matches the width of your frame's spline groove. Compare the width listed on the spline packaging to the width of the spline groove listed on its packaging.
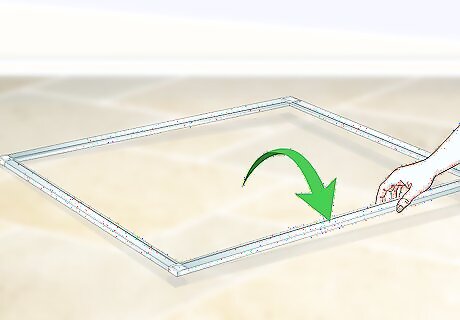
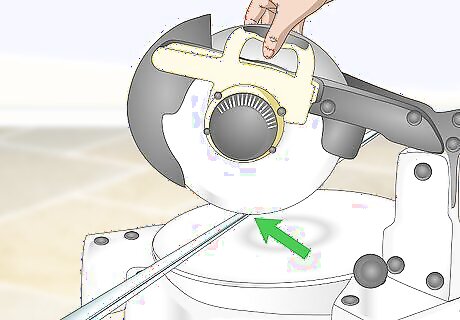
Place your aluminum framing onto a flat surface and hold it steady. The aluminum framing is soft metal and very flexible. It can easily be warped and ripped from the screening—hold it firmly against a flat surface and make sure all of the edges are parallel.

Lay the screening material straight onto the frame. While holding the frame firmly against a flat surface, lay your screening down over it. The screening should be 1 to 3 inches (2.5 to 7.6 cm) more than the aluminum framing on all four sides. Have a friend hold the frame steady as you pull the screening over the surface for better results.
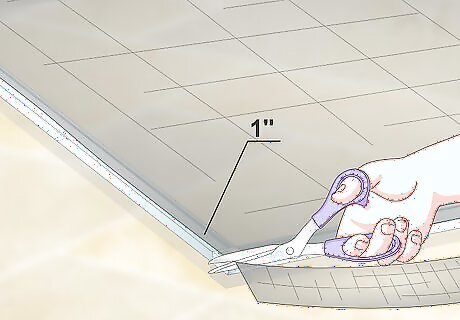
Cut the screening material 1 inch (2.5 cm) bigger than the frame. Pull the screening tight, first in the length and then in the width. Take care not get a warp in the frame or waves in the screening material. Now, use a standard pair of scissors to cut the screening approximately 1 inch (2.5 cm) larger than the frame. Don't worry about cutting completely straight—giving yourself enough extra screening material is more important.
Attaching Your Screen to the Frame
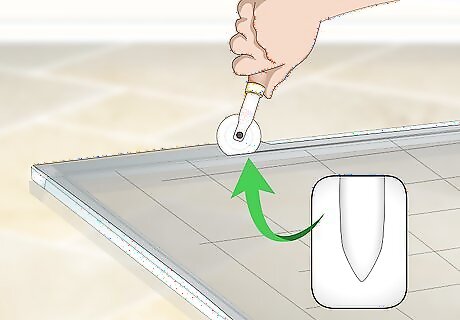
Press the wire screening material into the frame channel with a spline roller. Feed the spline through the spline roller starting from the back (concave) to the front (convex). Roll the front spline all the way around the front circular leg. Now, starting in the corner of the frame, push the front circular leg down the frame channel, making sure that the back leg follows behind. Continue rolling the spline in to the other end of the frame, keeping both legs straight the whole time. When using a spline roller, always make sure the legs are aligned with the channel and don't come loose as you move. Press firmly down onto the mount to keep it steady as you drag the spline roller through the frame channel. Pull the screen material tightly away from the frame as you move the spline roller.
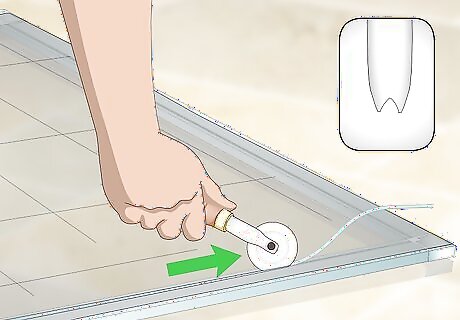
Press the rubber spline into the frame with the back end of the spline roller. Remove all of the spline from the roller. Now, with the back (concave) end facing forward, roll the mouse wheels along the channels to ensure all of the spline is firmly in place. Press firmly down on the roller as you move along the channels. This will wedge the screening into the frame.
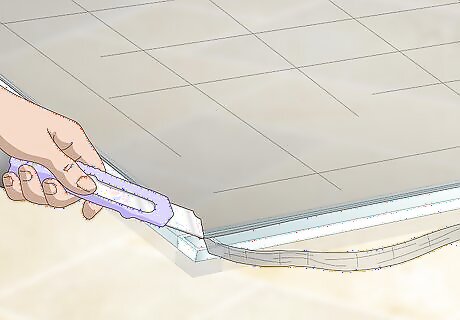
Cut the unnecessary screening carefully off with a utility knife. Pull on the excess spline away from the frame. Place the utility knife at a 45-degree angle and pull it along the frame outline right above the spline. Continue this for all 4 sides, taking care to make even cuts. Apply a firm amount of pressure down on the knife when making your cuts.
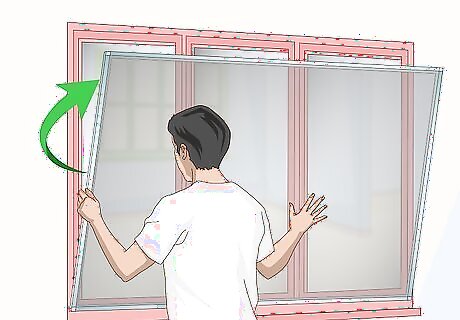
Turn the window screen with the spline facing inside your home. Before mounting your window screen, position the spline inside your home. In addition, make sure any spring clips face upward to fit into the top window slot. Be sure the spline is firmly connected to the aluminum frame before installing it in your window opening.


Comments
0 comment