
Making a Simple Photo Board

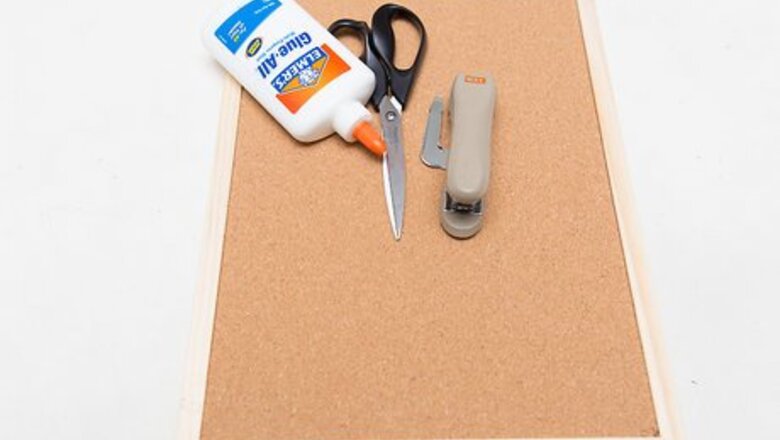
Gather your supplies. For a traditional photo board you’ll need a bulletin board to use as a base. It will be easier to add and remove photos if you use a cork bulletin board. You can use some type of fabric or wrapping paper to use as the background. Assemble related pictures you want to use for the board. You’ll also need these: Stapler Glue or double sided tape Scissors
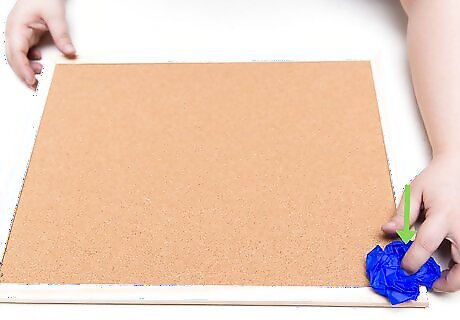
Create the background. An easy way to create a personalized background is by using your favorite wrapping paper. You can either use it as the full background or cut it into small pieces or shapes. When you have enough shapes, glue the shapes anywhere on the board. Tape the corners with double sided tape to make sure they stay down. Either use double sided tape or glue to attach the full wrapping paper onto the board. If you choose to use fabric, you’ll need to wrap the fabric over the front of the board. Once it is in a secure place, staple the fabric from the back of the board.

Cut your photos. Typically people cut up photos in interesting ways for photo boards. Cut out people’s faces or cut the photos into shapes like a heart. You aren’t required to cut up your photos if you'd rather preserve them. You could also try using craft scissors to create fun patterns and edges around the photos.

Arrange the photos. Experiment with the arrangements of the photos on the board. Glue the pictures down hard to make sure they stays, and remember to tape down the corners with double sided tape.

Decorate the board. Think of the things you like and then cut them out from old magazines. Glue them down to the board and if you are having problems with the corners, use double tape. Also, you can write out words that express yourself onto the board. Use glitter and gloss to add a sparkling effect to the board. You could also paint stuff onto the board using nail polish.
Crafting a Ribbon Board

Gather your supplies. A ribbon board is a photo board that secures photos and materials with ribbons instead of tacks or adhesives. You’ll need a bulletin board that has a cork base to make it easier to pin photos into. Go to a crafts store to get a roll of low loft batting which will give padding to the front of the board. You’ll also need the following: Fabric of your choice At least 10 yards of ribbon Scissors Stapler Pins
Measure and cut the batting. Unwrap the batting from the roll and place it over the bulletin board. Leave about an inch or two of excess batting overlapping the board. Cut the batting with scissors. If the batting isn’t wide enough to cover the full board, cut out additional strips to fully cover the board.

Staple the batting. Use your stapler to secure the batting to the board. Fold the overlapping batting over the board and make all staples from the backside of the board. Stretch out the batting slightly to avoid an uneven distribution. Use your scissors to trim off excess batting. Only trim batting that is loose from being stapled to the board. The front of the photo board is the side with the batting exposed.

Measure and cut your fabric. In a similar fashion to the batting, drape the fabric you choose over the board. It is important that the fabric covers the entire board. If your fabric isn’t big enough, consider using a larger fabric. Leave about an inch or two of fabric overlapping the edge of the board. Make the necessary cuts with your scissors to create an even sheet of fabric. It might be easier to use fabric scissors for this job.
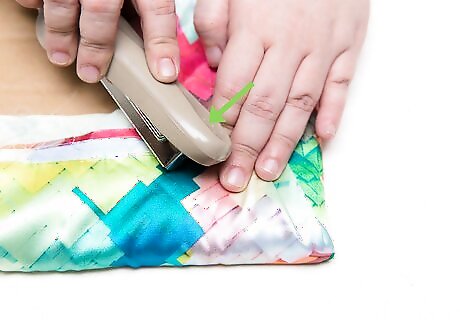
Staple the fabric to the board. Spend time folding the fabric over the board. Ensure there aren’t any visible folds on the front of the board. Use your stapler to secure the fabric to the board. Again, only staple to the back of the board. This creates a clean appearance on the front of the board. Trim off any excess fabric using your scissors.
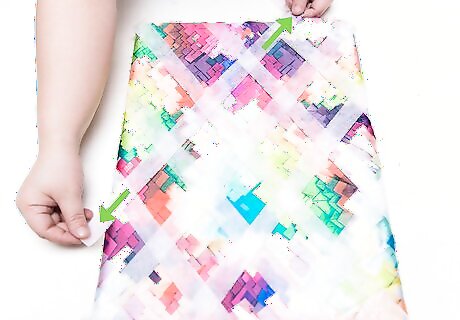
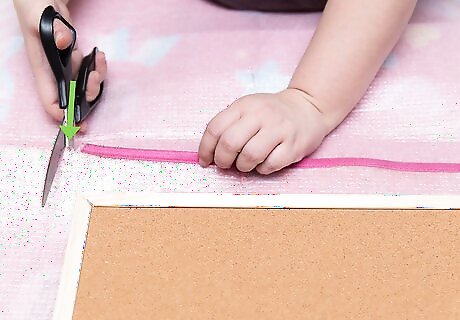
Arrange your ribbons. Cut your ribbons to measure the length of one corner of the board to the opposite corner. You can now arrange the ribbons in whichever fashion you prefer. One of the most popular patterns is the criss cross pattern. You can make this pattern by spreading out your ribbons evenly at an angle. Then place your remaining ribbons at the opposite angle on top of those ribbons. A successful criss cross pattern looks like a series of diamonds. Use anywhere from 8 to 16 strips to create a criss cross pattern.

Pin and staple the ribbons. Keep your ribbons secure while you are arranging them by using pins. Place a pin at each end of the ribbon. Once you’re satisfied by your arrangement, staple the ribbons down in the same way you did for the batting and fabric.


Comments
0 comment