views
Stringing a Beaded Necklace
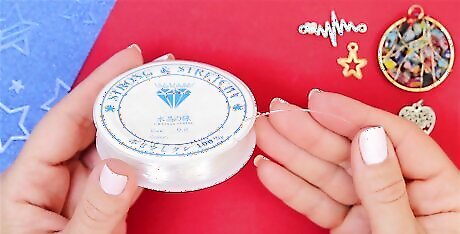
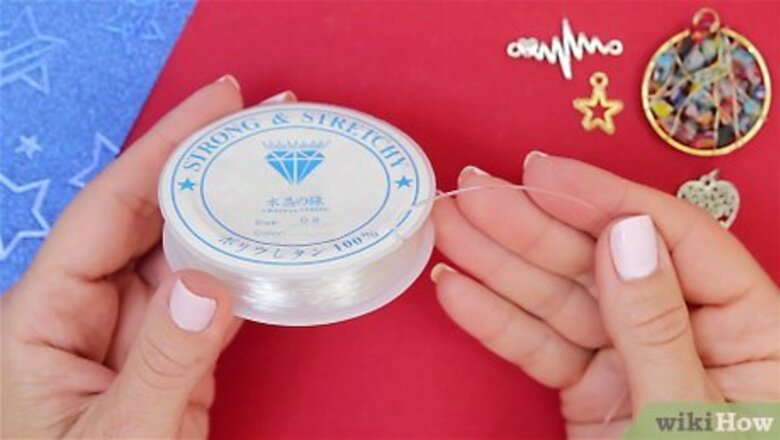
Use wire or thread for the base of the necklace. Wire and thread are the best options for making a beaded necklace. Make sure that you can fit the beads onto the thread or wire. Thread, such as nylon fishing line, stretchy thread, or a durable polyester or cotton thread in the color of your choice. This is the best option for beaded necklaces. Wire made from copper, aluminum, or stainless steel is also a good base for stringing beads. Some types of wire are also color-coated, so you can get them in the color of your choice.
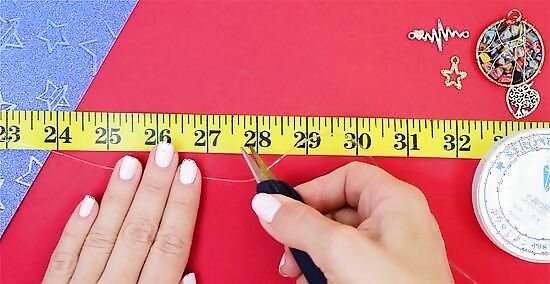
Cut the wire or thread 6 in (15 cm) longer than your necklace length. Cutting the wire or thread longer than you want the finished necklace to be will ensure that you have plenty of material to work with. Otherwise, it may be hard to secure the ends. Some common necklace lengths include: 16.5 in (42 cm) (also known as choker length) 18 in (46 cm) (hits right on the collarbone) 20 in (51 cm) (falls just below the collarbone) 24 in (61 cm) (rests in the center of the chest) 28–29.5 in (71–75 cm) (falls between the breasts) 31.5 in (80 cm) (hits right at the top of the abdomen) 35 in (89 cm) (sits just above the belly button) 40 in (100 cm) (rests right at the belly button or just below it)
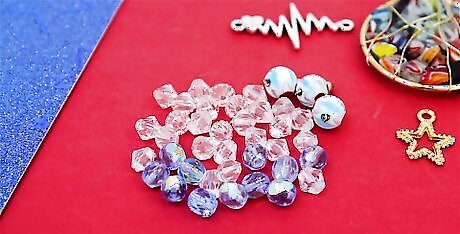
Choose beads that will complement your necklace base. You can use any type of beads you want to create your necklace. Purchase beads in the jewelry supply section of a craft supply store or online. Make sure that you can fit the necklace base material through the openings on your beads. Use seed beads as filler or for a delicate beaded necklace. Seed beads are small beads that will fill out the wire or thread. These are great for creating a delicate necklace or for filling the spaces in between your larger beads. Choose chunky beads for a statement necklace. Chunky beads work well as a complement to smaller beads, or as the main element in a chunky statement necklace. Wire or fishing line works best as a base for chunky beads since they are heavier than normal beads.
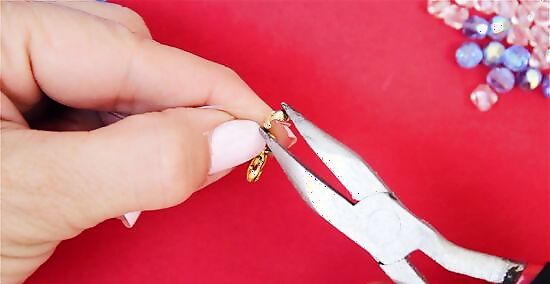
Tie the end of your necklace base around 1 end of a clasp, if desired. A clasp is optional for a beaded necklace. If the necklace is large enough, then you can simply tie the ends together when you are finished. Or, use a lobster clasp in the color and size of your choice. Insert the end of the wire or thread through the end of the clasp and tie it in a knot. This will prevent the beads from slipping off as you string them and then you will also have the first half of the clasp in place. If desired, you may also place a crimp bead onto the wire or thread just behind the clasp. This will help to secure it. Wrap the crimp bead around the wire or thread and press it closed with your fingers or a pair of pliers.
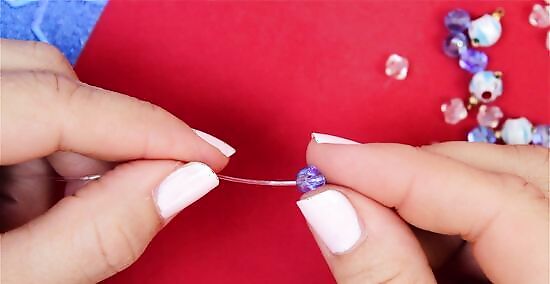
Slide your beads onto the necklace base. Make sure to tie a knot into the end of your thread or cord first if that is what you are using. Once you have decided how you are going to embellish your necklace base, begin adding the beads to the base in the order you want. Keep adding beads until the necklace base is full or you are finished adding to it. For example, if you are making a beaded necklace, then add your beads until the necklace base has the number of beads on it that you want it to! This may mean filling the strand with beads or just adding a few beads to the strand. Create a pattern with your beads. For example, you can alternate red and black beads, or use a combination of red, yellow, green, and blue in a specific sequence.
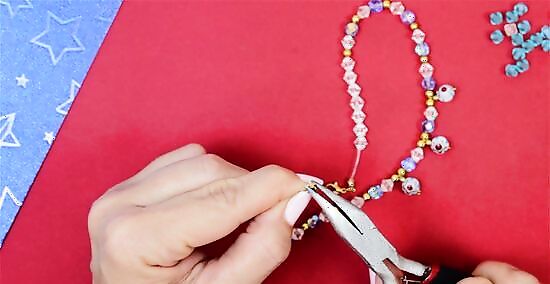
Secure the other end of the necklace to the other side of the clasp if using one. One option after you have finished stringing the beads onto the necklace is to tie the other end of the necklace base through the other end of the clasp. Do this the same way you did for the first part of the clasp. You may also add a crimp bead behind the clasp for extra security if desired.
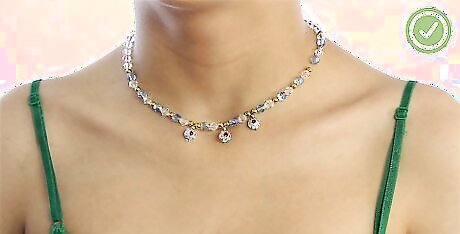
Tie the ends in a knot if you are securing the base in a circle. Another option for securing thread or cord necklaces is to simply tie the ends into a knot to secure the necklace. You may want to tie a double or even triple knot to be sure that the necklace is secured. Then, cut the excess thread or cord 0.5 in (1.3 cm) from the knot. If you have opted for stretchy thread as a base for a beaded necklace, then this is a great option. You can also do this if you have made the necklace large enough to easily fit over your head. Typically necklaces that are 24 in (61 cm) or larger will fit over your head easily.
Making a Pendant Necklace

Choose a chain or cord material as the base for a pendant necklace. You can use chain or a fabric cord as a base for your pendant necklace. Check out the jewelry making section at your local craft supply store for options. Try using chain made from copper, silver, stainless steel, gold, or aluminum in the thickness of your choice for a simple, durable option. Hemp or nylon cord also works well for a pendant necklace.
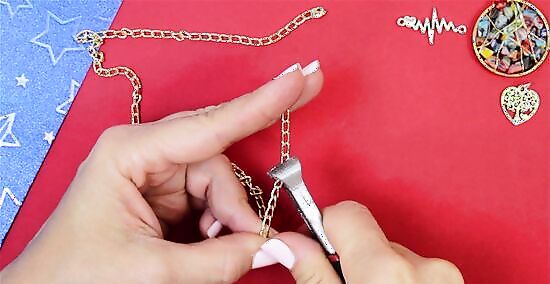
Cut the chain or cord to your desired necklace length. You can make your necklace short so that the lowest point of it is right at the center of your collarbone, or opt for an ultra-long necklace that goes down to your belly button. Make sure to consider your design and personal preferences as you choose a length. Use a pair of sharp scissors to cut a cord or wire cutters to cut a chain. Some common necklace lengths include: Wear your pendant as a 16.5 in (42 cm) choker. Create a standard 18 in (46 cm) length necklace for a pendant that hits right on the collarbone. Make a 28 in (71 cm) necklace for a medium-length necklace. Try making a 40 in (100 cm) necklace for an ultra-long piece that falls right at the belly button or just below it.

Select a pendant as a focal point for the necklace. Pendants are the easiest type of necklace to make. All you really need to do is slide the pendant onto a chain or cord, and then secure the chain or cord with clasp or knot. Choose a pendant that complements your necklace base and any other elements you have added to it. You can find lots of different types of pendants in jewelry supply stores, or make a pendant of your own. Try making a druzy pendant for a sparkling crystal-like element on your necklace. Create a special holiday pendant, such as an Earth Day pendant. Drill a hole in a shell, rock, or piece of beach glass for a natural pendant.

Slide your pendant onto the necklace base. Add the pendant to the chain or cord. Slide it to the center of the chain or cord. You may also add any other design elements you want to include. If desired, you can add a couple of accent beads beside the pendant.
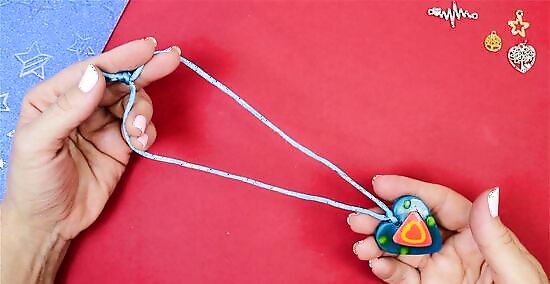
Tie the ends in a knot if you are making a long cord pendant necklace. For longer cord pendant necklaces, you can simply tie the ends into a knot to secure the necklace. Make sure that the necklace will fit over your head if you are doing this. You may want to tie a double or even triple knot first to be sure that the necklace is secured. Typically, necklaces that are 24 in (61 cm) or larger will fit over your head easily.
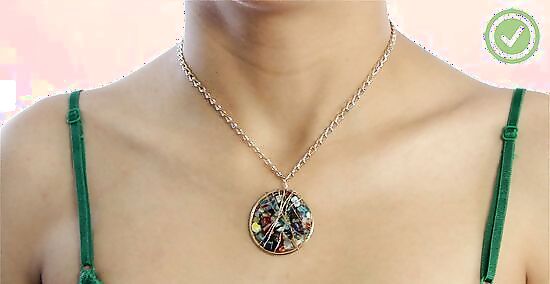
Use a lobster clasp if you are using a chain. Lobster clasps are the most popular type of closure for necklaces because that are secure and easy to use, but you can choose any type you like, such as an S-hook, bar and toggle, magnetic, barrel, box, slide, or fishhook clasps. Make sure to consider the colors of your necklaces as well. Grasp 1 of the jump rings near the opening with 1 pair of pliers. Then, use the other pair of pliers to grasp the other side of the jump ring next to the opening. Use the pliers to open the ring 0.25 in (0.64 cm). Insert the end of 1 jump ring through the end of the chain and clasp. Close the jump ring with the pliers. Try to line up the ends of the jump ring so that they are close and even with each other. Repeat for the other side. After you have finished attaching 1 side of the clasp, repeat the same process for the other end of the necklace base.
Creating a Multi-Strand Necklace
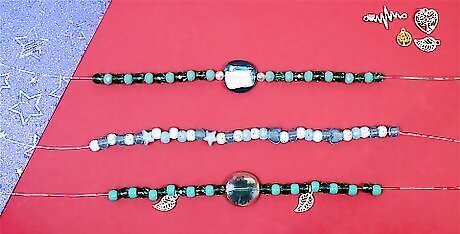
Decide how many strands you want to create. The number of strands in your necklace makes a big difference in how it looks. You can go with a 2-strand necklace or a 4-strand necklace, for instance. Consider your materials and how they will look if you do multiple strands. Opt for 3 strands for a classic multi-strand design. This is a good option if you are adding chunky beads to wire or nylon thread. Use 10 or more strands for a bold statement necklace. This works best for seed bead necklaces since they are small and look good when you gather several of them together.
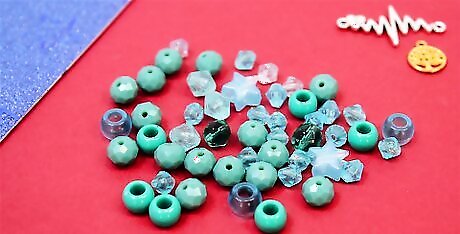
Opt for seed beads for a multi-strand necklace. Seed beads are versatile and you can use them in lots of different necklace designs. Select a single color of seed beads for a monotone necklace or opt for multicolor seed beads for a colorful look. Keep in mind that you will need a large amount of seed beads to make a multi-strand seed bead necklace. String seed beads onto 10 or more strands of thread and bundle these together to wear as a chunky statement necklace. You can even bread the strands before you secure them into a loop if you like.

Cut your thread or cord in 24 in (61 cm) or longer strands. Use 2 or more strands of cord or a thick thread. Make sure the strands are 24 in (61 cm) or longer so that you can slip the necklace over your head when you are finished. Hemp cord is a good option for making a simple multi-strand necklace, but you can use any type of cord or thick thread you want.
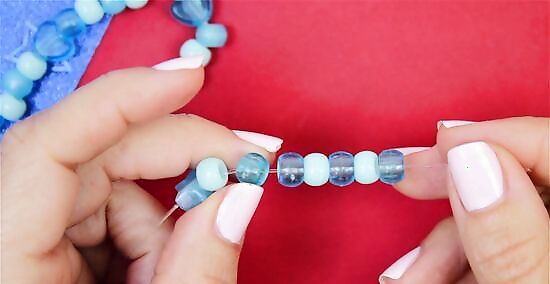
String your beads onto each strand. Tie a knot into the end of your threads or cord strands first so the beads won’t slip off. String the beads onto each of the strands in the order you want.
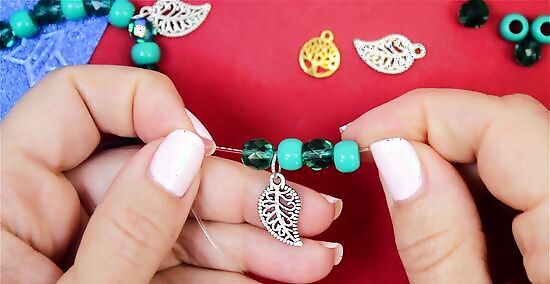
Add a pendant or multiple pendants to 1 or more strands of the necklace, if desired. If you want to create a focal point, string a pendant onto 1 strand or a group of strands. You can add more than 1 pendant if desired. Slide the pendant or pendants to the center of the necklace. If using multiple pendants on multiple strands, try making them slightly off center on alternating strands. For example, the pendant could be slightly to the right of center on 1 strand, in the center on the next strand, and slightly to the left of the center on the last strand.
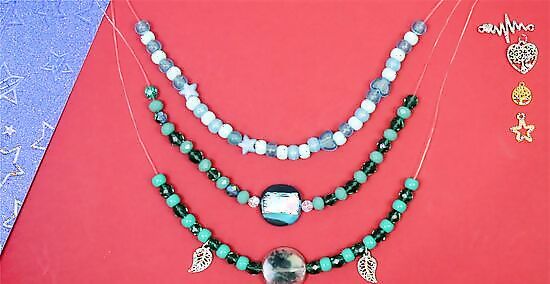
Finish adding beads to each strand. If you added a pendant, continue stringing beads onto each strand until you get the desired look. You can add beads to the entire string, or only to the center of each strand.
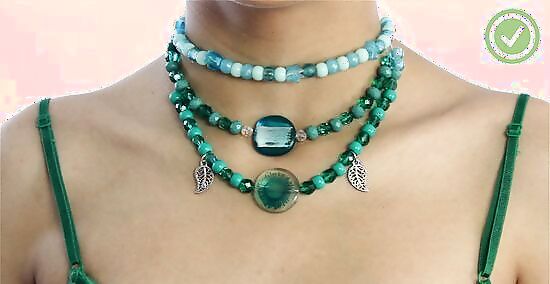
Tie the ends together in a knot if to secure the strands. You may want to tie a double or even triple knot to be sure that the necklace is secured. Then, cut the excess thread or cord 0.5 in (1.3 cm) from the knot. Slip the necklace over your head to try it on!






Comments
0 comment