views
Drawing Your Own Flipbook
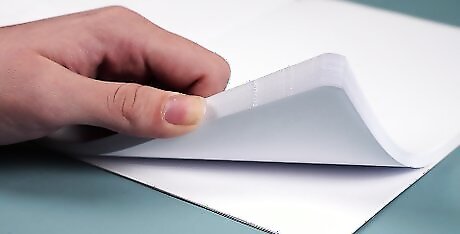
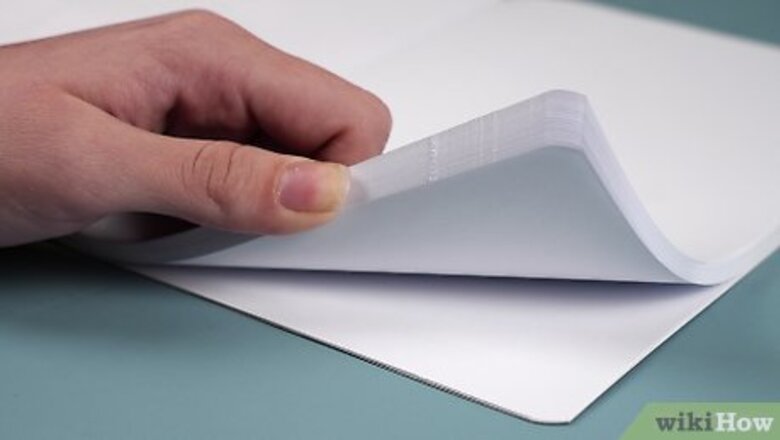
Get a small, thick stack of paper to make your flipbook with. You can use a notebook or pad of sticky notes, or bind your own stack of paper using glue, staples, or a paper clip. Look for paper that is around 3 x 5 inches (7.6 x 12.7 cm). Something slightly smaller or larger will also work. Use lightweight paper for your flipbook so the pages are easy to flip.
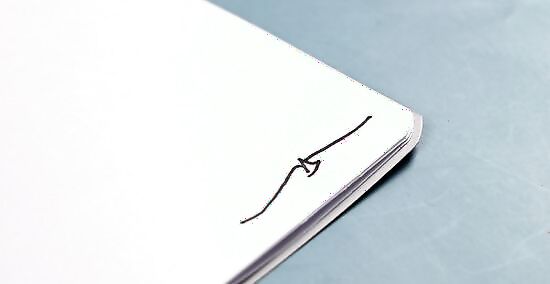
Use a pencil to draw an image on the bottom sheet of paper in the stack. This image will be the first sequence of your flipbook animation, so draw whatever you want to be the starting point. Draw the image toward the bottom right corner of the sheet of paper so it’s visible when you’re flipping through the book later on. Draw in pencil so you can erase any mistakes you make along the way. Go over the pencil with ink once you’re finished with your animation.
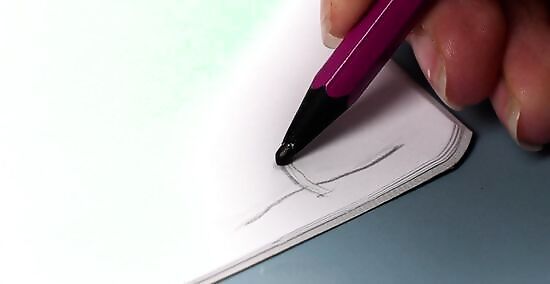
Draw the same image on the next sheet of paper, varying it slightly. Draw the image around the same spot on the page as the first image you drew. This image will be the second sequence in your animation, so it should display a minor shift from the first image. You can use a lightbox under your sheets of paper in order to create an "onion skin" to be able to see the image on the previous sheet. For example, if you were trying to create an animation of a stick-figure person waving their hand, you would start by drawing the figure with their hands down at their sides on the last page of the stack. On the next page up, you would draw the same stick-figure person in the same spot on the page, but this time one of his hands would be slightly moved upward.
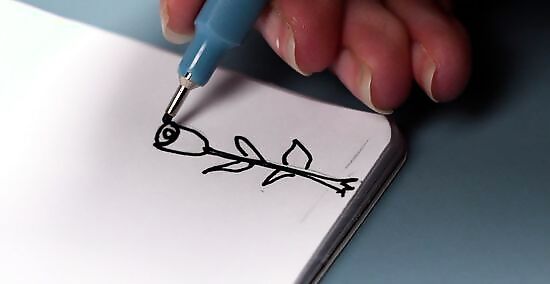
Continue drawing slightly varied images on each subsequent sheet of paper. Always draw the next image or sequence of animation on the page that’s on top of the previous image you drew. These slightly varied images will create the animation when you flip through your book. For example, in the waving stick-figure person animation, you would continue to draw the stick-figure person on each subsequent page, with his hand gradually moving higher up in each drawing. Once his hand is fully in the air in an image you draw, you would then start to draw images of his hand moving back down to his side. This would create the look that he’s waving his hand up and down in the final animation.
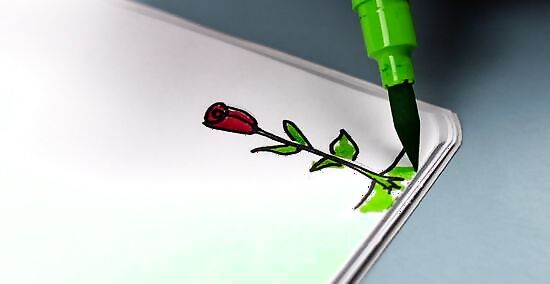
Use color to make your flipbook animation more interesting. Try using a marker or colored pencils to fill in the images you draw. Use the same colors in each sequence of your animation so your animation looks fluid and continuous when you flip through your flipbook.
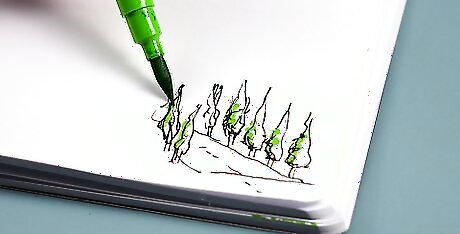
Create elaborate drawings so your flipbook is more complex. Once you’ve mastered the basics, move on from drawing stick figures and start drawing interesting scenes and characters with dimension. Use shading and perspective to make your animation look more realistic. Keep background shading consistent. If the moving item itself is casting a shadow, like a bouncing ball, then move the shadow with the item.
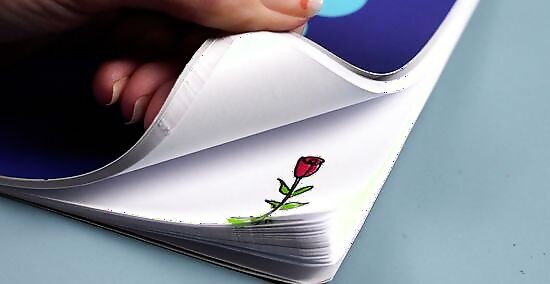
Flip through your flipbook to watch your animation once it’s finished. Hold your thumb on the bottom-right edge of the stack and slowly pull upward, flipping through each page of the book. Flip through the pages fast enough that your animation looks fluid, but not so fast that you accidentally skip over pages in the sequence. If the pages are slipping too much, secure them along the top edge with a binder clip or a staple. Also be sure that no pages are sticking together so your flipbook can be as fluid as possible.
Making a Flipbook Using Video
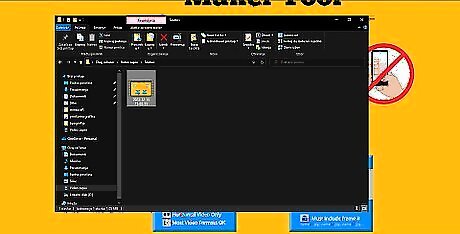
Choose a video you want to convert into a flipbook. The video can be anything: a clip from your wedding, a video from a birthday party, a shot of you hanging out with your friends, etc. The longer video you use, the longer your flipbook will be. Use a video that is around 15-30 seconds for the best results.
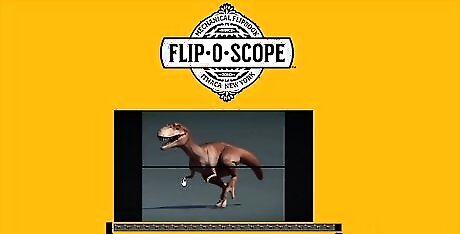
Upload your video to an online flipbook maker. Search “video flipbook maker” or “turn my video into a flipbook” online. There are several websites, like http://www.flipclips.com/ and http://www.myflipps.com/, that let you design a custom flipbook made from your own video. Individual flipbooks generally cost between $15 to $30 USD, depending on the size of the book.
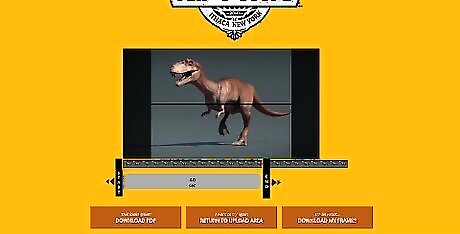
Customize your flipbook. Follow the instructions on whichever website you’re building your flipbook on. Create the cover of your flipbook and choose which size flipbook you want. Decide what points in the video you want your flipbook to begin and end at. Keep in mind that some customizations may increase the price of the flipbook.
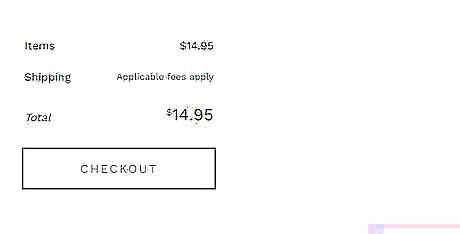
Order your flipbook. Many flipbook websites let you buy flipbooks in bulk or with package deals, so choose the option that makes the most sense for you. If you’re making flipbooks to pass out as gifts or favors, like at a wedding, ordering your flipbooks in bulk might save you money.
Wait for your flipbook to be delivered. It could take up to 4 weeks for your flipbook to be delivered. When it arrives, flip through it to see your video transformed into an animation. If you ordered in bulk, pass them out to friends and family as a nice memento. Alternatively, you can sell your flipbook online or at conventions.





Comments
0 comment