views
Creating a Stuffed Dummy
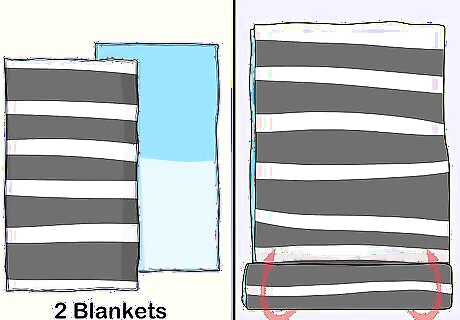
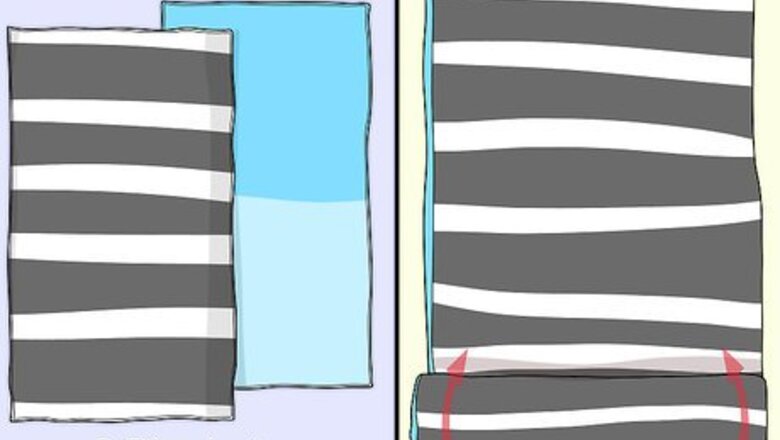
Roll up two blankets up into tubes. Use thin blankets and roll them lengthwise so that they are as long as possible. Once they are rolled up into a tube shape, fold them over so that they can fit snugly into pant legs. Try to find blankets that are about twice the length of your pant legs.
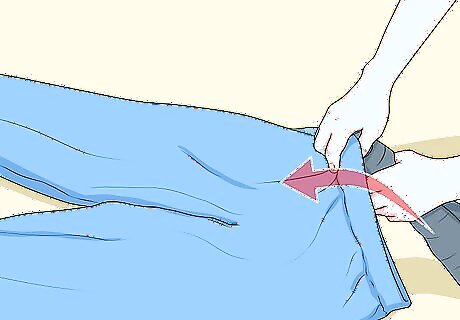
Pull the blankets through the legs on a pair of sweatpants. Take the rolled up blankets and use them to stuff each of the legs on your dummy.
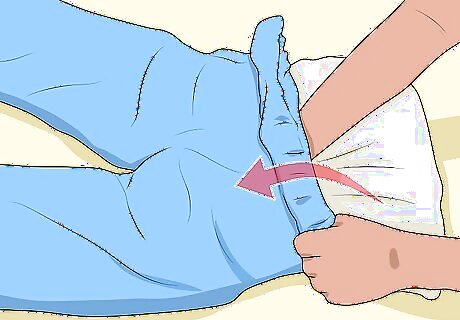
Stuff a pillow in the top of the pants. Get a large, square pillow and stuff it into the waist of the dummy. If you don't have a square pillow, you can stuff the torso of the body with newspaper or plastic bags. The more filled out your dummy is, the more realistic it will look.
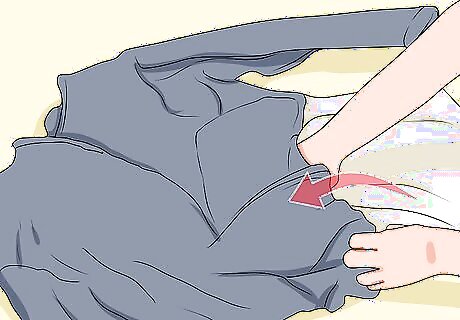
Insert a pillow into the body of a hoodie. Get a large, rectangular pillow and stuff it into the body of a hoodie. This will represent the torso of the dummy.
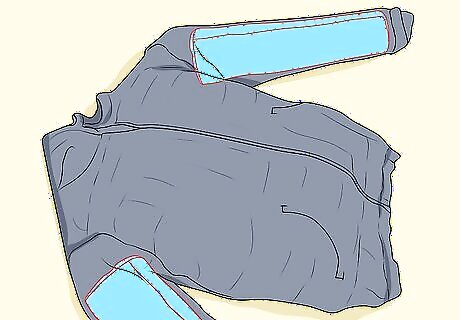
Roll up blankets and put them through the arms of the hoodie. Roll up blankets into tubes like you did before, and push them through the bottom of the hoodie, up into the sleeves. This will fill out both of the arms.
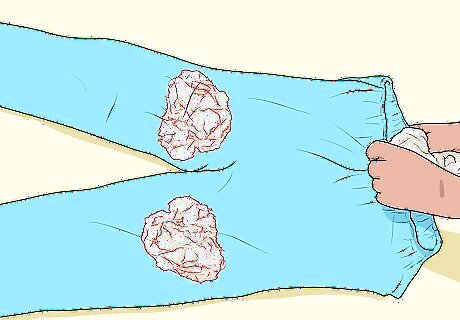
Fill in any empty spaces in the pants with crumpled up newspaper. Once you've finished stuffing your dummy, there will most likely be empty spaces in the legs, arms, and torso. Use newspaper to fill out any spaces that are empty to make your dummy look more realistic.
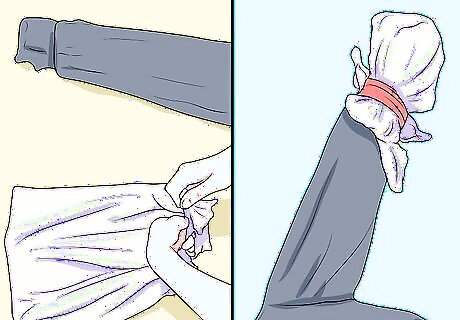
Take plastic bags and tie them around the feet and hands of the dummy. Plastic bags will prevent the rolled up blankets and newspaper from falling out of your dummy. Secure the bags by tying them around the pants and hoodie, then wrap duct tape around the bags to secure them.
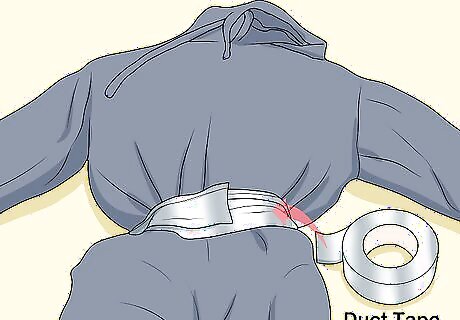
Tuck the torso into the pants and duct tape them together. Tuck the hoodie torso that you created into the pants and wrap the dummy with duct tape. Don't be concerned with the figure of the dummy, because this will change once you dress it. Make sure that the body and the legs are secure.
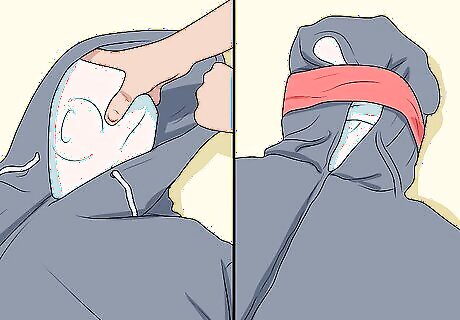
Place a milk jug into the hood and wrap tape around it. Empty out and wash a gallon milk jug before placing it into the hood of your dummy. Pull the hood over the front and sides of the jug, then secure the jug with duct tape by wrapping it around the hood.
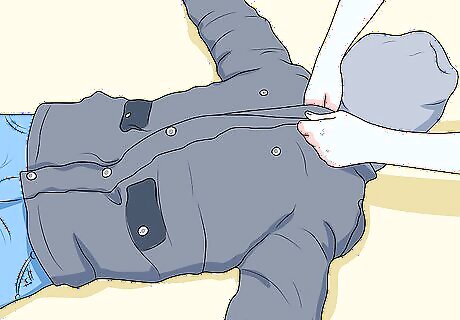
Dress your dummy. Put pants and a shirt over your dummy to make it look more realistic and to cover up any duct tape. Dress your dummy in a hat, gloves, and shoes to cover up any exposed tape. You can draw faces on the milk jug if you want to give your dummy a face.
Making a Duct Tape Dummy
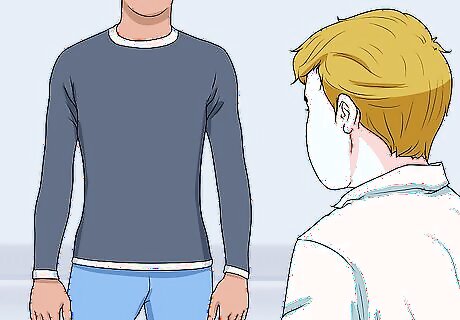
Have a friend put on a tight fitting long sleeve shirt and pants. Your friend will have to wear a long sleeve shirt and pants because the duct tape is painful to remove if it's applied directly to their skin. Wear form fitting clothing, because the bulkier your clothes are, the more bulky and unrealistic the duct tape dummy will look. Tell your friend to wear clothing that they don't care about because it will be destroyed in the end.
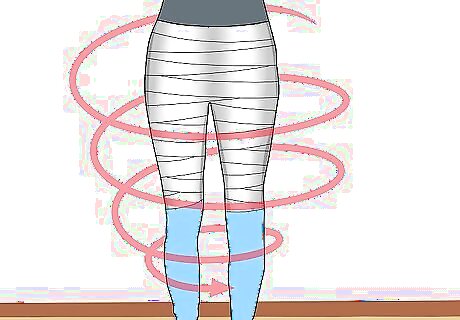
Wrap duct tape around the bottom half of the model. Tightly wrap the duct tape around the waist and backside of the model before working on the legs. Go over the entire lower half of the model and cover them with duct tape so that it fits their body. This may take two to three layers to cover up any gaps in the tape.
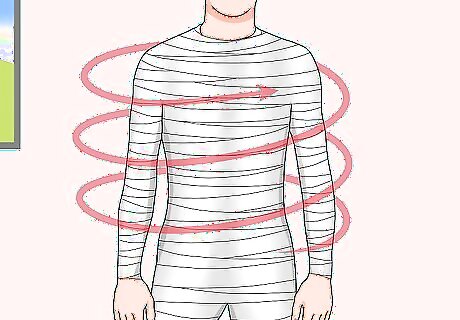
Cover the top half of the model in duct tape. Start from the left hip of the model and pull the duct tape up over their right shoulder and onto their back. Do the same technique on the other side of the model so that an X forms on the front of the model. Continue to layer duct tape over the person until the entire torso is covered. Then, start working on each arm of the person, wrapping the duct tape around it. You can stop duct taping around the collar of the neck and wrists of the model.
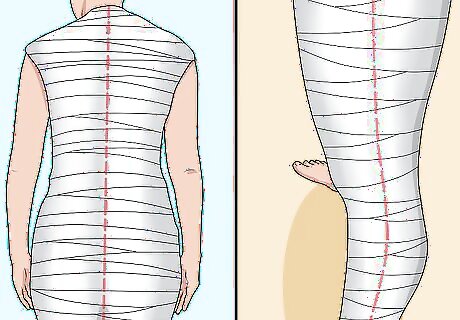
Draw lines with a marker on the duct tape. Draw a straight vertical line on the back of the model. Draw two lines along the sides of each pant leg on the lower half of the dummy. Use these lines to help guide your scissors when you cut the duct tape off of the model or person.
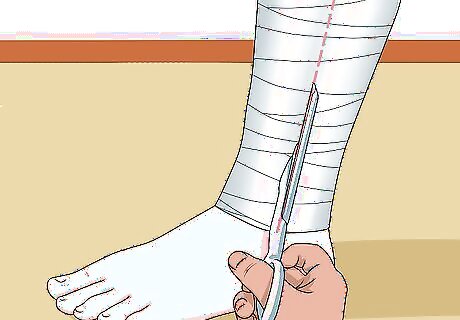
Cut along the lines carefully and remove the duct tape. Insert scissors into the pant leg of your friend and carefully cut up into each pant leg. Be very careful not to cut the person who is wearing the duct tape. Cut the back of the torso piece and peel it off the model. Do not use pointed scissors or you may cut your model or friend.
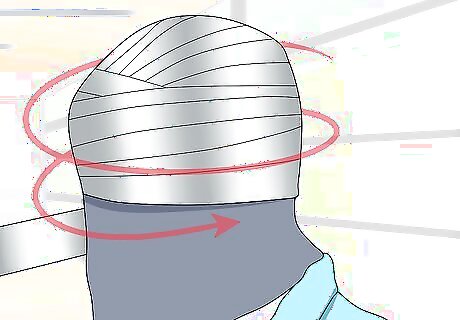
Create a duct tape head. Place a shirt over your head and loop the duct tape around your forehead, over your head, and under your chin. This will work as a soft template that you can use to finish off the dummy's head. Once you've created the loops, you can remove the shirt from your head and fill it with newspaper to fill it out.
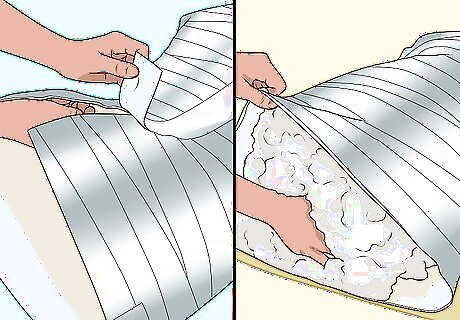
Tape and fill the dummy with newspaper or pillow filling. Tape the torso and legs back together along the cut lines that you made. To add weight and form to your dummy, fill in the top and bottom parts of the body with newspaper or cotton filling. You can also take the shirt that you created for the head and fill it out.
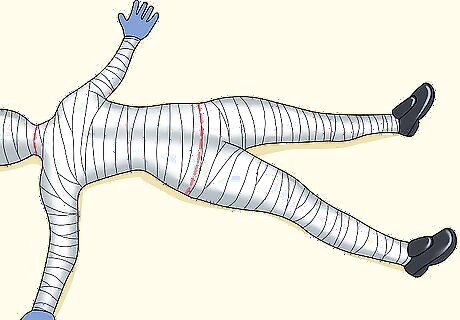
Assemble the dummy by taping the parts together. Tape the bottom half of the torso with the top half and attach the filled up head to the neck portion of the dummy. Attach thick gloves to the arms of the dummy to create hands. You may have to fill the gloves up with newspaper or filling to make them look realistic. Attach shoes to the dummy by lining the inside of them with duct tape, then attaching them to each leg that you created.
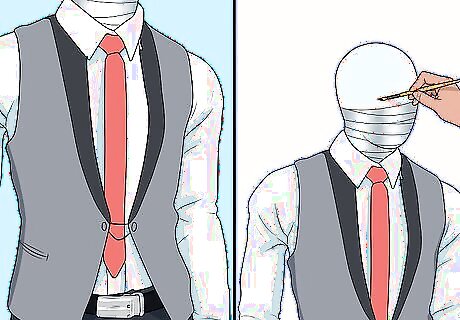
Dress and paint your dummy. Fit clothing over the duct tape dummy that you created. For the head, you can either spray paint the shirt a flesh tone, or you can draw on a face however you want. Conceal the look of the gloves on the hands by painting them a flesh tone. Once you've finished dressing it, you'll have a life-sized duct tape dummy.





Comments
0 comment