
Making a Cardstock Tree
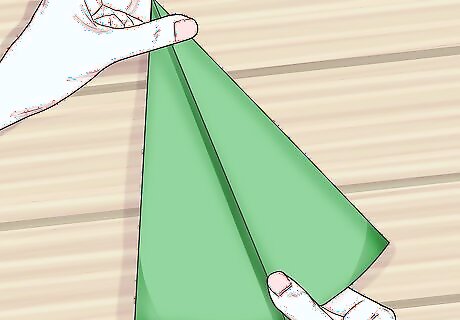
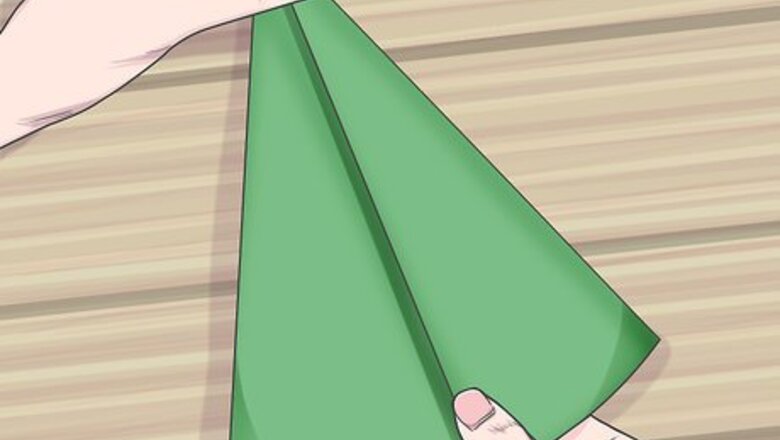
Wrap the cardstock into a cone shape with a pointed end. Hold the cardstock in a landscape position and pull the back-side of the top right corner toward the bottom left corner. Pull the top left corner of the paper to the right to complete the cone shape. Adjust the cone until the end forms a sharp point.
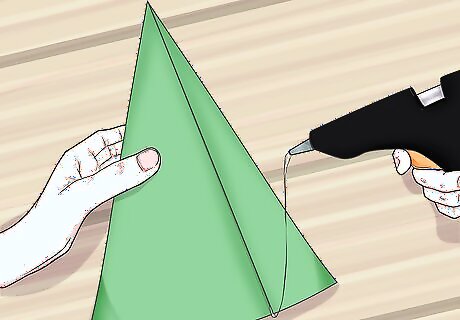
Use a hot glue gun to secure the cone shape in place. Place a thin line of hot glue under the outside edge of the cone to stop it from unravelling. Hold the fold in place for 30 seconds to help the glue to adhere to the cardstock. Ask your parents to help you use the glue gun, as the hot glue can burn your skin. Wait 5 minutes for the glue to dry before finishing the project.
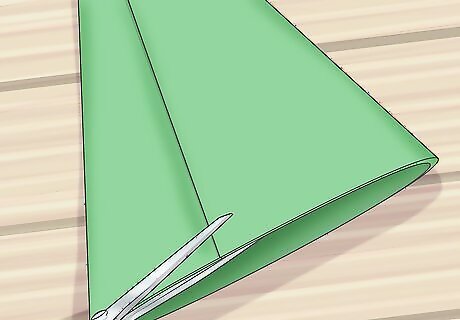
Trim the bottom of the cone so that it can stand upright on a table. Use a pair of scissors to cut the bottom of the cone into a perfect circle. If you want a shorter tree, make the cut further up the cone. Don’t worry if the cone doesn’t sit flat on the table after you cut it, simply trim it down to a more even shape.
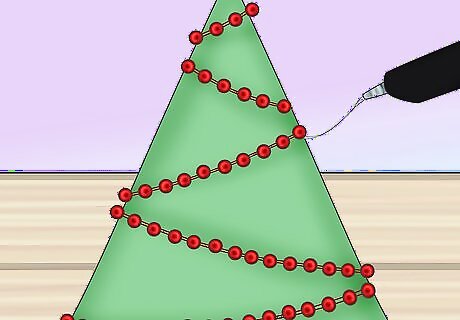
Glue a string of beads or tinsel in a spiral pattern around the cone. Use a hot glue gun to attach the string to the tree. Place the glue onto 3 centimetres (1.2 in) of the string at a time to avoid the glue drying before you place it onto the tree. Thin tinsel, artificial pearl strings, and glittery rope are great festive options for your tree.

Attach decorations to the tree to make it look festive. Place a dot of hot glue onto the back of your Christmas decorations and stick them to the tree. Stars, bows, and pom poms are fun, colourful options. Spread the decorations evenly around the tree to make it look balanced.
Creating a Paper Accordion Tree
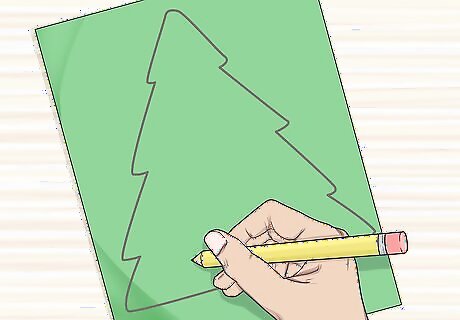
Draw a Christmas tree onto an A4 green piece of paper. Try to use the full length of the A4 piece of paper, as this ensures that your tree won’t be too miniature once it is folded. Don’t include the tree trunk in your drawing, as a straw will act as the trunk. If you’re feeling particularly creative, use white paper and colour in your Christmas tree. If you’re having trouble drawing a tree, search online for a Christmas tree template and print it out.
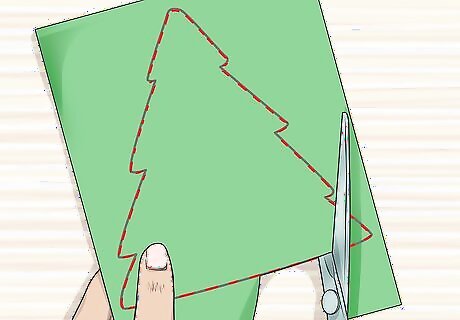
Cut out the Christmas tree with a pair of scissors. Cut just inside the line that you drew. This ensures that the pencil marks won’t be seen on your Christmas tree. If needed, ask an adult to help you cut the tree out.
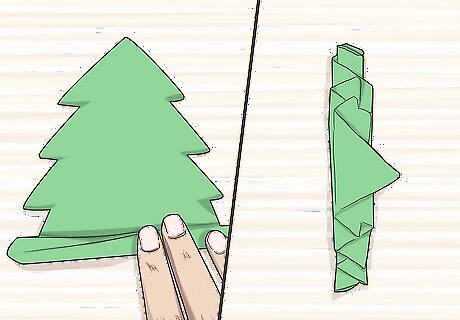
Fold the tree from one end to the other using 1 cm (0.39 in) accordion folds. Make a 1 centimetre (0.39 in) upward fold at the base of the tree. Turn the tree over and then make another 1 centimetre (0.39 in) fold. Continue to repeat this process until you reach the top of the tree. Try to make the folds as crisp as possible, as this will help them to stay in place.
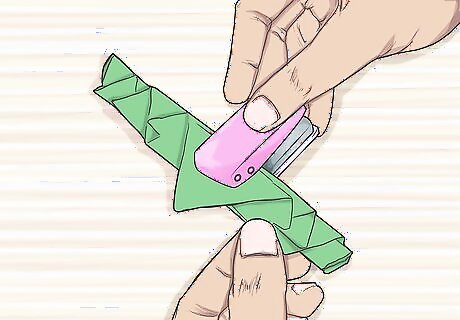
Use a hole punch to make a hole through the middle of the folded tree. Draw a dot in the middle of the folded tree. Hold the folds together tightly while you place the hole punch over the dot and make a hole. Single hole punches are easiest for this activity, as it is easy to identify where the hole will be made.
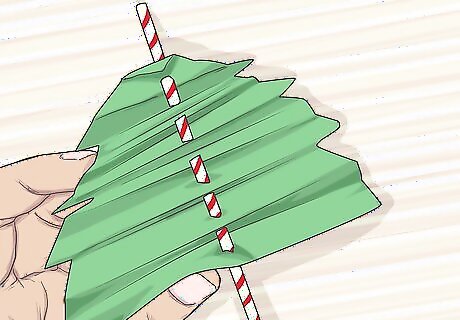
Thread a paper straw through the hole. Push the paper gently down the straw until it reaches the middle of the straw. Consider using a Christmas coloured straw – red, gold, and silver are great festive options. Purchase paper straws from a craft store or a supermarket. If you don’t have a paper straw, use a plastic straw instead.
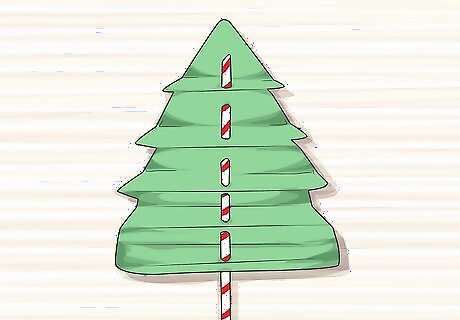
Unfold the paper so that the tree sits evenly over the straw. Gently tug on each fold to move it up or down. Keep rearranging the tree until each fold is an even width. Leave the bottom 4 inches (10 cm) of the straw uncovered to act as a trunk. If your tree looks too small on the straw, simply trim the straw down to your desired length. Note that this tree doesn’t stand up on its own.
Using Plastic Bottles
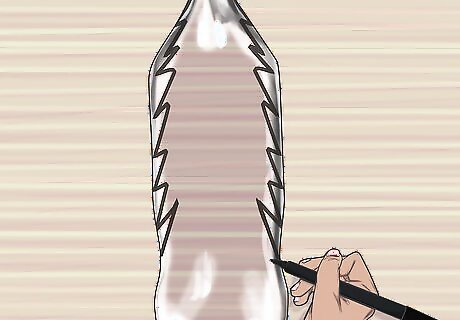
Draw a Christmas tree onto a soda bottle. Start the trunk at the base and draw the tip of the tree at the top of the bottle. Use a permanent marker to draw the tree onto the bottle, as this won’t smudge. If you need inspiration, search online for Christmas trees to help you decide what shape to make your tree. Triangular shaped trees are the most popular option for this craft.
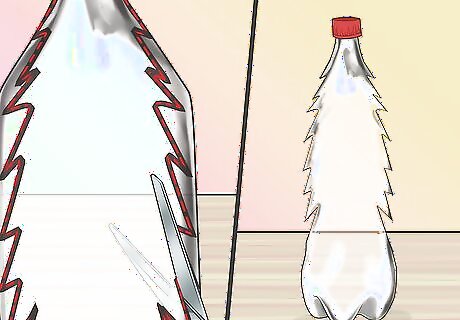
Cut around the Christmas tree and leave the base of the bottle attached. Use the tip of the scissors to make a small hole on the edge of your Christmas tree. Poke one blade of the scissors through the hole and cut around the rest of the Christmas tree outline. Leave the bottom 1 centimetre (0.39 in) of the bottle attached to the tree, as this allows it to stand up on its own. If you’re having trouble making the initial cut, use a craft knife instead.
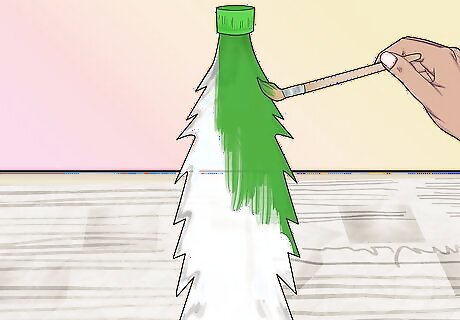
Paint the tree green with acrylic paints. Apply a thin layer of green paint to the entire tree. Try to brush the paint in the same direction, as this creates an even surface and prevents air bubbles from forming in the paint. Water-based paints will also work for this activity.
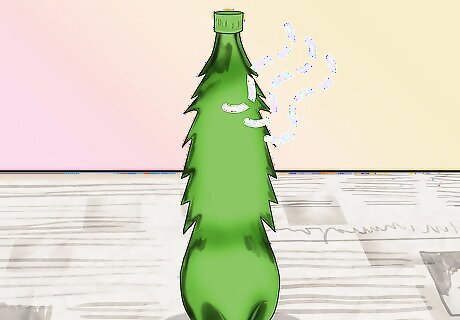
Wait 60 minutes for the paint to dry. Leave the tree in a safe place where it won’t be knocked over. After 1 hour, touch the paint to check that it is dry. If it is still tacky to touch, leave it to dry for another 30 minutes. Ensure that you leave your Christmas tree out of the wind so that it doesn’t get knocked over while it is drying.

Decorate your tree with drawings and accessories. Paint or draw patterns onto your tree, such as stars, zig-zags, spirals, or snowflakes. Use a hot glue gun to attach accessories to the tree. Bows, sequins, and diamantes are beautiful eye-catching options. If you want to draw on your tree, use a permanent marker.


Comments
0 comment