
Getting the Dough Ready to Knead
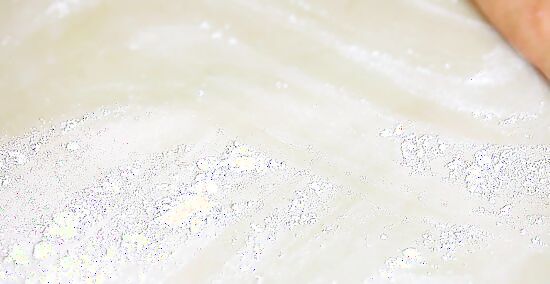
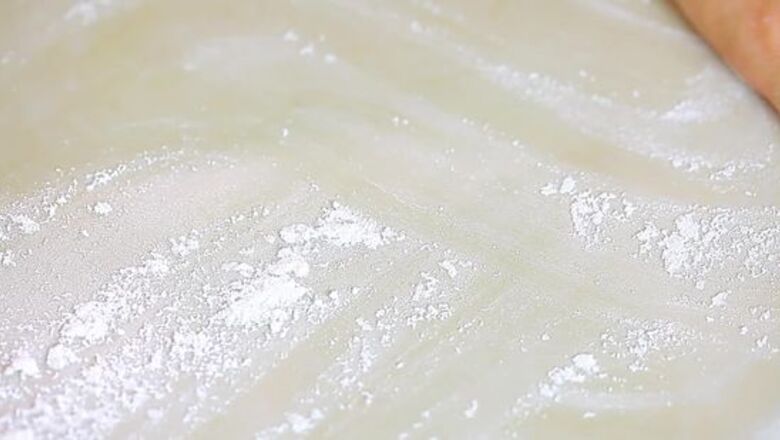
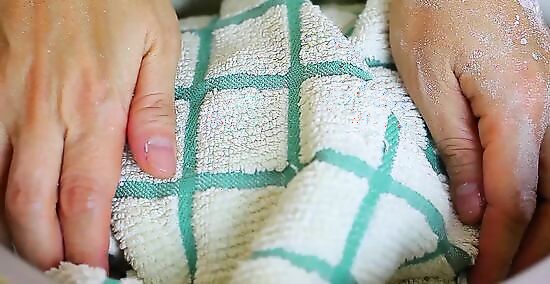
Prepare a flat surface for kneading. It's easiest to knead dough on a flat surface that comes up to the level of your waist. Prepare a countertop, table, or another stable surface for kneading by cleaning it with warm, soapy water, then wiping it completely dry with a towel. Sprinkle flour over the dry surface so the dough won't stick when it's time to knead. Some recipes call for kneading the dough inside a bowl. In these cases the dough is usually only supposed to be kneaded for a minute or two. For recipes requiring a kneading period of more than three minutes, plan to use a flat surface instead. If you don't want to knead the dough directly on top of your table or countertop, you can line your work surface with parchment paper sprinkled with flour. Special nonstick surfaces designed to aid in kneading dough are available for purchase at baking stores.
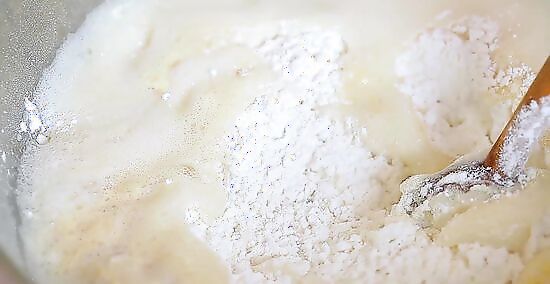
Combine the ingredients for your dough. Use the ingredient amount listed in the recipe you are using. Basic dough ingredients are usually flour, yeast, salt, and water. Mix the ingredients well with a wooden spoon in preparation for kneading. If loose flour is still sticking to the sides of your mixing bowl, the dough is not yet ready to knead. Keep stirring it with a spoon until all the ingredients are combined. If you're having trouble moving the wooden spoon through the dough, it's ready to be kneaded.
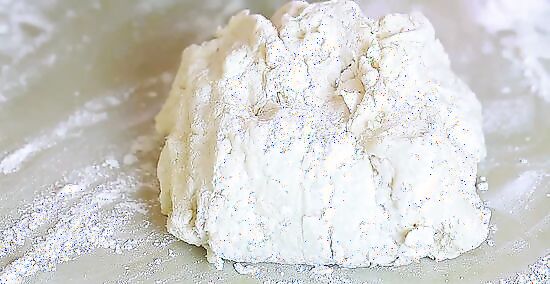
Turn the dough onto your work surface. Dump it from the bowl directly onto the flat surface you prepared. It should form a loose, sticky ball. The dough is now ready to be kneaded.
Kneading the Dough

Wash your hands before kneading. Kneading requires working the dough between your bare hands, so wash them and dry them well before you begin. Remove your rings and other jewelry that might get caught in the dough, and roll up your sleeves so they don't get sticky. Since you're working with a floured surface, you may want to protect your clothes with an apron.

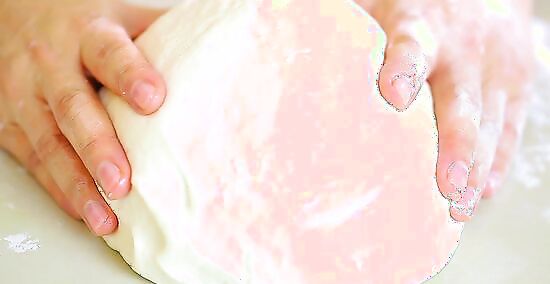
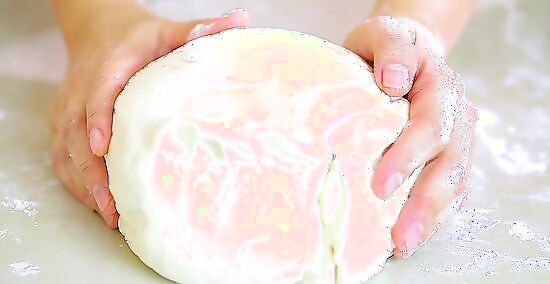
Gather the dough into a pile. When you first plunge your hands into the dough, it will be sticky and difficult to gather. Go ahead and work the dough with your hands, forming it into a ball, pressing it down and reshaping it. Continue doing so until the dough is no longer as sticky, and it becomes possible to shape it into a ball without the dough falling apart. If the dough doesn't seem to be losing its stickiness, sprinkle more flour over the top and work it into the dough. You can lightly dust your hands with flour to keep the dough from sticking too much.

Punch the dough. Press the heels of your hands into the dough, pushing forward slightly. This is called "punching" the dough and helps the gluten start working. Continue doing this until the dough is slightly springy.
Continue to work the dough. To knead the dough, fold the dough in half and rock forward on the heels of your hands to press it flat. Turn the dough slightly, fold it in half, and rock into it again with the heels of your hands. Repeat for 10 minutes, or as long as the recipe tells you the dough should be kneaded. The kneading process should be rhythmic and steady. Don't work too slowly; handle each part of the dough quickly, never letting it rest for too long between turns. 10 minutes is a long time to repeat a physical task. If you get tired, have someone else step in and continue the kneading process. Peter Reinhart Peter Reinhart, Artisan Baker Once a shaggy dough has come together, resist the urge to add more flour during kneading. Extra flour will yield a drier, denser crumb. Instead, persevere with wet, sticky dough that coats the hands.
Knowing When to Stop Kneading
Look for a tacky texture. The dough starts out sticky and lumpy, but after 10 minutes of kneading it should be shiny and smooth. It should be tacky to the touch with an elastic feel. If any lumps or sticky parts remain, continue kneading the dough.
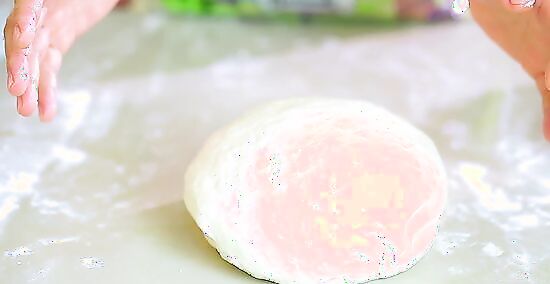
Test if the dough holds its shape. Shape the dough into a ball and let it drop to your work surface. Did the ball shape stay intact? If the dough is ready, it should hold its shape.
Pinch the dough to check its firmness. Dough becomes firmer as you knead it, just as winding a spring makes more winding more difficult. Pinch a bit of dough between your fingers. If it's ready, it will feel like an earlobe. When the dough is poked, it should spring back into shape.
Complete your recipe. Most recipes instruct you to let the dough rise in a warm place for a few hours after the first kneading is finished. Once it has doubled in size, you may need to punch the dough down and knead it for a few more minutes, then let it rise again before baking. If you kneaded the dough until it was firm, springy and shiny, your bread should have a crunchy crust with a soft, chewy interior. If the dough was not thoroughly kneaded, the bread will turn out tough, dense and a little flat.


Comments
0 comment