
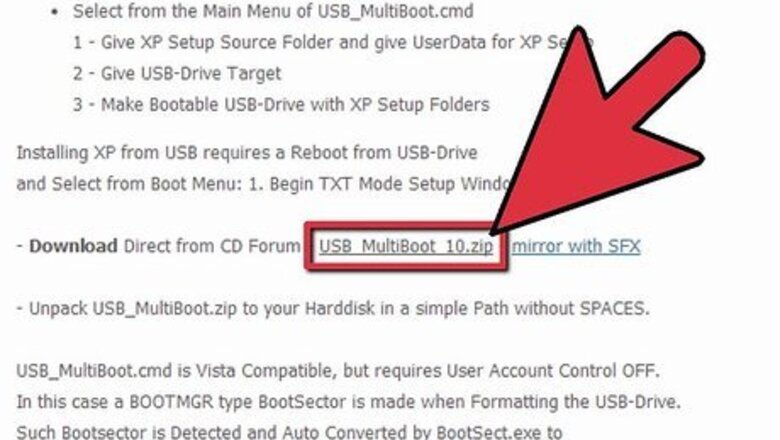
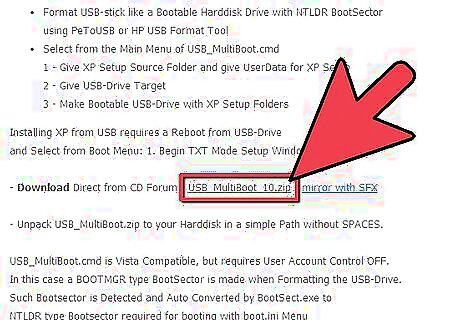
Create a USB boot disc. Download the USB_Multiboot_10 application from http://multiboot-usb.en.lo4d.com/ and unzip the files to your desired location.
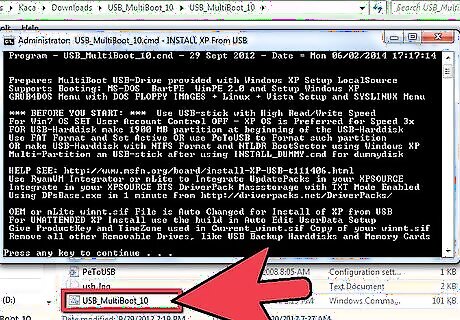
Go to the USB_MultiBoot_10 folder and double click on USB_MultiBoot_10.cmd. A Command prompt box (cmd) will appear. Press any key to continue.
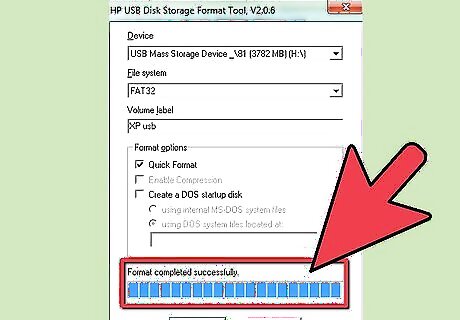
Format the USB drive. First, type H and an HP disk-storage format tool screen will open. Follow the instructions to format the USB drive. Make sure to check the Quick Format box. You can also format the USB drive using Windows FAT32 format if the program cannot find your USB stick.
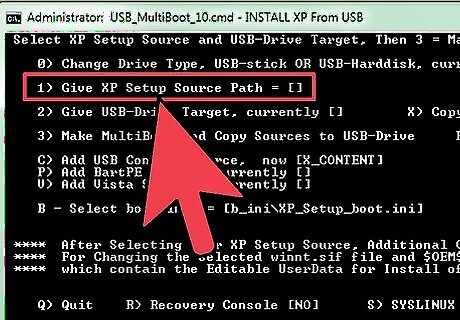
On the command screen, change your drive type and give XP setup a source path. First, type 0 and press Enter so that USB Stick appears at the end of the line. Then, type 1 and press Enter and to select the Microsoft Windows XP path. (Browse to the CD drive or the path on the HDD where you have your XP installation files). If you receive a message about "winnt.sif," hit Yes.
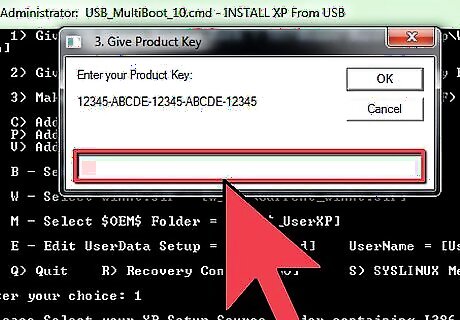
On the Unattended Install screen, enter all the necessary values and your serial license key. If you fill out the fields now, Windows will not ask you for any information during the installation.
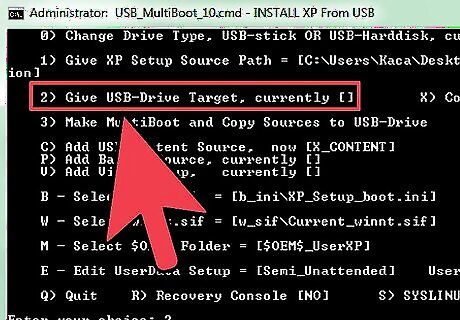
On the command screen, type 2, press Enter, and then select your USB drive.
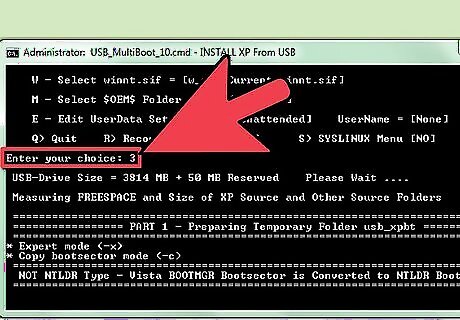
Prepare the file copy from the disc to your USB stick. On the command screen, type 3 and press Enter; you will then see some files copying on the USB drive. If you are asked, "Copy XP and extra sources on the USB?", choose Yes. If choosing your USB drive while using Windows 7 prompts the message, "has not fat fat32 or ntfs format and is not valid", you need to open the USB_MultiBoot_10.cmd, search for VER | find "6.0." > nul, and change it to VER | find "6.1." > nul to reflect that you are running the script on Windows 7; fsutil should then recognize your drives correctly.

Copy the files from the disc to your USB stick. When you get the message, “File Copy to USB-Drive is Ready - OK – Success,” press Yes (make USB-stick in XP setup to be preferred boot drive U:) and press any key.
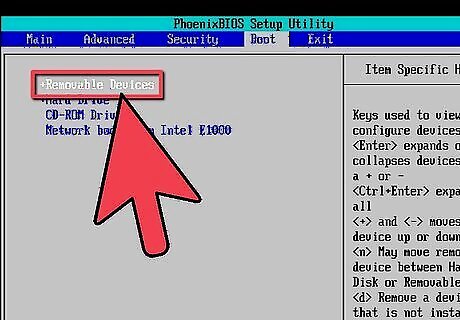
Connect the USB stick to your Asus Eee PC, start the netbook, and change your BIOS preferences. On the first screen, press F2 to go to BIOS menu. In the BIOS menu, go to the Advanced tab and change OS Installation to Start. Then, go to Hard Disk Drives > Boot tab and select the USB drive as the first drive. Make sure it shows your USB stick as first in Boot Device Priority. Select Exit & Save Changes.
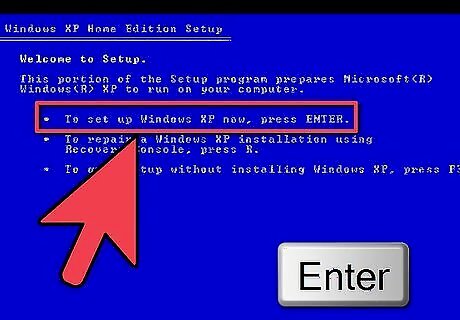
When the netbook restarts, choose the installation option TXT Mode Setup Windows XP – Never unplug USB-Drive Until Logon. This will start Windows XP setup install (format quick NTFS, create partitions).

After your setup reboots, complete the installation. Select option 2 and 3. This installation takes around 20-40 minutes. After reboot, the computer will log in to your Windows XP user account.
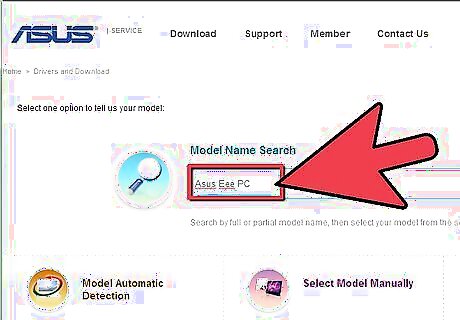
Find all the Windows drivers for your Asus Eee Pc from the manufacturer's drivers website. (Some people recommend that you first install the ACPI and Chipset drivers.) When you are done, restart the netbook and enjoy.


Comments
0 comment