views
Aligning the Toilet Paper Holder on the Wall
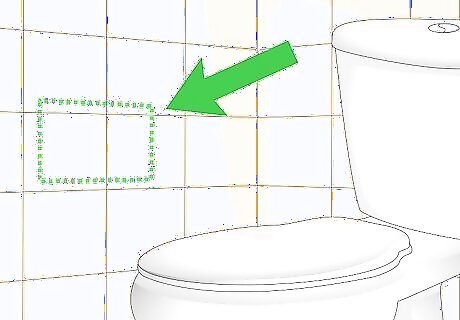
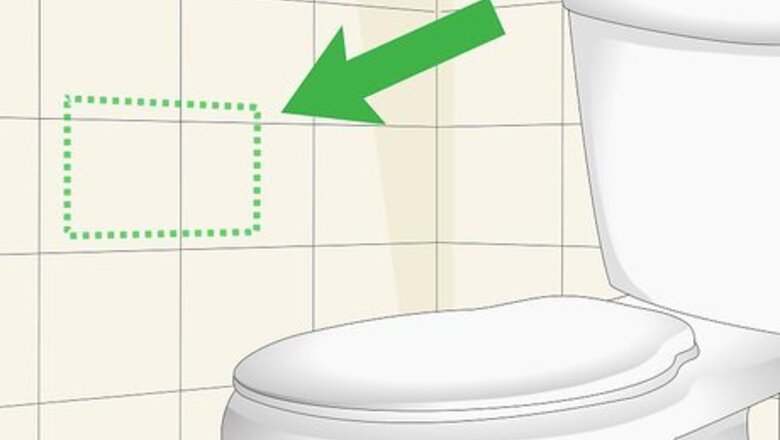
Choose the installation point. The toilet paper holder needs to be within an easy arm’s reach from your toilet, and should be high enough off of the ground that dangling toilet paper won’t drag on the floor. Select an installation point that’s 8–10 inches (20–25 cm) in front of or beside the toilet. The installation point should also be about 26 inches (66 cm) high off of the floor. If you’re installing the holder on drywall, try to center it over a stud. If you’re unable to locate a suitable stud, you can insert wall anchors in the drywall before screwing the toilet paper holder in place.
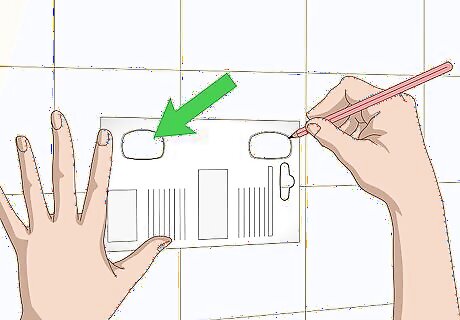
Measure the holder’s location with the included template. The toilet paper holder packaging should include a paper template which will help you figure where to attach the 2 brackets on your wall. Hold the template flat against the wall and use a carpenter’s level to confirm that the template is level. Then, use a pencil to mark the places where the 2 brackets will be attached to the wall, as the template indicates. This will allow you to precisely drill holes to attach the holder to your wall. If the template is not a separate piece of paper included with the toilet paper holder, it may be printed directly on the back of the box. Even after using the template, try using a torpedo level to make sure the holes are completely leveled.
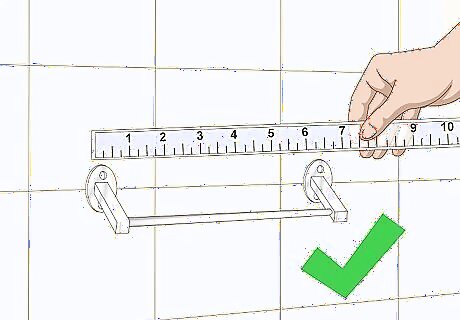
Measure the 4 screw locations of an installed holder before moving it. If you don’t have a template for the toilet paper holder—for example, if you’re relocating an already installed toilet paper holder—you’ll need to use a ruler to measure the screw locations before moving the holder. Lift off the 2 roller holders, and measure the distance (both horizontal and vertical) between the 4 bracket screws. Jot the measurements down on a scrap of paper. Then, use these measurements to transfer the toilet paper holder to its new location. Replicating the measurements will ensure that the holder fits properly on the new wall.
Drilling Holes for the Bracket Screws
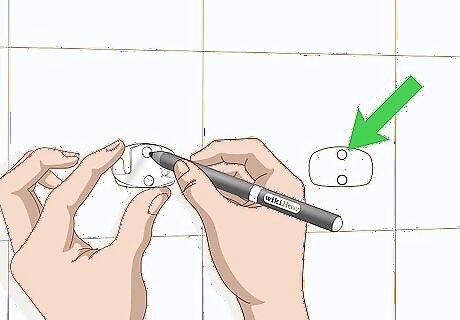
Mark screw locations on the wall with a felt-tip marker. Once you’ve used a pencil to mark on your wall where the brackets will be located, you can mark the exact screw locations with a felt-tip marker. Hold the bracket up in the position you outlined in pencil. Then, poke the tip of the marker through the screw hole to make a mark on the wall behind the bracket. Remove the bracket, and you’re ready to drill.
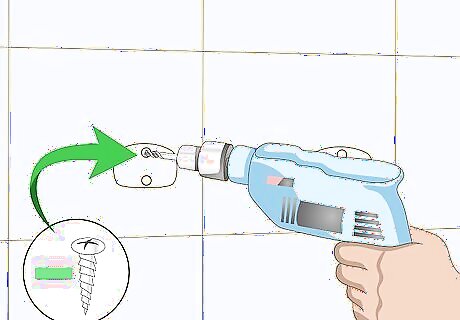
Drill holes that are slightly smaller than the included screws. If you’re not using wall anchors to hold the screws in drywall, select a drill bit that's slightly smaller than the screws. Drill 4 holes straight into the bathroom wall, directly over each mark you made with the felt-tipped marker. Drill each hole so that it’s slightly less deep than the screw. For example, if the screws are each 2 inches (5.1 cm) long, drill the hole 1.75 inches (4.4 cm) deep. To select the correct drill bit size, pick up one of the 4 screws included with the toilet paper holder, and compare it with small drill bits. Select a drill bit that is slightly smaller than the width of the screw. Before you drill, check to make sure that you’re holding the drill perfectly straight both horizontally (left to right) and vertically (up and down). Crouch down so you can look straight at the drill if necessary.
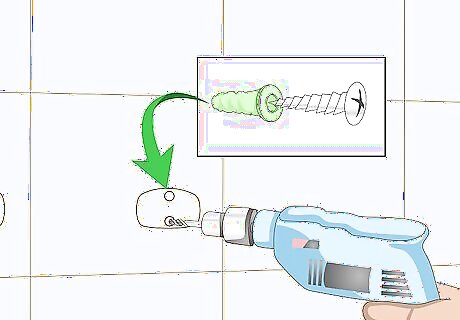
Drill larger holes and insert wall anchors for added stability. Select a drill bit that’s the same size as the broadest point of the wall anchor, and drill a hole at each of the 4 locations that you identified in marker. Make the hole as deep as the wall anchor is long. Then, firmly insert each anchor into a hole. Use a hammer to tap the anchors in place if needed. You can now use the wall anchors to screw the brackets into place. If you’re installing the toilet paper holder on drywall (and can’t attach it to a stud), install wall screw anchors to prevent the toilet paper holder from ripping out of the drywall. Plastic screw anchors are often included with new toilet paper holders. If not, you can purchase wall anchors at any local hardware store. They look like small plastic cones, and can be found in the hardware stores’ “Drywall” section.
Attaching the Toilet Paper Holder to the Wall
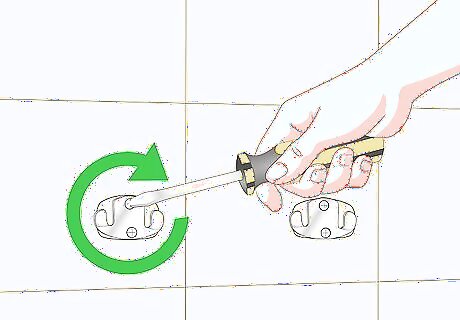
Screw the brackets onto the wall. Position the brackets back on the wall, and position 1 screw in each of the bracket’s 2 holes. (If you’ve installed wall anchors, you’ll drive the screws into the already-inserted anchors.) These should correspond with the holes you’ve just drilled. Use a screwdriver to tighten the 2 screws until both are snug. The screws will hold the bracket firmly against the wall. If your toilet paper holder came with 6 screws, use the 4 matching bracket screws for this step. Before screwing the brackets in, you’ll need to visually determine if the screws are Regular or Philips head. You will also need to determine the correct size screwdriver to use for each screw. Estimate the best fit, and then try larger or smaller screwdrivers as necessary until you find the best fit.
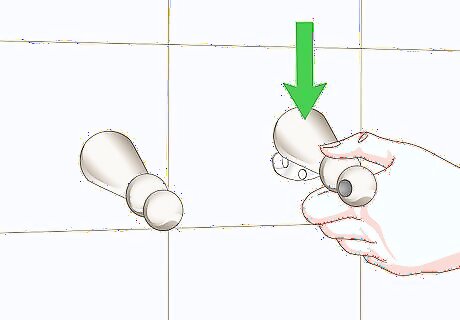
Hang each of the roller holders on the attached brackets. Look at the base of each roller holder: it should be marked with an up-arrow (or other visual indicator) to show which side goes up. The roller holder will also have 2 slots that will slide onto the brackets. Press each roller holder down into place, 1 on each bracket. Remember that the ⁄2 inch (1.3 cm) circular indentations at the end of each roller holder (where the metal roller goes) need to both face inward. If your toilet paper holder did not come with 2 set screws, you can skip the next step.
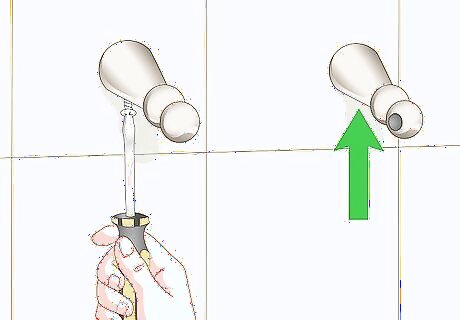
Screw 1 set screw in the bottom of each roller holder. Some roller holders have 1 screw hole in the bottom. If this is the case with yours, screw 1 set screw into this hole. The set screw will clamp the roller holder against the bottom of the bracket and keep the roller holder from popping off the bracket. As with the bracket screws, visually determine if the screws are Regular or Philips head before screwing them in. They’ll most likely be the same screw type and size as the bracket screws.
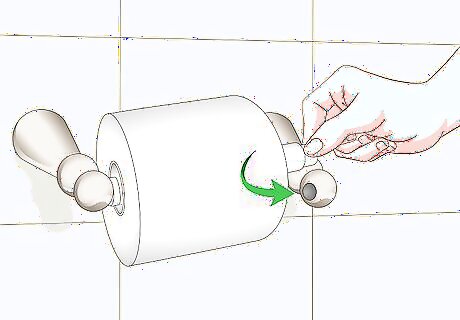
Add toilet paper and the spring-loaded paper holder. Take a roll of toilet paper and slide the central cardboard tube over the paper holder. Then, squeeze both sides of the paper holder inward and position the paper holder between the two roller holders. Release the spring loaded sides and make sure that the toilet paper rolls easily. Your toilet paper holder is now installed and ready for use.


Comments
0 comment