views
Installing a Rear Facing Car Seat
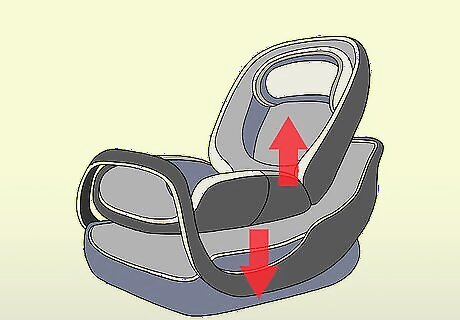
Separate the carrier from the base. Most rear-facing seats consist of two parts: the base and the infant carrier. You will install the base, the part that remains in the car. Follow the manufacturer’s instructions for removing the carrier from the base. Usually, there is simply a lever or button to activate.

Anchor the base to your car's back seat. Many car seat bases include an attached belt with two hooks that can latch onto designated spots near your car’s seat belt area. If your car manufacturer included these, snap the hooks onto the metal bars at those designated spots. Tighten the anchor belt attached to the base until the base is snug against the seat. Check the manufacturer's instructions if you aren't sure if your car or seat has this option, or how to use it. There may also be a place to feed the car’s seat belt through the base for added security.
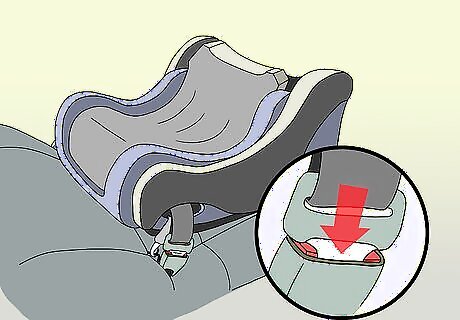
Thread the seat belt through the base, alternatively. If your car seat does not use the anchor system, it will be secured to the backseat with the car’s seat belt. Feed the belt through designated openings in the base and buckle it. The seatbelt should fit cleanly, and not be twisted or bunched up. Read the instructions to study where you are supposed to put the belt if you aren't sure. Every vehicle and seat is different, so it's important to get this right. Not latching the seat belt correctly can increase the risk of the child getting injured in an accident.

Pop the infant carrier into the base. Set it onto the base so that the child would face the rear. It should click when it's in the right position. You can then practice taking the carrier out (by activating the lever or button) and setting it back into get a feel for things.
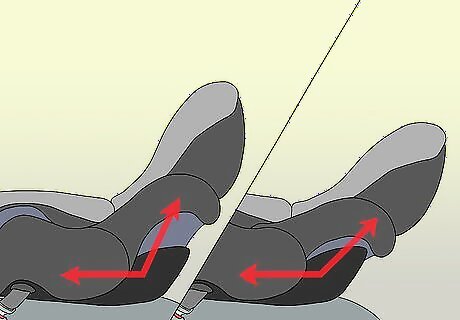
Double check the base angle. Rear facing car seats usually have bases that can rest at different angles. The youngest infants will need to be in the more reclined position. This helps them breathe properly. Most infant carriers have level indicators. Once yours is in place, read this level to see if the seat is at the correct angle for the babies weight/height/age. Check the manufacturer’s instructions for how to properly read the level if it isn't clear. Change the base angle if the level is not correct or your child. Usually, this involves turning the base over and rotating a piece. Remember to change the angle later on (or switch to a different seat) if the baby outgrows one setting.
Installing a Front Facing Car Seat
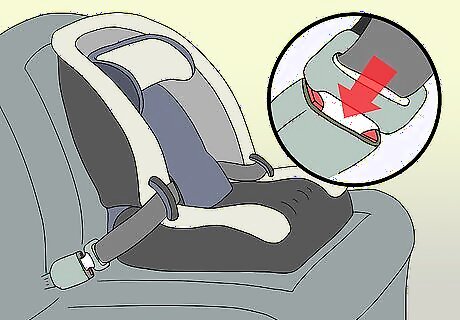
Thread the seat belt through the car seat. The back and/or bottom of the forward-facing car seat should have openings where a back seat belt should pass through so it can be buckled on the other side. After pulling the belt through and buckling it, push down on the car seat and pull on the belt so that it locks. Make sure that the belt is not twisted or bunched up as you pull it through.
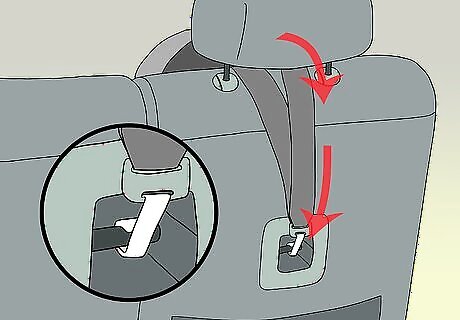
Anchor the seat with the tether. Many forward-facing car seats include an attached tether that feeds over the top of the vehicle’s seat and latches onto a metal anchor on the back. Locate this anchor and latch the tether belt to it, tightening it afterwards. Consult your vehicle’s manual if you can’t find an anchor.
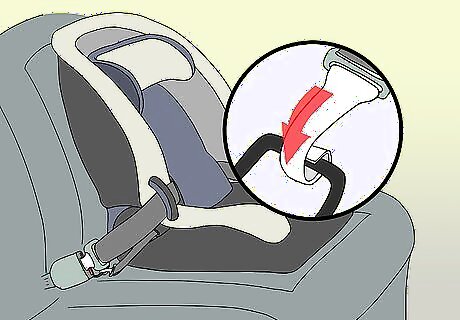
Attach the car seat to the vehicle’s seat with latches, alternatively. Your forward-facing seat may instead use the latch system. Two buckles with metal hooks attached to the bottom of the car seat should latch onto designated spots where the back and bottom of the vehicle’s seat meet. Pull on the belt of the buckles to tighten. A forward-facing car seat with the latch system may also include a tether and/or place to feed the seatbelt through. If so, use these in addition to the latch system to make the seat as secure as possible.
Ensuring the Child’s Safety
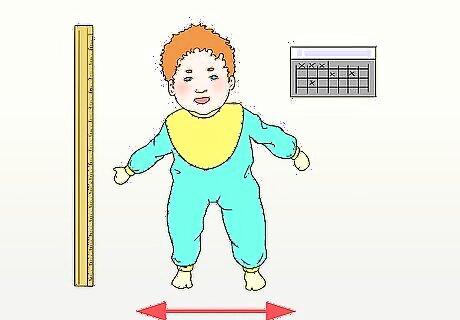
Select a car seat based on your child’s age, weight, and height. To provide the most protection, newborns should always be in a rear facing seat. Until they're at least a year old and potentially up to age three, a rear facing seat is an option. Move up to a forward facing seat for older infants and toddlers. How long to keep your child in a rear facing seat will depend on its height and weight, as well as the manufacturer’s specifications. Experts recommended keeping your baby on a rear facing seat as long as possible. Use one until your child reaches the upper height or weight limit set by the manufacturer. Some car seats are all-in-one, starting out in the rear facing position and converting to forward facing when your child is available. Check the owner’s manual for instructions on how to convert your seat.

Pick a spot in the backseat. Child car seats should always be positioned in the backseat, never the front seat. Many drivers like to set them behind the drivers seat to make it easy to check on them from the rear view mirror, without turning their head.

Check the seat's fit. Once installed, the car seat base should not move more than 1 inch (2.5 cm) in any direction. Whichever kind of car seat you are using, always pull on it a bit in all directions before placing your child inside. If it seems to move too much, tighten any straps or belts that are too loose.
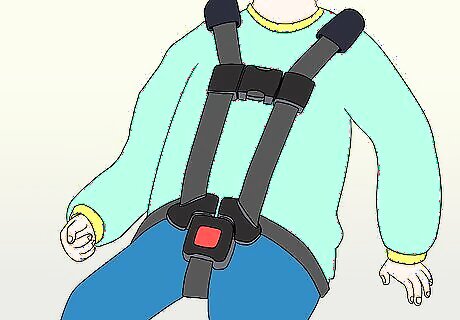
Secure your child in the seat. After placing your child in the car seat, place the two straps over their shoulders and buckle them at the lap harness. Buckle the chest clip and make sure it stays at armpit level. Tighten the straps until you cannot pinch any extra material on them at the child’s shoulders. Make sure the straps are not twisted. The correct way to tighten the straps will depend on your model of car seat. Most have a place to pull on and latch the strap. Check the manufacturer’s instructions if you aren’t sure. For safety reasons, do not place extra material (such as a blanket) underneath the straps. If you want to cover your child, buckle them in first, then add the cover.





Comments
0 comment