
views
Drawing a Shape
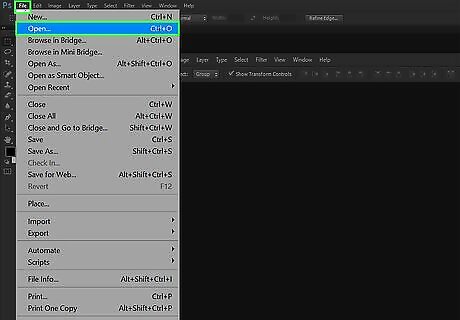
Open your Photoshop project. You can do this from the Photoshop File menu. Alternatively, you can open Windows File Explorer or Finder, right-click the file, select Open With, and then Photoshop.
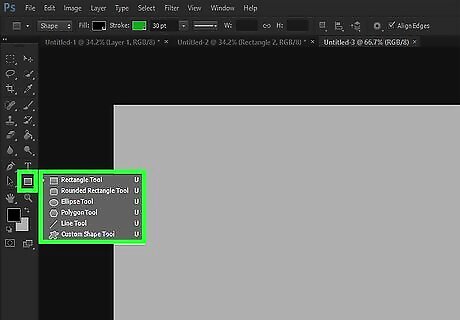
Click on the Shape Tool icon. This is in the menu along the left of the application window.

Click a Shape Tool. You can choose a preset line, square, rectangle, polygon, ellipse, or circle. You can create a custom shape by clicking the sloppy star icon.
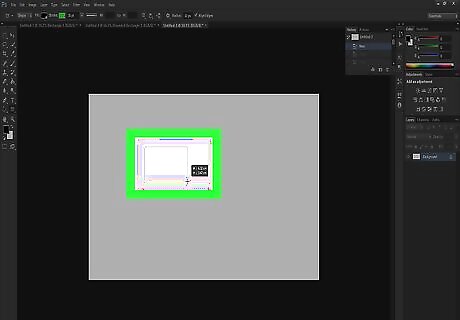
Click and hold over the canvas. This will start your shape.
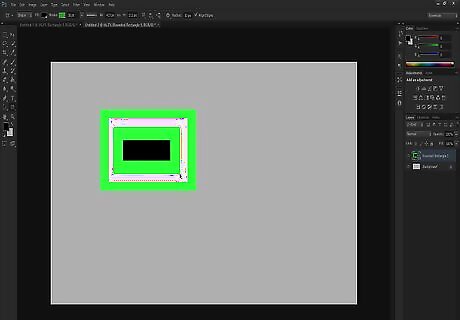
Drag your mouse to create the shape. Your shape doesn't have to be perfect, as you can edit your shape once it's created on the canvas.
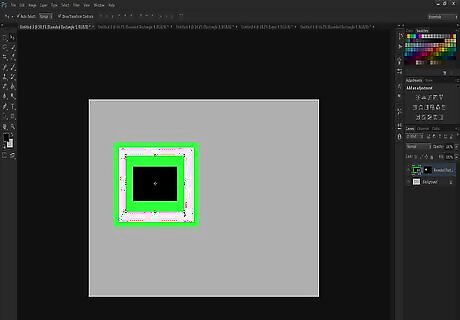
Edit the shape. You can access the Move Tool from the menu on the left, or you can press M. When your cursor is over the shape, it will turn into a cross-hair icon with four arrows pointing out. This allows you to move the shape to a different location. To resize the shape, drag-and-drop the handles on any of its sides. You can change the shape's color by clicking on the colored boxes in the menu along the left side of the application window.
Inserting a Shape from Another File
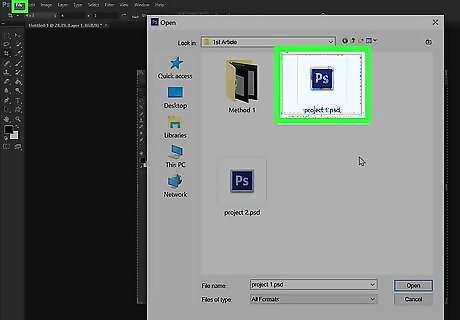
Open your Photoshop project. You can do this from the Photoshop File menu. Alternatively, you can open Windows File Explorer or Finder, right-click the file, select Open With, and then Photoshop.
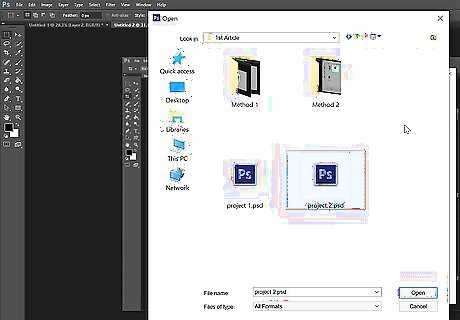
Open the file with the shape you want to insert. You can do this the same way you opened the current project.
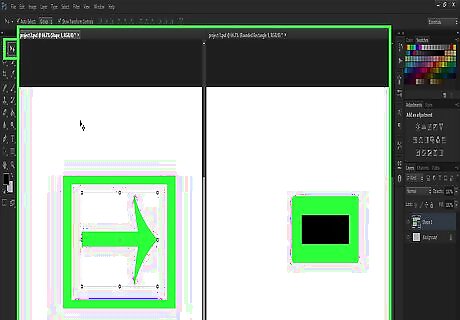
Drag and drop the shape to your Photoshop project. This will be easiest to accomplish if you have the project and image/shape open side-by-side. You can access the Move Tool from the menu on the left, or you can press M. When your cursor is over the image/shape, it will turn into a cross-hair icon with four arrows pointing out. To resize the shape, drag-and-drop the handles on any of its sides.



Comments
0 comment