
Fermenting and Harvesting Kefir Grains
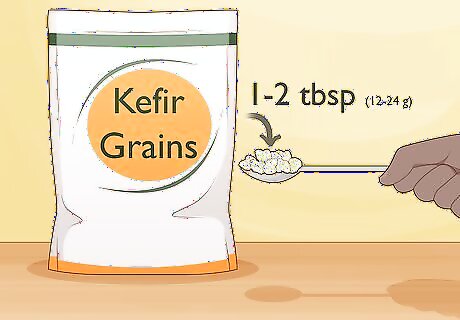
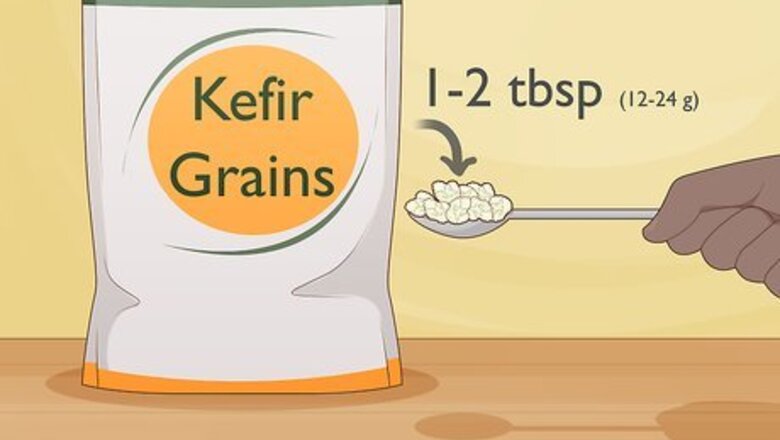
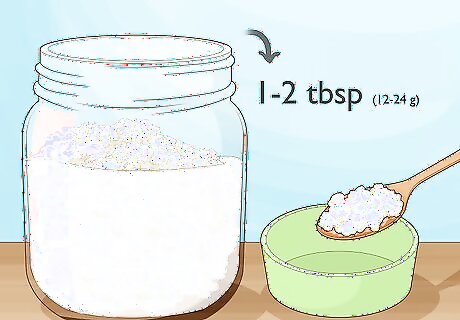
Acquire at least 1-2 tbsp (12-24 g) of kefir grains to get started. Order kefir grains online or get some from a friend who makes kefir. You'll need at least 1-2 tbsp (12-24 g) of kefir grains so you have enough to make a good-sized batch of kefir. There are tons of websites that you can order kefir grains from online. Just do a quick search in a search engine using keywords like “buy kefir grains” or “order kefir grains.” Keep in mind that you need kefir grains, not keffir starter. Keffir starter contains freeze-dried bacteria culture, so it's not living like kefir grains are and won't multiply.

Combine the grains with 4 cups (946.35 mL) of whole milk in a glass jar. Pour 4 cups (946.35 mL) of whole animal milk, such as cow, goat, or sheep milk, into a clean glass jar. Gently drop in 1-2 tbsp (12-24 g) of kefir grains.Tip: Though it’s possible to make kefir with non-animal milk for consumption, you must use an animal milk to encourage kefir grains to multiply. Kefir ferments faster in hotter temperatures, so if you are trying to grow kefir grains during warm summer months, 1 tbsp (12 g) will most likely be enough. If you are trying to grow kefir grains during a cooler time of year, use 2 tbsp (24 g).

Cover the jar with a clean, tightly-woven cloth secured with rubber bands. Use a clean cloth that is tightly woven but will still allow some airflow into the jar, such as a cheesecloth or cotton cloth. Place it over the jar’s opening and slip a rubber band around it to hold it to the jar’s rim. If you don’t have a suitable cloth to cover the jar with, you can use a paper towel instead.
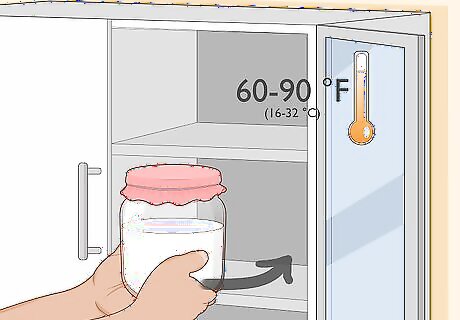
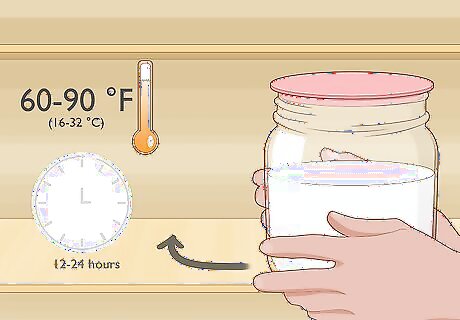
Place the jar in a warm place to ferment. Place the jar in an area where it is at least 60–90 °F (16–32 °C) and where it will not receive any direct sunlight. This is the temperature zone that the kefir grains need to turn the milk into kefir and start the multiplication process. If you are looking for a good warm place in your home to put the mixture during cooler months, try putting it in a closet near your hot water heater if you have one.

Wait 12-24 hours for the milk to turn into kefir. Leave the mixture for at least 12 hours until it has thickened, separated slightly, and started to smell tangy and fermented. Inspect the jar every 2 hours or so after the first 12 hours if it has still not turned into kefir. The time it takes to ferment depends greatly on the temperature. If the mixture does not ferment after 24 hours, the spot you put the jar in is not warm enough.

Stir the kefir with a rubber or plastic utensil. Remove the cloth from the jar’s opening. Stir the mixture gently with a rubber spatula or plastic spoon to mix it together and get it ready to strain. It’s not recommended to let kefir come into contact with metal as it can have adverse effects on the bacteria cultures.
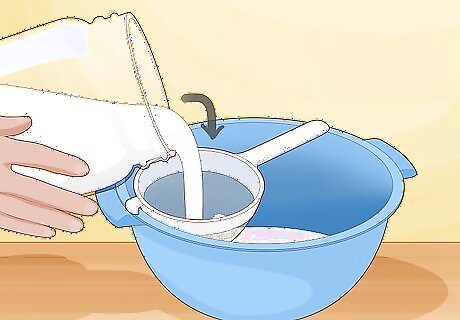
Pour the kefir through a plastic strainer into a container. Place a plastic strainer over top of a clean jar or sealable plastic container. Slowly pour out the fermented kefir through the strainer until all the liquid has drained into the jar or container. You’ll be left with the kefir grains in the strainer. The liquid that you strained out is fully fermented kefir that you can eat or drink. Store it in your fridge for 2-3 weeks or freeze it for 1-2 months.
Multiplying the Grains

Put harvested kefir grains into a jar with 4 cups (946.35 mL) of animal milk. Place the grains you strained out of a batch of kefir you made carefully back into the jar you used to make the kefir or a clean jar. Cover them with 4 cups (946.35 mL) of fresh whole animal milk to start making another batch of kefir. In order to get kefir grains to multiply, you have to make several continuous batches of kefir.
Repeat the fermentation process for another 12-24 hours. Set the jar in a warm place that is between 60–90 °F (16–32 °C). Check it after 12 hours to see if it has thickened, separated, and smells kind of sour. If the milk hasn't turned into kefir after 12 hours, keep checking on it every 2 hours or so for up to 24 hours.
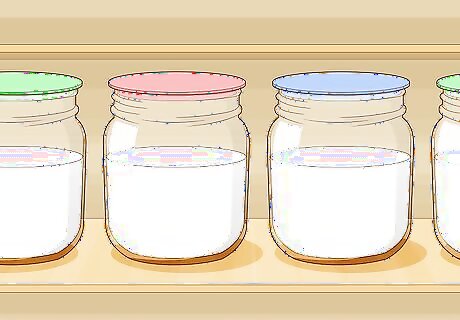
Keep making batches of kefir until the grains start to grow and multiply. You'll notice the grains swell up after the first couple of batches, which means they are getting closer to multiplying. Keep making batches of kefir with the grains you harvest after each batch until you see that you have more grains than you started with. There’s no way to know exactly how many batches you need to make until the grains start to multiply. Kefir grains are living organisms and the exact conditions you are attempting to multiply them in will affect how rapidly they grow.
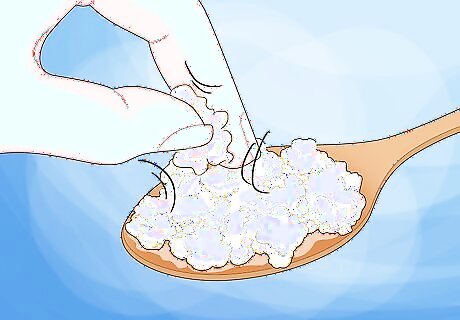
Rub the grains between your fingers if they are growing but not multiplying. Roll swollen grains gently back and forth between 2 fingers, applying gentle pressure, until they break apart. This will give the grains more surface exposure to the milk and encourage them to multiply.
Use extra grains to make multiple batches of kefir or store them. Divide up your extra kefir grains into portions of 1-2 tbsp (12-24 g) when you are happy with the amount you have. Use them to make several batches of kefir at once or store them for future use if you want to take a break from making kefir.
Storing Kefir Grains You Grow
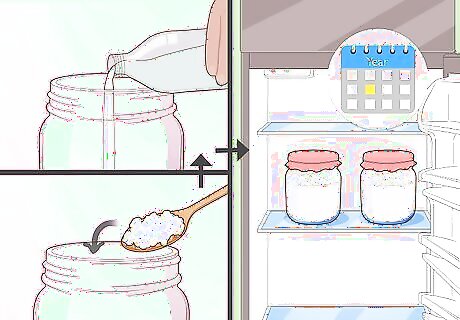
Cover the grains in fresh milk and store them in the fridge for up to 1 month. Put your extra kefir grains into a clean glass jar and cover them with fresh milk. Seal the jar and put it in the fridge. Strain the kefir grains and change the milk every week. This will put the grains into a sort of hibernation and is a good option if you want to take a break from making kefir for a few weeks. After about a month, make a new batch of kefir to bring the grains out of hibernation and keep them active.

Freeze kefir grains in fresh milk for up to 6 months. Put your extra kefir grains into a clean, sealable plastic container. Pour in enough fresh milk to cover them, put the lid on the container, then place it at the back of the freezer. It’s possible for kefir grains to stay alive while frozen longer than 6 months, but to be on the safe side it’s best to thaw them out and use them to make a new batch of kefir after 6 months. This will activate them and help keep them alive.

Dry kefir grains for 3-5 days and store them in zip-top bags with powdered milk. Spread out your extra kefir grains on a few layers of paper towels on a clean baking sheet or other flat surface. Let them dry for 3-5 days until they shrink and look more yellow, then place them in a sealable plastic bag. Pour in enough powdered milk to cover the grains.Tip: When you want to activate the dried grains again, rinse the powdered milk off with fresh milk before you put them in a jar of milk to ferment. You can store dried kefir grains in this way for up to 3 months in a cool, dark place or for up to 6 months in the fridge or freezer. Make sure to let the grains dry in a low-traffic area where they are not likely to get contaminated. Inside of a clean cupboard or on an out-of-the-way shelf are good places.

Give extra kefir grains away if you have more than you will ever use. Give the gift of kefir to your friends and family by giving away extra grains that you have grown and know you won’t use. Teach them how to make kefir, grow kefir grains, and store the grains to keep the kefir alive and well!


Comments
0 comment