views
Using a Burr Grinder (Espresso Grinder)

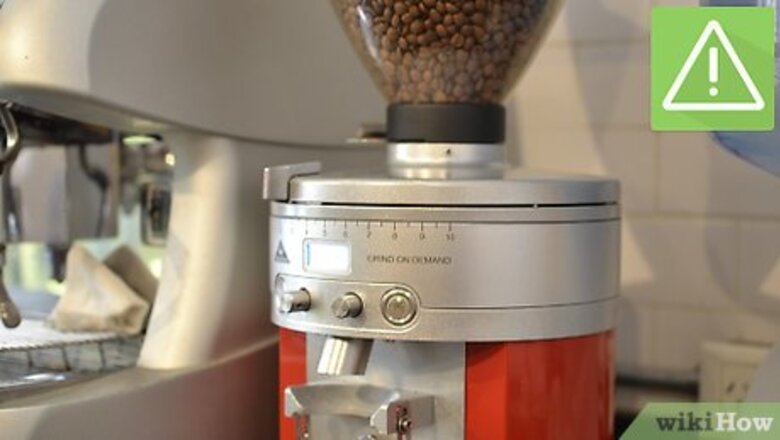
Identify your grinder. These grinders use small, spinning discs to shave apart each bean precisely, which produces a more consistent grind. Any grinder that comes with an espresso machine, or is attached to one, should be a burr grinder. You can also purchase a burr grinder separately, although it may cost several hundred dollars. Low-speed burr grinders are less likely to burn the beans when grinding it fine for espresso, but may be more expensive than high-speed grinders. Conical burr grinders and flat grinders both have their fans; one type is not definitively better than the other.

Place the beans in the grinder. You can grind as many beans at once as can fit loosely in your grinder, but keep in mind that ground coffee won't stay fresh for more than a day or two. If you want to grind only enough for one espresso shot, you may have to experiment to see how many whole beans to use. Typically, one tablespoon (15 mL) is enough, but results vary depending on the variety of coffee bean and how fine the coffee is ground. Regardless of how many beans you used, one espresso shot takes roughly 0.25 ounces (7 grams) of coffee grounds, enough to fill the filter on your espresso machine and add a small mound on top..

Select a fine or superfine grind size. Almost every burr grinder model has settings for how fine to make the coffee grounds. For espresso, you'll want to make fine or superfine grounds. Some models have a numerical scale instead; with these, it's best to experiment with several settings to see which produces the cup of espresso you prefer. A setting that works for one type of coffee bean may need adjusting for another type. If you frequently switch between beans, you might want to write down which setting works for each of your favorite types of bean.
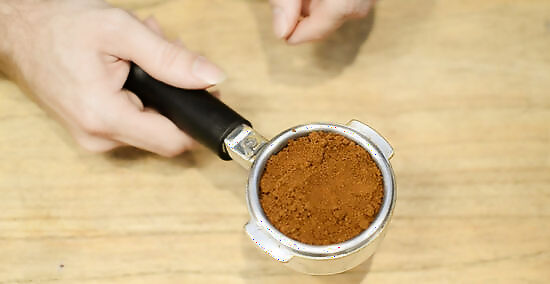
Test the coffee grounds. Take a small pinch of coffee grounds between your thumb and finger, then separate your fingers and examine the grounds. If the coffee fails to clump together and falls in separate pieces, it needs more grinding. If it is a powder that leaves an outline on your fingerprint, it is too fine and may not produce a good espresso. Finely ground coffee that clumps together on your finger is perfect for espresso. A burr grinder should produce consistent results, at least until it eventually wears down after many uses. Once you've found a setting you like for a particular bean variety, you don't need to keep testing every time.
Using a Blade Grinder (Hand Grinder)
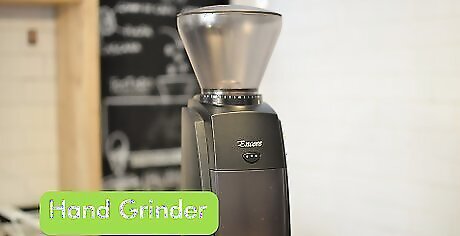
Identify your grinder. If you are using a grinder with spinning blades, follow these instructions. Typically, these grinders have a detachable plastic lid, and turn on when the lid is pressed down, but some models are operated with a button or hand crank instead. They will not produce grounds as consistent or fine as higher-quality "burr grinders," but they tend to be much cheaper.
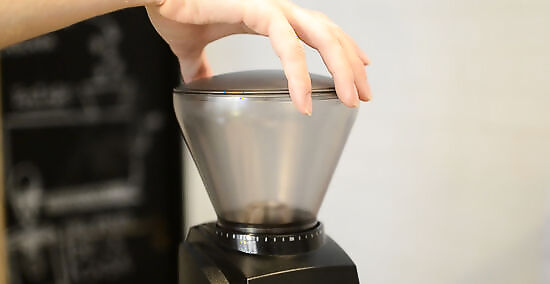
Place the beans in the grinder. Some grinders only have room for a small handful of beans, so you may have to grind in several batches if you are making a large number of espresso shots. Don't try to force the beans tightly into the grinder, or you may not have room for the lid.

Grind the beans in short bursts of two or three seconds. If you grind the beans for too long, the friction can overheat the beans, making them bitter. Instead, turn the grinder on for no more than three seconds at a time, waiting two seconds between bursts.
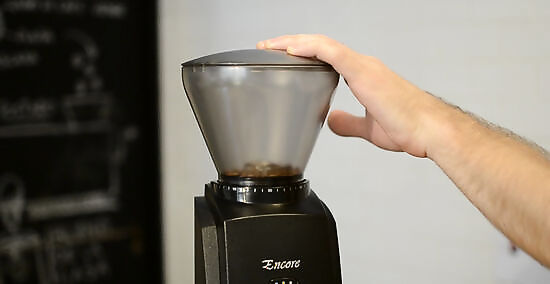
Stop when the beans have been ground for at least twenty seconds total. The exact amount of time it takes to grind depends on the grinder model and blade sharpness. However, since espresso is typically made with finer ground beans than a hand grinder can produce, it's unlikely you'll be able to over-grind it. Grind it for at least twenty seconds total, not counting the pauses in between grinds.

Test the ground coffee. Unplug the grinder and remove the lid. If there are obvious chips of coffee bean in the grounds, grind the beans for a few more bursts. Otherwise, pick up a pinch of grounds between your thumb and finger. If it's ready, it should clump together on your fingertip, not fall off in separate particles. You may not be able to achieve the perfect fine grind with this type of grinder. If the grinder won't produce grounds with the consistency described, settle for no visible large chips of bean being present.

Scrape out all remaining grounds to use in your espresso. There are usually hard-packed chunks of coffee grounds stuck to the inside of the grinder. Use a spoon to remove all of these grounds right after you're done grinding them. If you leave grounds in there for multiple grindings, they can burn and add an unpleasant taste to your espresso.
Maintaining Your Grinder

Unplug the grinder before cleaning to avoid injury. Unplug your grinder before cleaning to avoid accidentally turning it on while your fingers or cleaning implements are inside.
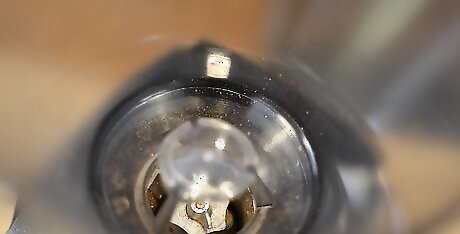
Use a vacuum or compressed air to get rid of coffee grit when it builds up. Bits of coffee ground will build up around the working parts of any type of grinder, slowing them down and potentially adding off-flavors to your espresso grounds. If you notice these effects or see pockets of encrusted coffee ground, use a vacuum's wand attachment or a can of compressed air to remove them. Dislodge larger pockets with a spoon if they are not moving.

Wipe down the inside of the grinder occasionally. Oils from the coffee beans can stick to the sides, adding off flavors. Remove the grinding chamber if possible on your grinder model, and rinse with water. If your grinder cannot be disassembled, use a slightly damp paper towel instead to avoid causing an electrical short. Either way, wipe clean with a dry cloth after washing.
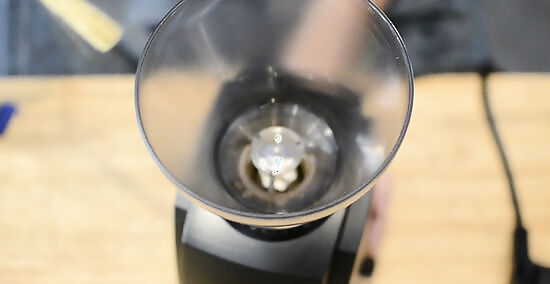
Clean or replace your grinder's burrs. Most burr grinders can have the outer burrs removed by untwisting the ring that holds them in place. Others need to be cleaned while inside the grinder. Every few weeks, or more frequently if you use the grinder daily, scrub with a new toothbrush or other small, clean brush. If your grinder fails to create a fine grind even after cleaning, you may need to purchase replacement burrs from the manufacturer. Some people run rice or other objects through their grinders to clean off coffee residue, but this can shorten the lifespan of the burrs.
Getting the Most Out of Your Beans

Try several varieties of espresso bean. Espresso beans are roasted specifically for use in espressos, and will likely produce better results than ordinary coffee beans. While there are many, many varieties and blends of espresso bean, the most basic distinction is between the lighter Arabica and darker Robusta. While espresso is more concentrated and dark than regular coffee, this does not mean it needs to use blends high in Robusta beans. A blend with as little as 10-15% Robusta will produce a dark, "biting" espresso without additional, potentially unpleasant flavors from overuse.
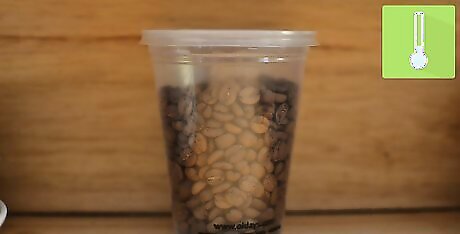
Store beans in a cool, dry place. Find a dark spot at the back of your cupboard or pantry, not the fridge where it can pick up food smells and moisture. Use any container with an airtight, watertight seal. Even when stored this way, beans tend to lose quality rapidly after one or two weeks. Freezing may or may not affect the taste of espresso beans. Opening the container of frozen beans, however, causes harmful moisture to condense on the beans. Divide the espresso beans into multiple containers to limit the number of times each one is opened. Pack tightly to remove most of the air.
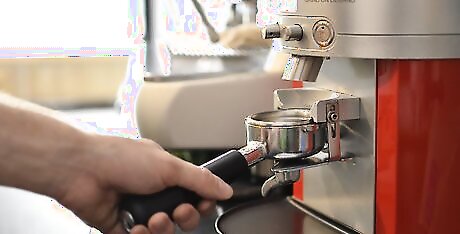
Grind beans shortly before you make the espresso. Espresso will stay freshest as whole beans, not grounds. Try to use up all your grounds within a few days after they are ground for best results.

Grind a few beans first when switching coffee blends. If you are switching to a new coffee beans or blend and want to get a pure flavor, run a few beans through the grinder first to remove most of the coffee grit from the last variety you used. You can use this for espresso if you don't mind a mixed cup, or simply toss it in the compost or trash.




Comments
0 comment