views
Handling a Cracked or Shattered Screen
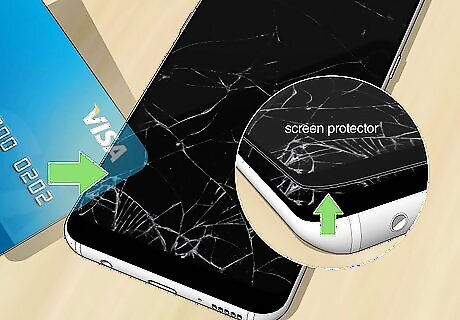
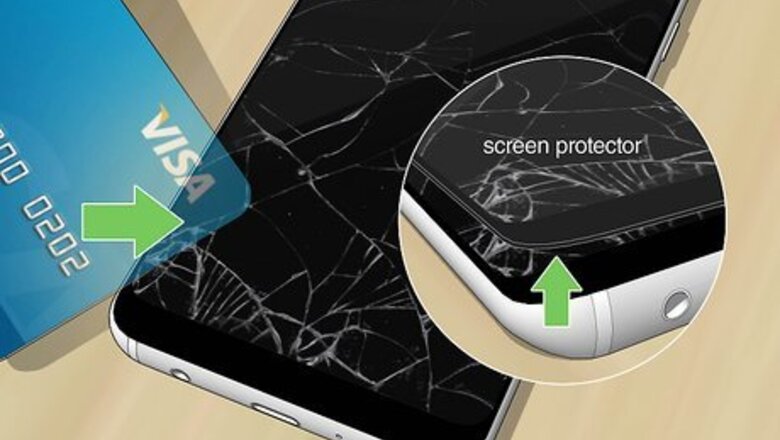
Make sure it's not just the screen protector that is cracked. If you have a glass protector affixed to your screen, the glass under your screen could be safe. Peel off a corner of your screen protector with a credit card and peek underneath—if the screen is safe, just replace the screen protector. If you think the screen underneath the protector is also cracked, don't remove the protector, as it might lift glass away from the phone and prevent you from getting additional use out of it.
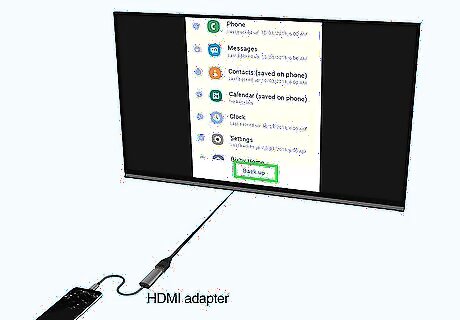
Backup your phone. If your screen still responds to touch, attempt to make a backup in case you need a replacement. Be extremely careful—if your screen is made of glass, you could cut your finger if you run it over a cracked area. If you have an iPhone with Siri enabled and can't use your screen, you can use Siri to help you make a backup to your computer. If you have an Android and the touch digitizer works but the screen doesn't, you can try connecting the phone to a TV or monitor with an HDMI adapter, which will mirror the screen. You can then mimic the movements on the Android's screen to open backup settings on your TV.
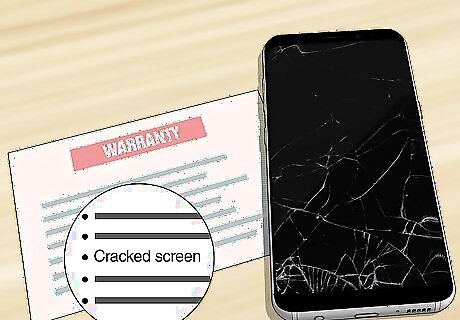
Find out if your screen replacement is covered by your warranty. If your phone is protected with an accidental damage plan, contacting your warranty provider is the only risk-free way to get your screen repaired. Sometimes your warranty will be through the phone's manufacturer, such as Apple. Other times it will be through the store from which you bought the phone or your mobile provider.
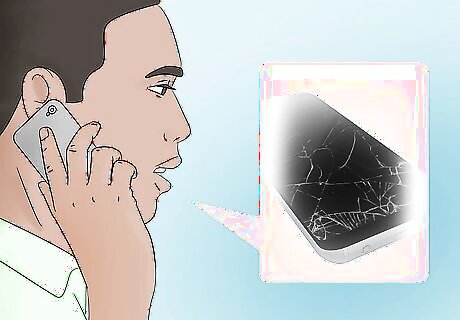
Contact an authorized service provider for an out-of-warranty repair. If your broken screen isn't covered by your warranty (or you don't have one), the next best option is to have a certified professional repair your screen. Lots of providers even offer same-day service. Going to an authorized service provider ensures that repairs won't affect your manufacturer's warranty. If there are no authorized service providers for your model, contact a reputable repair shop for an out-of-warranty repair. Just be aware that screen repairs performed by unaffiliated repair shops may impact your factory warranty.
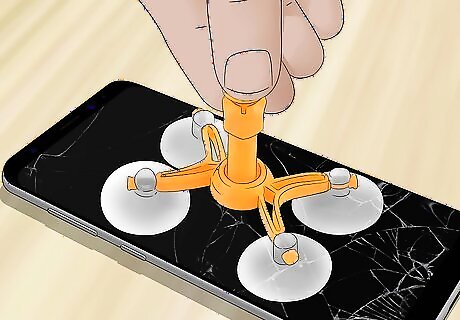
Consider a DIY repair at your own risk. Replacing a phone screen requires special tools—not the kind you'll usually have laying around the house. And if anything goes wrong during the replacement, you won't be able to contact the manufacturer for help because your warranty will no longer be valid. The steps to replace a phone screen is different for each phone. There is no one-size-fits-all fix for replacing screens, even if you find "easy guides" on the web.
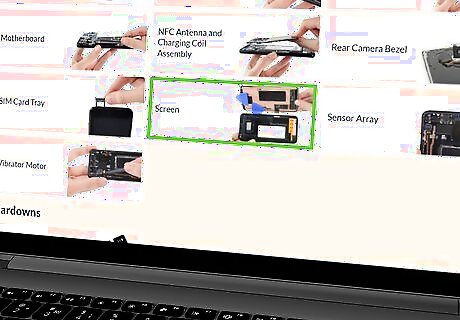
Find out if your phone can be repaired at home. Visit https://www.ifixit.com and search for your phone model. If they have a screen replacement tutorial for your phone, look over the steps and assess whether you could perform them yourself without help. Check the prices for the tools the tutorials require and take a look at the prices for replacement screens for your model. Compare the price of a new screen assembly and tools with a quote from a service provider. For example, the iPhone Pro 12 Max screen assembly costs about as much as an entire out-of-warranty repair from Apple. Now think about buying tools, spending hours on replacing the screen, and then finding out you can no longer unlock your iPhone. Suddenly Apple's repair prices sound a lot better! Check the comments on the iFixIt guides—you'll often find (especially with iPhones) that following tutorials exactly brings up other problems, including broken Face ID and non-working cameras. Not because the guides aren't helpful, but because it's hard to do these repairs if you're not an expert.
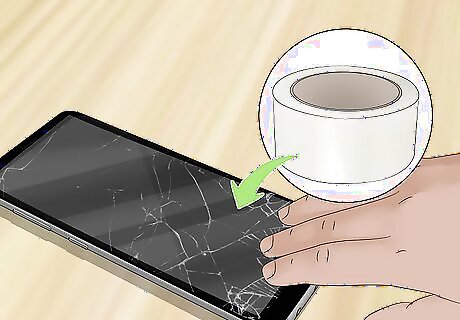
Cover the screen with clear packing tape before taking your phone in for service. Affix clear packing tape to the screen to keep the glass intact. This will also make it easier to remove the glass for repairs.
Removing Scratches from a Screen
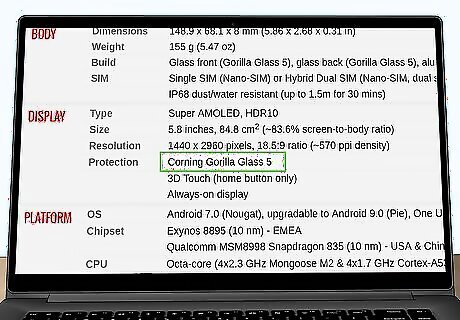
Figure out what the screen is made of. Most modern phone screens are made of glass, but some may be made from plastic. Look up your model of phone and "screen" to find out whether yours is glass or plastic. This matters, as the steps to removing scratches are different depending on the screen's composition.
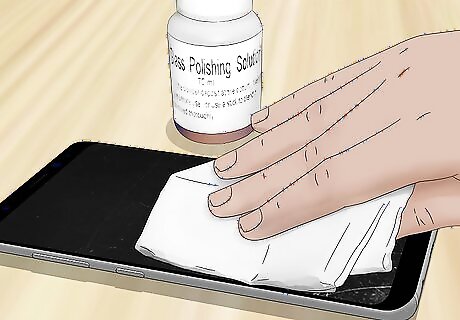
Try a glass polish kit. If you have a glass screen, a glass polish kit for car windows could buff out scratches (with a few caveats). Follow the instructions that come with your glass polish kit closely, but do not overbuff the area. Be really careful—using a glass polish kit will usually get rid of scratches, but it can make the glass thinner, thus more vulnerable to breaking. It can also remove the oleophobic coating that makes your screen fingerproof-resistant.
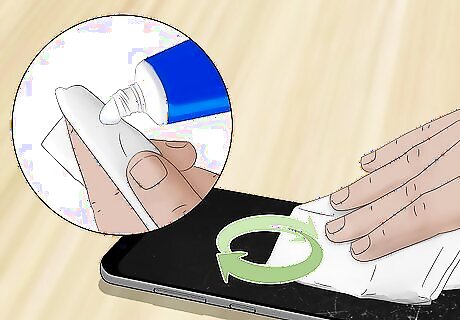
Toothpaste might help if the screen is plastic. A lot of the old methods you may have heard about—toothpaste, for example—won't do much for a glass screen, but can definitely help with a plastic screen. Squeeze a dollop of toothpaste onto the tip of a Q-Tip or soft cloth. Toothpaste, not toothpaste gel. Gently rub the scratched area with slow, circular movements. Don't apply too much pressure. When finished, dampen a lint-free cloth with a very small amount of water, and wipe away the toothpaste.
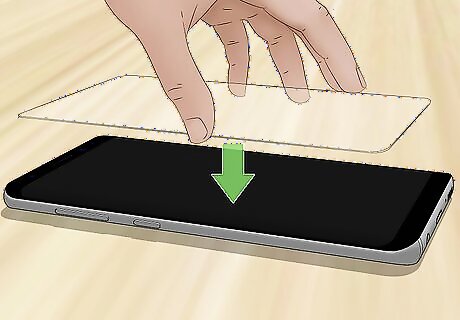
Use a screen protector to prevent future damage. A glass screen protector can keep your screen safe from scratches, as well as protect it from shattering if you ever drop your phone. You can find adhesive screen protectors made of shatterproof glass at any electronics store, as well as major online retailers.
Fixing Stuck or Dead Pixels
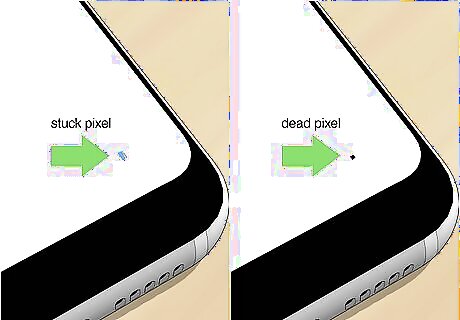
Determine whether the pixel is dead or stuck. Whether your phone has an LCD or OLED screen, screen pixels can go dark, indicating a stuck or dead pixel. A stuck pixel appears as a red, green, or blue dot that's highly visible against any solid color background, including one that's black. Dead pixels are black, thus not visible against a black background. Stuck pixels can be fixed, but dead pixels might not be repairable.
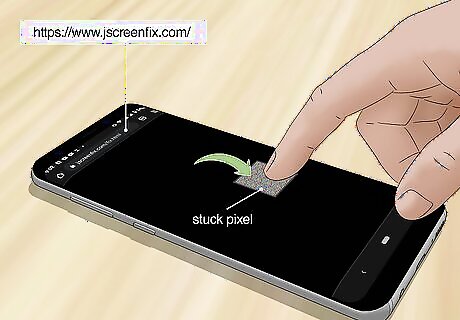
Try a stuck pixel repair app or website. If a pixel is stuck, there are website and apps that might be able to resolve the issue in minutes. One option that doesn't require an app download is JScreenFix, which you'll find at https://www.jscreenfix.com. Tap Launch JScreenFix, drag the pixel fixer over the stuck pixel, and leave the page open for 10 minutes or more. You might need to run the tool several times to clear up the stuck pixel(s).
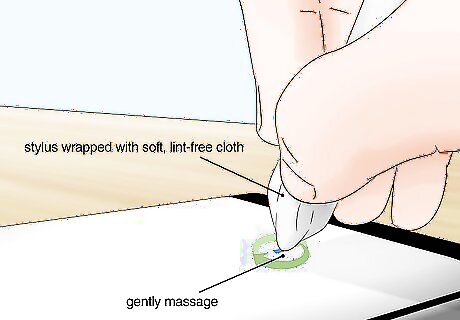
Apply gentle pressure to the area. If the pixel is still stuck or might be dead, you can try applying pressure to the area. Do not press too hard or you could break the screen. Here's how: If you have a stylus made for use with a tablet or other screen, grab that. If not, find another blunt, narrow object, such as a pen. Wrap end of the tool several times with a soft, lint-free cloth. Some people report success with a hot cloth, too—just make sure that if you are able to heat the cloth, it's not soaking wet. Gently massage the pixel with your tool for about 10 seconds. Turn the screen off, wait a few seconds, and then turn it back on. Keep massaging the pixel. You can also try gently tapping the area with your tool. Repeat these steps a few times until the pixel is restored.

Contact an authorized service provider for repairs if the pixel isn't fixed. If you're still within your warranty period, pixel issues should be covered without any cost to you. If not, an authorized service provider can usually fix a pixel issue for a nominal fee.




Comments
0 comment